
We’ll show you, how to install Apache Solr on CentOS 7. Apache Solr is an open source enterprise search platform used to easily create search engines which searches websites, files and databases. Its major features include powerful full-text search, faceted search, distributed search, hit highlighting and index replication.
In this tutorial we will show you how to install Apache Solr on a CentOS 7 VPS.
Make sure your operating system is fully up to date by executing the following command:
yum update
Install the latest available version of Java on your server:
yum list available | grep -i jdk

java-1.7.0-openjdk.x86_64
Verify that Java is properly installed:
java -version
java version "1.7.0_65"
OpenJDK Runtime Environment (rhel-2.5.1.2.el7_0-x86_64 u65-b17)
OpenJDK 64-Bit Server VM (build 24.65-b04, mixed mode)
The next step is to download and unpack the Solr archive. At the time of writing this tutorial, the latest stable version is Solr 4.9. Once you have the package, unpack it into the directory of your choice (in this tutorial we use ‘/opt’ for the Solr 4.9 installation). So, download and unpack Apache Solr 4.9 on your Centos 7 VPS:
cd /opt
wget http://www.bizdirusa.com/mirrors/apache/lucene/solr/4.9.0/solr-4.9.0.tgz
tar -xvf solr-4.9.0.tgz
mv /opt/solr-4.9.0 /opt/solr
mv /opt/solr/example /opt/solr/core
Create a systemd service for Solr or if you are used to the old init scripts, you can keep using them. Create an init script for the Solr service:
vi /etc/init.d/solr
#!/bin/bash
#
# chkconfig: 2345 20 20
# short-description: Solr
# description: Startup script for Apache Solr Server

SOLR_DIR="/opt/solr/core"
LOG_FILE="/var/log/solr.log"
JAVA="/usr/bin/java -DSTOP.PORT=8079 -DSTOP.KEY=stopkey -jar start.jar"

start() {
echo -n "Starting Solr... "
cd $SOLR_DIR
$JAVA > $LOG_FILE 2>&1 &
sleep 2
RETVAL=$?

    if [ $RETVAL = 0 ]
    then
        echo "done."
    else
        echo "failed. See error code for more information."
    fi
    return $RETVAL
}

stop() {
echo -n "Stopping Solr... "
pkill -f start.jar > /dev/null
RETVAL=$?

    if [ $RETVAL = 0 ]
    then
        echo "done."
    else
        echo "failed. See error code for more information."
    fi
    return $RETVAL
}

case "$1" in
start)
start
;;
stop)
stop
;;
restart)
stop
start
;;
*)
echo $"Usage: solr {start|stop|restart}"
exit 3
esac
exit $RETVAL
Set the proper permission for the ‘solr’ script and make Solr automatically start on server boot:
chmod +x /etc/init.d/solr

chkconfig --add solr
You can now start Solr using the following command:
/etc/init.d/solr start
You should also be able to use the ‘service’ command to start,stop and restart Solr:
service solr start
service solr stop
service solr restart
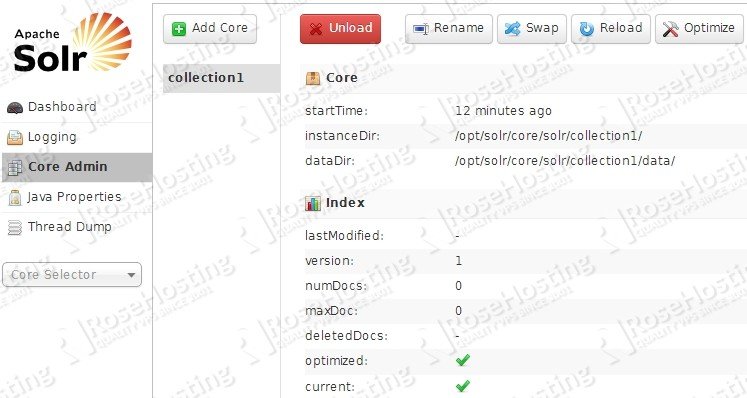
Once Solr is up and running you should be able to access it through your favorite web browser at
http://server_IP:8983/solr/ (just replace ‘server_IP’ with your server IP address appropriately):
Of course you don’t have to Install Apache Solr on CentOS 7, if you use one of our Apache VPS Hosting services, in which case you can simply ask our expert Linux admins to install Apache Solr search platform for you. They are available 24×7 and will take care of your request immediately.
PS. If you liked this post, on how to Install Apache Solr on CentOS 7, please share it with your friends on the social networks using the buttons on the left or simply leave a reply below. Thanks.
Thanks for the tutorial! it worked great on an Amazon EC2 instance running Amazon Linux.
I had to make a couple of changes to the init.d script to get it to work
1. Replaced the escaped characters (> with >)
2. changed java command from
$JAVA 2> $LOG_FILE &
to
$JAVA > $LOG_FILE 2>&1 &
to get the output to not show on standardout
Thanks for your input, Oscar. The post has been updated.