
We’ll show you, how to install Icinga 2 on Ubuntu 16.04. Icinga 2 is an open source network monitoring system which checks the availability of your network resources, notifies users of outages, and generates performance data for reporting. Icinga 2 is scalable and extensible and it can monitor large, complex environments across multiple locations. Installing Icinga 2 on Ubuntu 16.04 is an easy task, follow our tutorial bellow and you should have it installed and configured in less then 15 min
It supports Graphite and InfluxDB natively which thanks to a direct TCP connection, you can enjoy real-time performance graphing with little system load.
The Icinga 2 branch is constantly in development with the below design goals set:
- Code quality
- Interoperability with external interfaces
- Scalability
- Clear-cut, object-based configuration
- Intelligent checks and commands & agent-based checks
- Dynamic notifications
- Business processes out of the box
In this article, we will install and configure Icinga 2 with a web interface on a Ubuntu 16.04 VPS. We assume that you have a LAMP (Apache, MySQL, PHP) stack installed on your server. This tutorial is written for Ubuntu 16.04 and it should work on other Debian-based distros too. We have another tutorial on how to install Icinga on CentOS.
REQUIREMENTS
We will be using our SSD 1 Linux VPS hosting plan for this tutorial.
Table of Contents
1. LOG IN TO YOUR SERVER VIA SSH
# ssh root@server_ip
You can check whether you have the proper Ubuntu version installed on your server with the following command:
# lsb_release -a
You should get this output:
Distributor ID: Ubuntu
Description:    Ubuntu 16.04.1 LTS
Release:        16.04
Codename:       xenial
2. UPDATE THE SYSTEM
Make sure your server is fully up to date using:
# apt update && apt upgrade
Enable the add-repository feature and add the repository for Icinga with the below commands:
# apt install software-properties-common

# add-apt-repository ppa:formorer/icinga
Update the package index:
# apt update
3. Install Icinga 2
# apt install icinga2
Once the installation is completed you should check whether Icinga 2 is working:
# systemctl status icinga2.service
after which you should get the below output:
● icinga2.service - LSB: icinga2 host/service/network monitoring and management system
   Loaded: loaded (/etc/init.d/icinga2; bad; vendor preset: enabled)
   Active: active (running) since Sat 2016-09-17 15:05:41 UTC; 28s ago
     Docs: man:systemd-sysv-generator(8)
   CGroup: /system.slice/icinga2.service
           └─28794 /usr/lib/x86_64-linux-gnu/icinga2/sbin/icinga2 --no-stack-rlimit daemon -d -e /var/log/icinga2/icinga2.err

Sep 17 15:05:40 vps systemd[1]: Starting LSB: icinga2 host/service/network monitoring and management system...
Sep 17 15:05:40 vps icinga2[28739]:  * checking Icinga2 configuration
Sep 17 15:05:40 vps icinga2[28739]:    ...done.
Sep 17 15:05:40 vps icinga2[28739]:  * Starting icinga2 monitoring daemon icinga2
Sep 17 15:05:41 vps icinga2[28739]:    ...done.
Sep 17 15:05:41 vps systemd[1]: Started LSB: icinga2 host/service/network monitoring and management system.
4. Enable Icinga 2
Enable Icinga 2 to start on boot:
# systemctl enable icinga2.service
Icinga 2 has the following features enabled by default:
- checker;
- mainlog;
- notification.
Furthermore, you can check the enabled and disabled features with:
# icinga2 feature list
Icinga 2 collects service info based on the monitoring plugins which are not installed. You can remedy this by installing them with:
# apt install nagios-plugins
5. Install IDO Modul
Next, you need to install the IDO module which is crucial for the Icinga 2 web interface. It will export all configuration and status information into its database. Execute the following command:
# apt install icinga2-ido-mysql
During the installation, you will be asked whether you would like the database to be configured. It is totally up to you but for the sake of avoiding the later database creation for the module, you should choose for dbconfig-common to configure the database.
Once the installation is finished, enable the module:
# icinga2 feature enable ido-mysql
Then restart Icinga 2 for the changes to take effect.
# systemctl restart icinga2.service
You can check the database credentials you’ve set from the ido-mysql.conf file or in command terms:
# cat /etc/icinga2/features-enabled/ido-mysql.conf
OK. We’ve now installed Icinga 2 and enabled some modules. What everyone is probably asking is: Do I have some kind of GUI/web access to Icinga 2?
6. Install Web2 Plugin
Not yet. And for that to be enabled we will install the Web2 plugin. That can be done using the underneath command:
# apt-get install icingaweb2
Once the installation is complete, enter your MySQL service as root and create a database for the web interface:
# mysql -u root -p

mysql> create database icingaweb;

mysql> grant all privileges on icingaweb.* to icingaweb@localhost identified by 'your_password';

mysql> flush privileges;

mysql> exit
Now finish the Web2 plugin installation and configuration by opening your web browser and navigating to: http://your_server_IP/icingaweb2/setup.
You will be welcomed by the configuration page as shown as in the below picture:
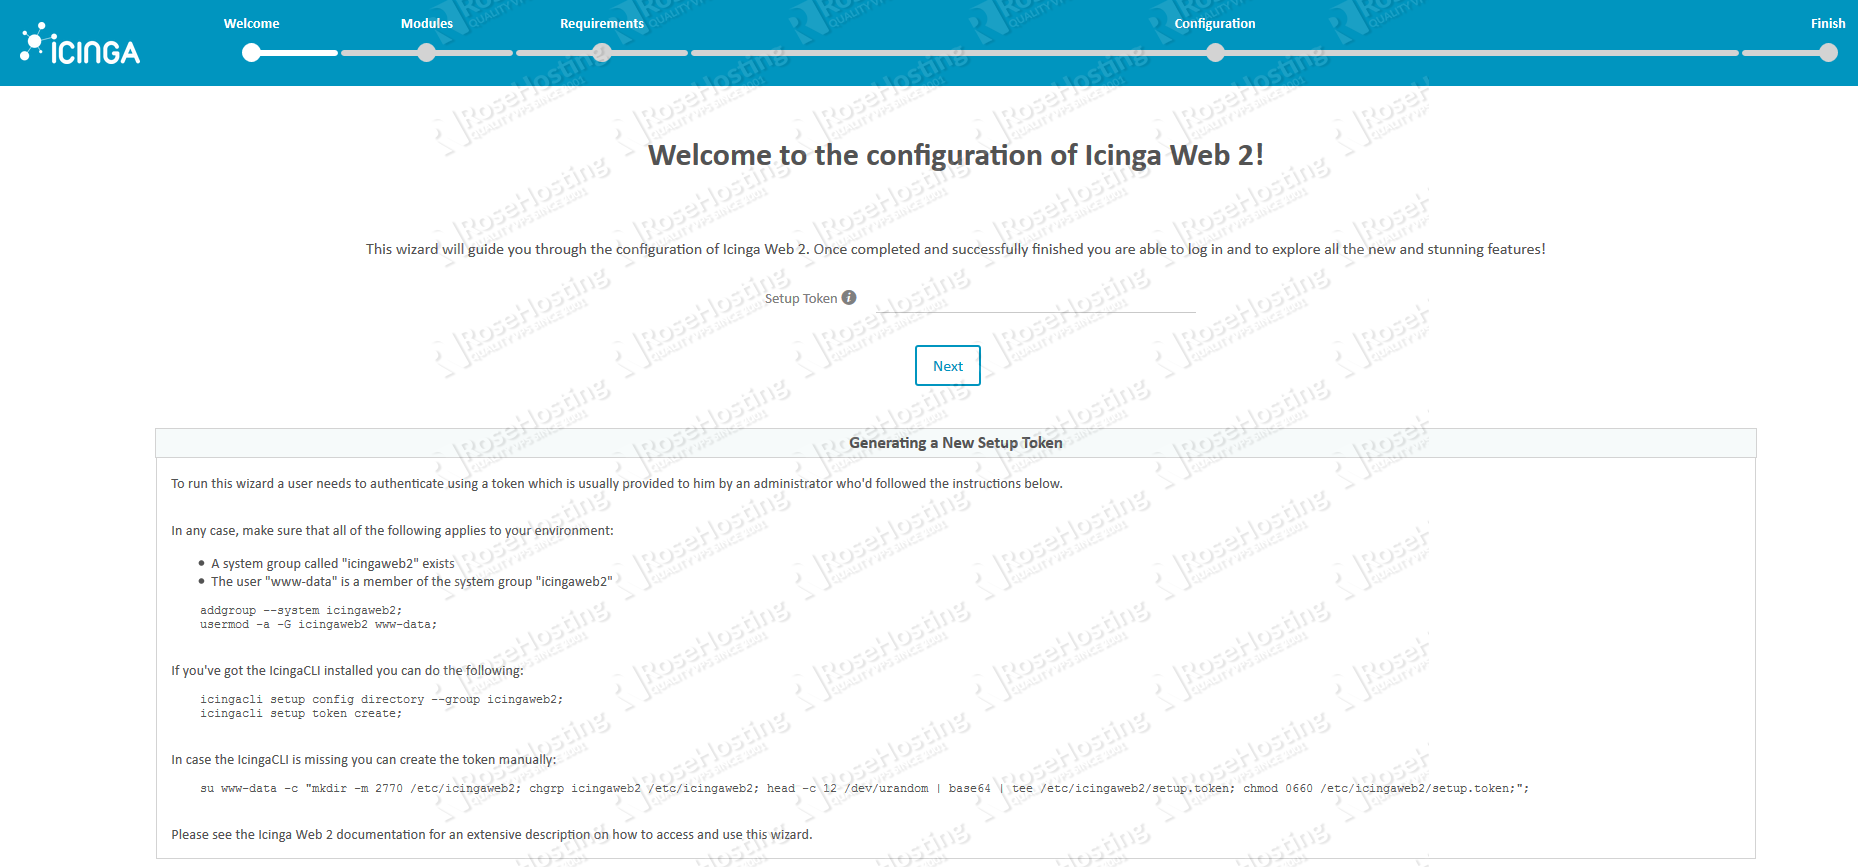
The wizard is pretty straightforward and your next step is to generate a setup token. As the instructions indicate, on your server execute:
# icingacli setup config directory --group icingaweb2;

# icingacli setup token create;
Copy the token and paste it in the ‘Setup Token‘ field and click on Next.
In the following window, you can select which module to be enabled. Monitoring is enabled by default, but the others are not. Once you are done click Next.
You are now in the requirements page where the installation is verifying your PHP settings. You should configure your PHP timezone setting and install the missing modules, if any. Then after meeting the required settings, click Next.
Now you can choose the authentication method. Leave it to Database and proceed to the next step. Now fill out the database details that you created for the web interface previously. Click on Next and then setup your Backend Name accordingly. Once done, you’ve guessed it, click on Next again.
The follow-up window is for the configuration of your first administrative user for Icinga Web 2. Enter your username and password and proceed.
Next, setup your application configuration options to fit your needs.
In the following window all your settings are reviewed and if you’re ok with what you’ve configured so far, proceed further.
7. Configure Monitoring Module
Next step is to configure the monitoring module. The Icinga 2 IDO module should be selected and then properly configure the database settings.
You should enter the database credentials that you configured previously during the installation of the IDO module. If you do not recall the settings, check them from the ido-mysql.conf file:
# cat /etc/icinga2/features-enabled/ido-mysql.conf
Once you are done click on Next and then choose the transport type, name and command file accordingly. You should go with the default ones, but it is totally up to you.
Proceed and then click on Next from the Monitoring Security window.
Review the Monitoring module config and proceed if you are satisfied with the settings you’ve configured.
Once you click on Next, you should be welcomed by the finished installation window as the picture below:
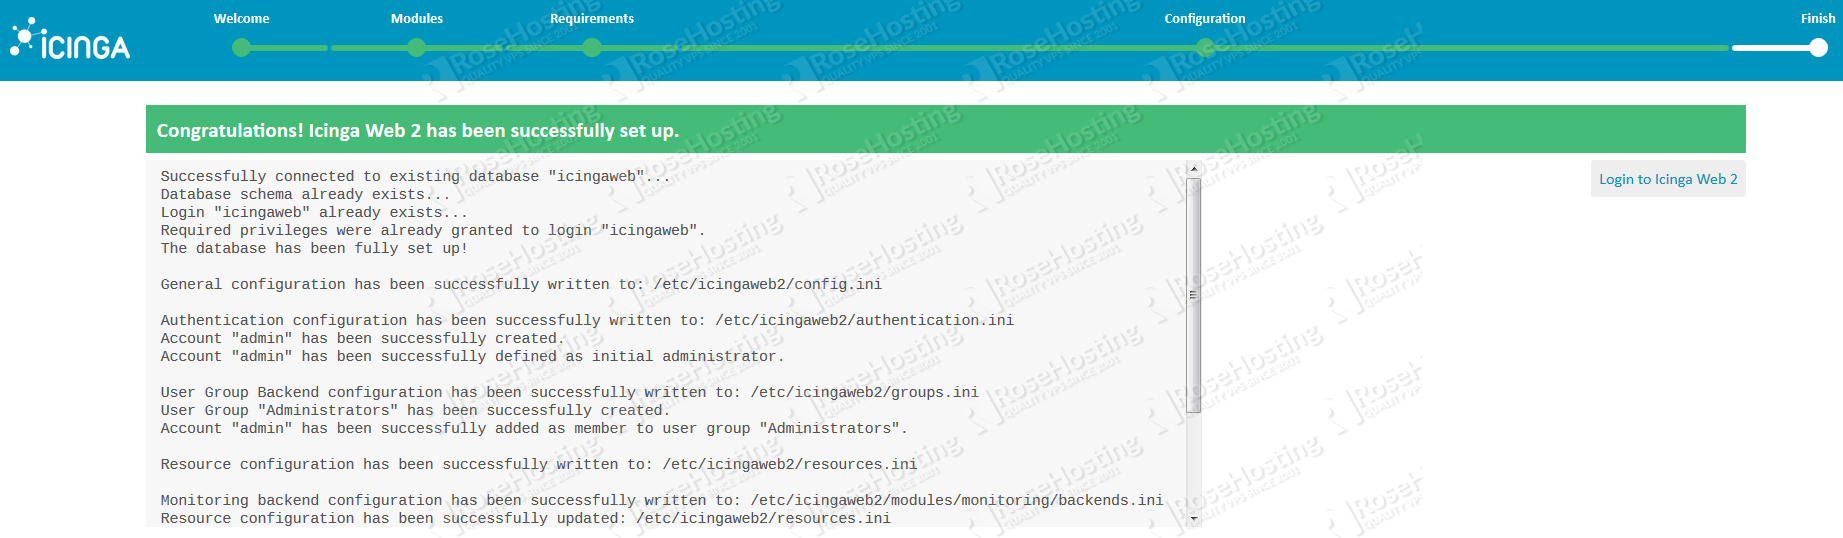
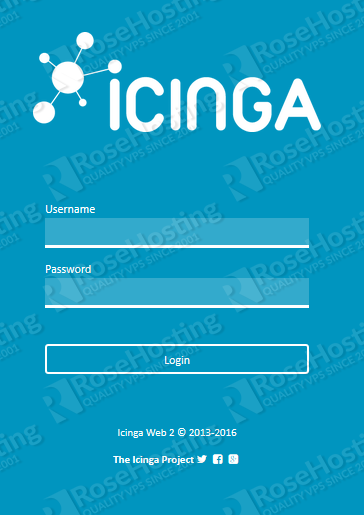
Click on Login to Icinga Web 2 and log into your newly installed Icinga 2 web interface with the credentials you’ve configured previously:
Congratulations. You successfully installed and configured Icinga 2 with a web interface on your Ubuntu 16.04 server. For further Icinga 2 tweaks and information, you should check their official documentation.
Of course, you don’t have to Install Icinga 2 on Ubuntu 16.04 if you use one of our Icinga VPS Hosting services, in which case you can simply ask our expert Linux admins to install and configure Icinga 2 on Ubuntu 16.04. They are available 24×7 and will take care of your request immediately.
PS. If you liked this post, on how to install Icinga 2 on Ubuntu 16.04, please share it with your friends on the social networks using the buttons on the left or simply leave a reply below. Thanks.