 The following article will guide you through the steps of installing Icinda network monitoring system.
What is Icinga?
Icinga is an open source network and computer system monitoring application which was originally created as a fork of the Nagios system monitoring application. It is backward compatible and is attempting to get past perceived short-comings in Nagios’ development process as well as adding new features such as a modern Web 2.0 style user interface, additional database connectors (for MySQL, Oracle, and PostgreSQL), and a REST API that lets administrators integrate numerous extensions without complicated modification of the Icinga core.
The Icinga grade monitoring system keeps watch over a network and any conceivable network resource and it notifies the user of errors and recoveries while it generates performance data for reporting. It is extensible and scalable and it can be used to monitor complex, large environments across separate locations.
Icinga has been gaining popularity due to a more agile development cycle when compared to Nagios.
In this guide we will show you how to install Icinga on a linux vps.
Login to your server as user ‘root’ :
# ssh root@server_IP_address
Before you start the installation of Icinga, download the pre-required packages which are: the Apache web server (if you don’t have it already installed), libraries needed to compile the source and tools needed for the web interface and network monitoring. You can install them using the following commands:
# yum install httpd gcc glibc glibc-common gd gd-devel
# yum install libjpeg libjpeg-devel libpng libpng-devel
# yum install net-snmp net-snmp-devel net-snmp-utils
Then, create a user and group to your liking. We will use icinga and rh-icinga for user and group respectively.
# useradd icinga
# groupadd rh-icinga
# usermod -a -G rh-icinga icinga
# usermod -a -G rh-icinga apache
Create Icinga directory:
# mkdir ~/icinga
# cd ~/icinga
Now, download the latest versions of Icinga and Plugins packages:
# wget https://github.com/Icinga/icinga-core/releases/download/v1.11.5/icinga-1.11.5.tar.gz
# wget http://www.nagios-plugins.org/download/nagios-plugins-2.0.3.tar.gz
Extract the files with tar:
# tar zxvf icinga-1.11.5.tar.gz
# tar zxvf nagios-plugins-2.0.3.tar.gz
Enter the Icinga directory and run the configuration file:
# cd icinga-1.11.5
# ./configure --with-command-group=rh-icinga --disable-idoutils
You should get the following output:
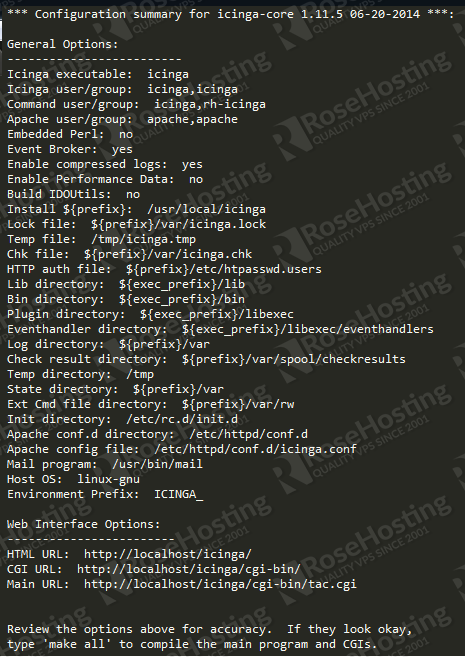
Next, let’s compile and install the Icinga files:
# make all
# make fullinstall
# make install-config
With your favorite text editor open the /usr/local/icinga/etc/objects/contacts.cfg file and enter your email address in the email field in order to receive notifications.
# vim /usr/local/icinga/etc/objects/contacts.cfg
The next step is to install the classic web interface using the following commands:
# make cgis
# make install-cgis
# make install-html
# make install-webconf
Setup a password for the username that will be used to access the web interface. We will use adminIcinga as username. Run this command:
# htpasswd -c /usr/local/icinga/etc/htpasswd.users adminIcinga
Restart Apache for the settings to take effect:
# systemctl restart httpd.service
Install the plugins:
# cd ~/icinga/nagios-plugins-2.0.3
# ./configure --prefix=/usr/local/icinga --with-cgiurl=/icinga/cgi-bin --with-nagios-user=icinga --with-nagios-group=icinga
# make
# make install
Let’s verify that the configuration file has no errors with the following command:
# /usr/local/icinga/bin/icinga -v /usr/local/icinga/etc/icinga.cfg
If everything is OK, add the service to run on boot:
# chkconfig --add icinga
# chkconfig --level 35 icinga on
Start Icinga:
# systemctl start icinga.service
That’s it. Icinga monitoring system is installed on your server.
Now open your favorite web browser and navigate to: http://your_server_IP/icinga and enter the username and password that you set with the ‘htpasswd’ command.
Of course you don’t have to do any of this if you use one of our Linux VPS hosting services, in which case you can simply ask our expert Linux admins to install Icinga for you.They are available 24×7 and will take care of your request immediately.
PS. If you liked this post please share it with your friends on the social networks using the buttons on the left or simply leave a reply below. Thanks.