In this tutorial, we will show you how to install Dolibarr on your Debian 9 VPS.
 Dolibarr is an open-source, an all-in-one ERP and CRM platform for businesses and individuals to manage their customers, invoices, orders, products, inventories, and more.
Table of Contents
Prerequisites
- For the purposes of this tutorial, we will be using a Debian 9 VPS.
- Full SSH root access (or a user with sudo privileges) is also required.
Step 1: Connect via SSH
Connect to your server via SSH as the root user (or as an admin account) by using the ‘ssh’ command:
ssh root@IP_ADDRESS -p PORT_NUMBER
Remember to replace “IP_ADDRESS” and “PORT_NUMBER” with your server’s actual IP address and SSH port number. Replace “root” with your admin username if you’re not planning on using the root account.
Before starting with the installation, we need to update the OS packages to their latest versions.
We can do this by running the following commands:
$ apt-get update
$ apt-get upgrade
Once the upgrade is complete, we can move on to the next step.
Step 2: Install MariaDB
We will use MariaDB (an open-source version of MySQL) as our database engine. We can install MariaDB server from the Debian 9 base repository through the following command:
$ apt-get install mariadb-server-10.1 mariadb-server-core-10.1
If desired, you can further improve the security of your MariaDB server by running a command that will prompt you through some security settings.
$ mysql_secure_installation
To start, if/when the program asks for your current MySQL root password, just press the [Enter] key once, as no password is set by default. We suggest answering every following question with the character ‘Y’ for yes.
Step 3: Create a Database for Dolibarr
Create a MySQL database for the Dolibarr website. If you performed the optional secure_installation step, you will need to log in using your newly-set MySQL password. If not, log in by pressing the [Enter] key once when prompted for a password, as no password is set by default:
$ mysql -u root -p
Then run these next lines to create a database, a new user, as well as assign full privileges for the database to that new user:
MariaDB [(none)]> CREATE DATABASE dolibarr character set UTF8 collate utf8_bin;
MariaDB [(none)]> GRANT ALL PRIVILEGES ON dolibarr.* TO 'dolibarr'@'localhost' IDENTIFIED BY 'Password';
MariaDB [(none)]> FLUSH PRIVILEGES;
MariaDB [(none)]> exit;
Note: Don’t forget to replace ‘Password’ with an actual strong password.
Step 4: Install Nginx
Nginx is available in the pre-installed Debian package repositories. You can install it with the following command:
$ apt install nginx
Once the installation is complete, Nginx will be automatically started.
We can make sure that the Nginx service is running with the following command:
$ systemctl status nginx
The output should look similar to the one found below:
● nginx.service - A high performance web server and a reverse proxy server
   Loaded: loaded (/lib/systemd/system/nginx.service; enabled; vendor preset: enabled)
   Active: active (running)
     Docs: man:nginx(8)
 Main PID: 7011 (nginx)
    Tasks: 3 (limit: 4915)
   CGroup: /system.slice/nginx.service
           ├─7011 nginx: master process /usr/sbin/nginx -g daemon on; master_process on;
           ├─7012 nginx: worker process
           └─7013 nginx: worker process
If it all looks to be in order, we can proceed to the next step.
Step 5: Install PHP
Debian 9 comes with PHP 7.0 by default. We will also include some additional modules in order to help PHP connect to our Nginx and database servers. On top of these, we will also install modules that are required by Dolibarr.
To do this, type the following command and confirm the install:
$ apt-get install php7.0 php7.0-cli php7.0-common php7.0-curl php7.0-gd php7.0-intl php7.0-json php7.0-mbstring php7.0-mysql php7.0-soap php7.0-xml php7.0-xmlrpc php7.0-zip php7.0-fpm
Step 6: Install Dolibarr
At the time of writing this tutorial, the latest stable version is Dolibarr 9.0.3. Download the latest stable version of Dolibarr to the /var/www/html directory. The download link has been added to the command for you:
$ cd /var/www/html
$ wget https://sourceforge.net/projects/dolibarr/files/Dolibarr%20ERP-CRM/9.0.3/dolibarr-9.0.3.tgz/download -O dolibarr.tgz
Extract the ‘dolibarr.tgz’ archive and rename the directory:
$ tar xvf dolibarr.tgz
$ mv dolibarr-* dolibarr
Change the permissions of the files and directories inside the /var/www/html/dolibarr directory so the web server user (www-data) can access them:
$ chown www-data: -R /var/www/html/dolibarr
Step 7: Configure Nginx
This step is only necessary if you wish to access your Dolibarr instance using a domain name instead of an IP address.
Create a new server block with the following content by creating a file in the directory /etc/nginx/sites-available. We’re using ‘nano’ as our text editor in this tutorial – you are free to use your preferred text editor instead.
Remember to replace ‘your_domain.com‘ with your registered domain name:
$ nano /etc/nginx/sites-available/your_domain.com.conf
server {
    listen 80;
    listen [::]:80;
    root /var/www/html/dolibarr/htdocs;
    index  index.php index.html index.htm;
    server_name your_domain.com www.your_domain.com;

    client_max_body_size 100M;

    location ~ ^/api/(?!(index\.php))(.*) {
          try_files $uri /api/index.php/$2?$query_string;
      }

    location ~ [^/]\.php(/|$) {
    include snippets/fastcgi-php.conf;
    if (!-f $document_root$fastcgi_script_name) {
        return 404;
    }
    fastcgi_pass           unix:/var/run/php/php7.0-fpm.sock;
    fastcgi_param   SCRIPT_FILENAME $document_root$fastcgi_script_name;
     }

}
Once you are done, save the file and close it.
Activate the server block by creating a symbolic link to the ‘sites-enabled’ directory:
$ ln -s /etc/nginx/sites-available/your_domain.com.conf /etc/nginx/sites-enabled/your_domain.com.conf
Check if there are any syntax errors present in the Nginx configuration by using the command below:
$ nginx -t
If everything is OK with the configuration, the output should be similar to the one below:
$ nginx -t
nginx: the configuration file /etc/nginx/nginx.conf syntax is ok
nginx: configuration file /etc/nginx/nginx.conf test is successful
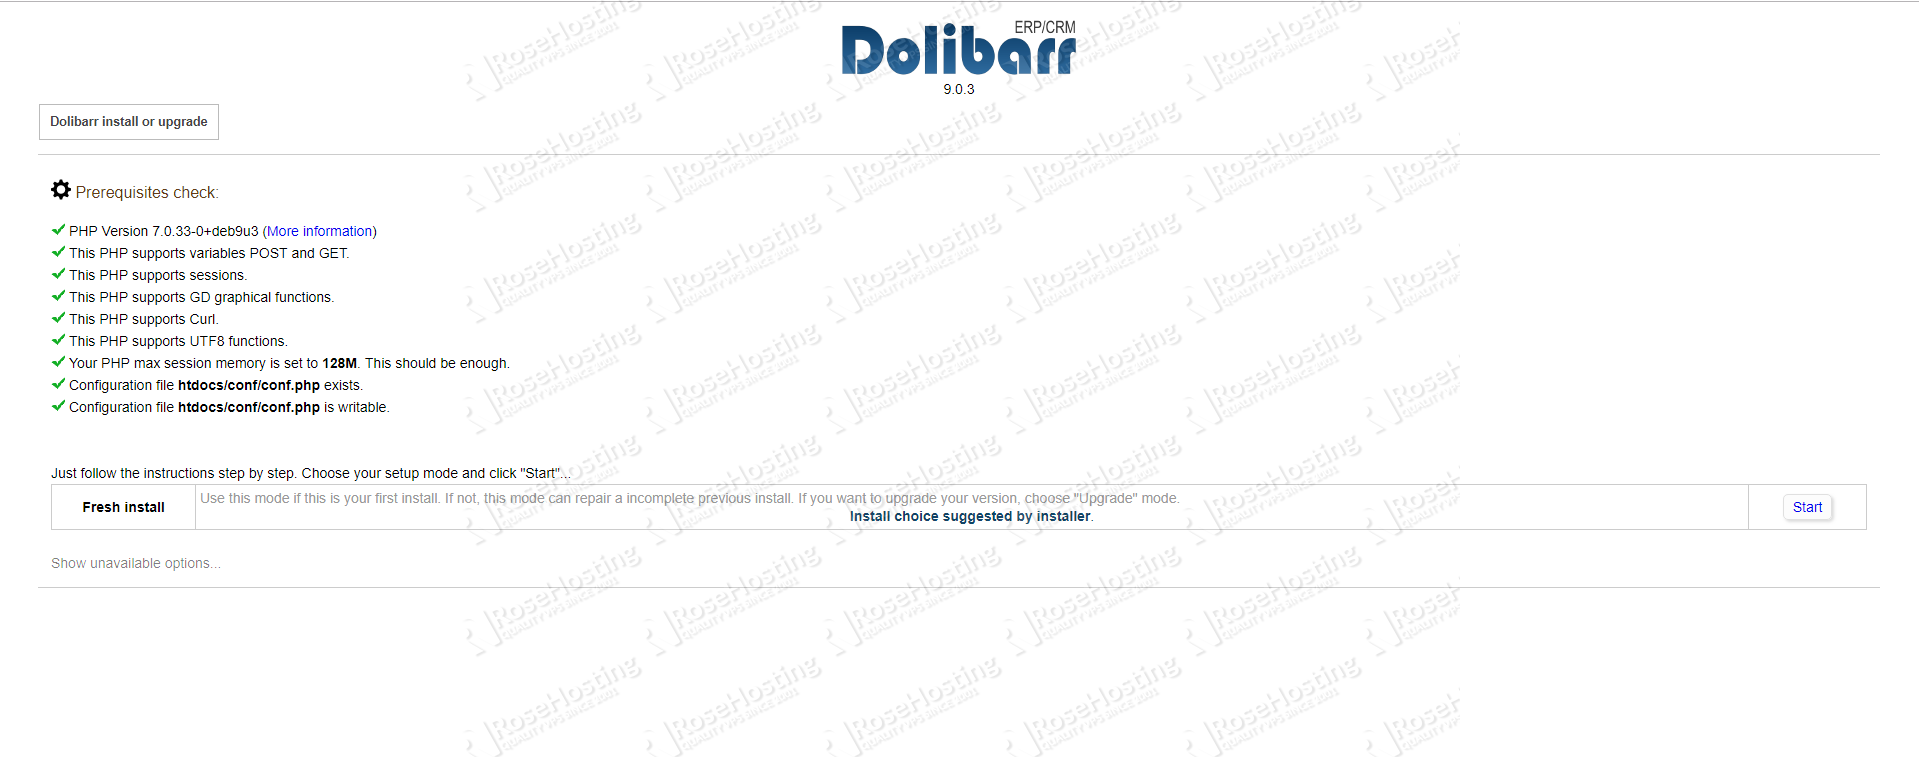
Step 8: Installing Dolibarr Using the Web Interface
You can now navigate to http://your_domain.com (or to your IP address) in your browser to start the Dolibarr installation wizard.
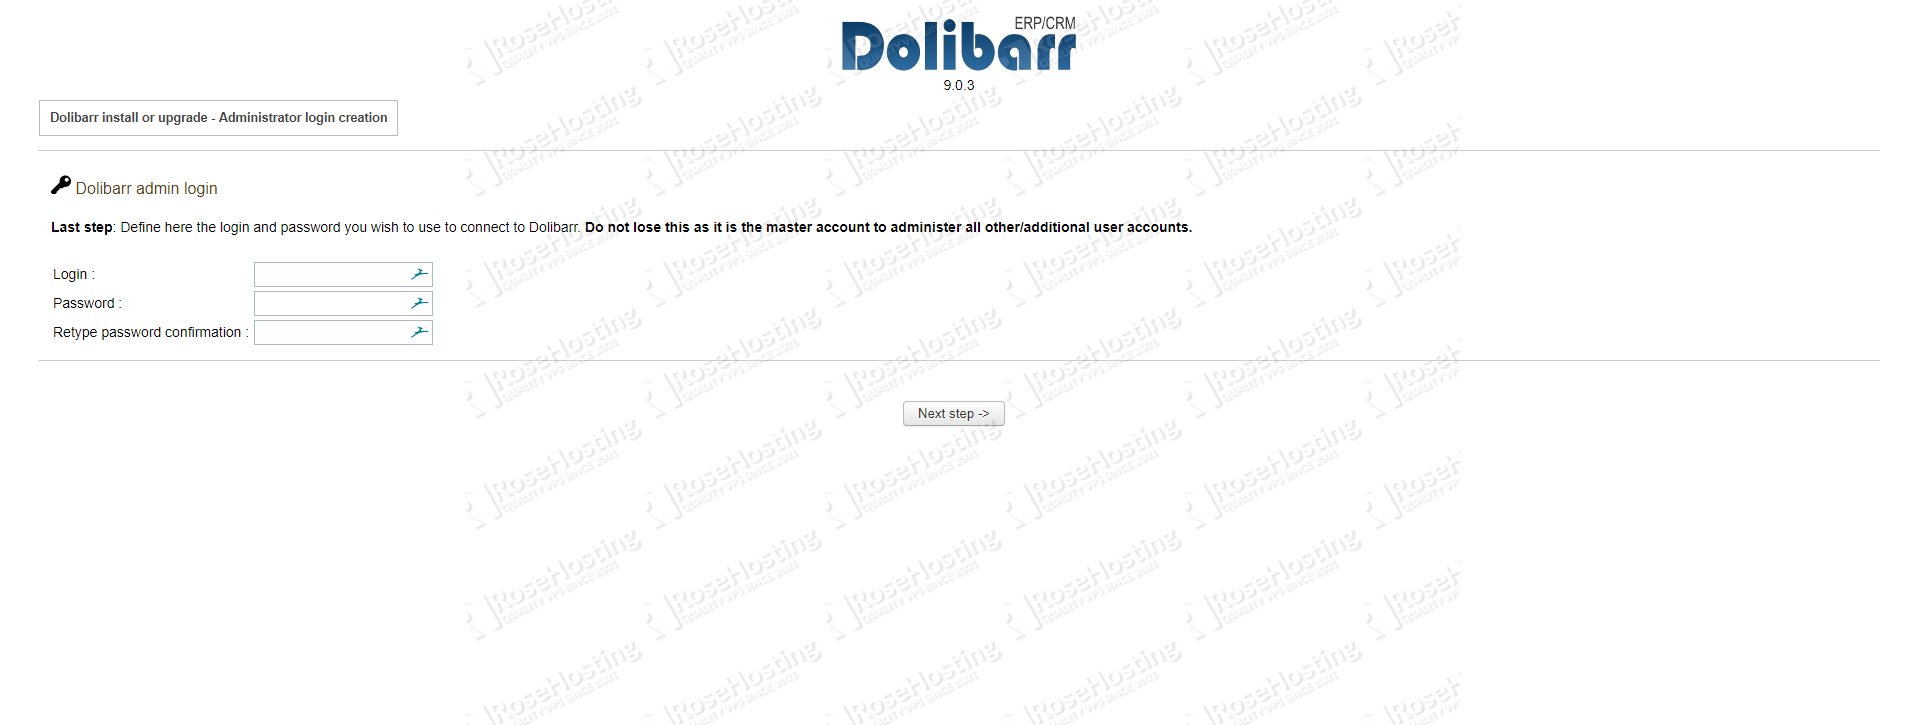
On the next page, you will need to enter your database information (username, database name, and password)

Here you’ll get to pick the username and password that you wish to use to log into your Dolibarr environment.
Once the user has been created successfully, You should see the following page:
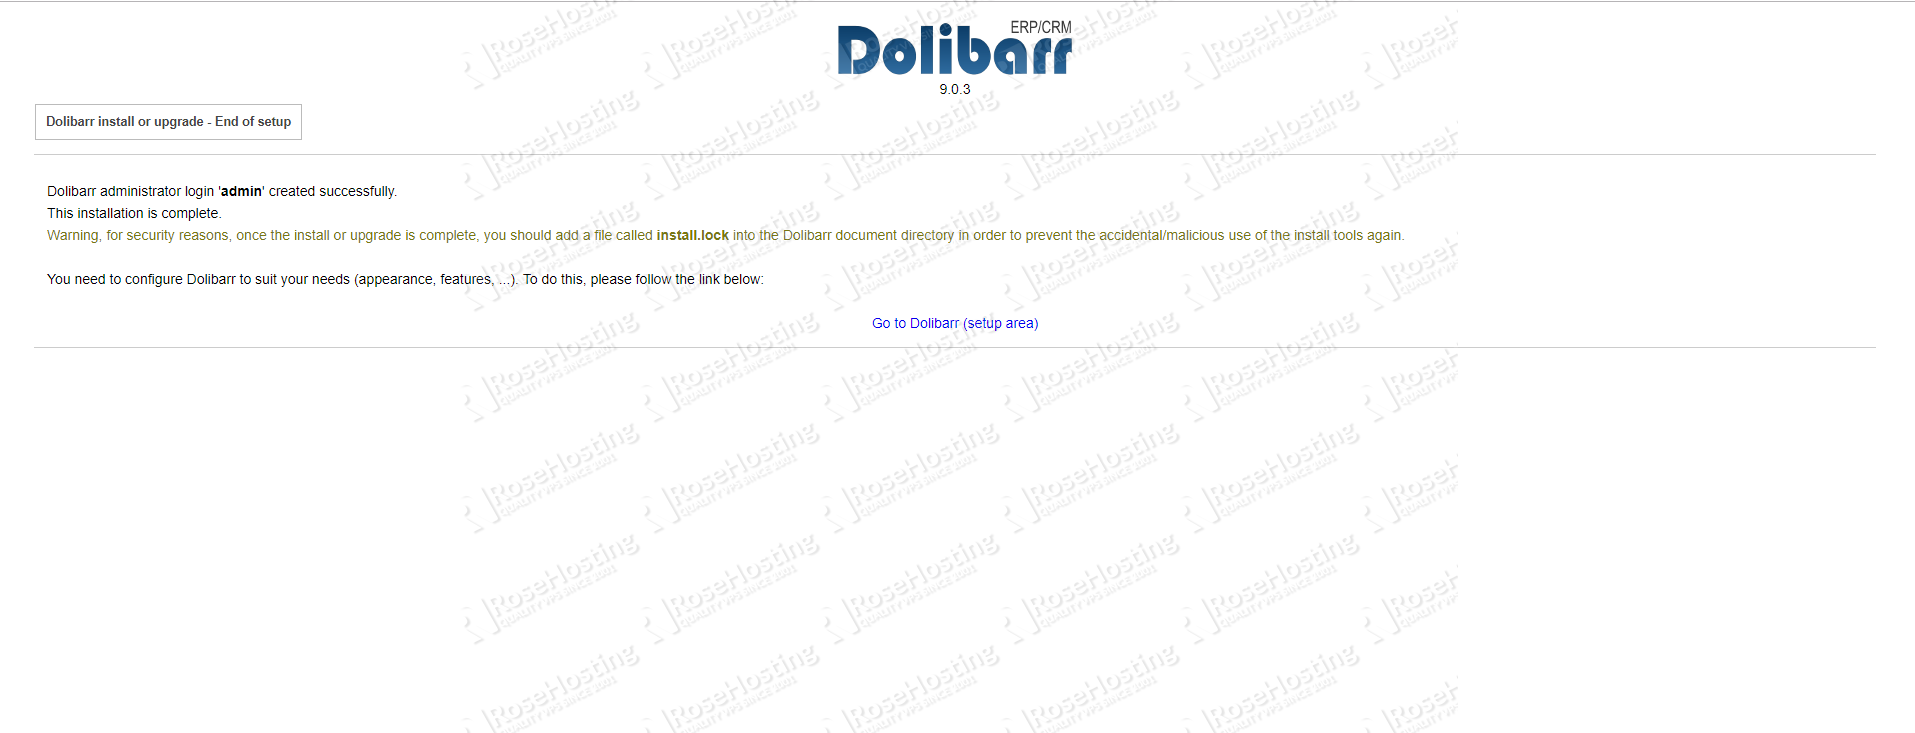
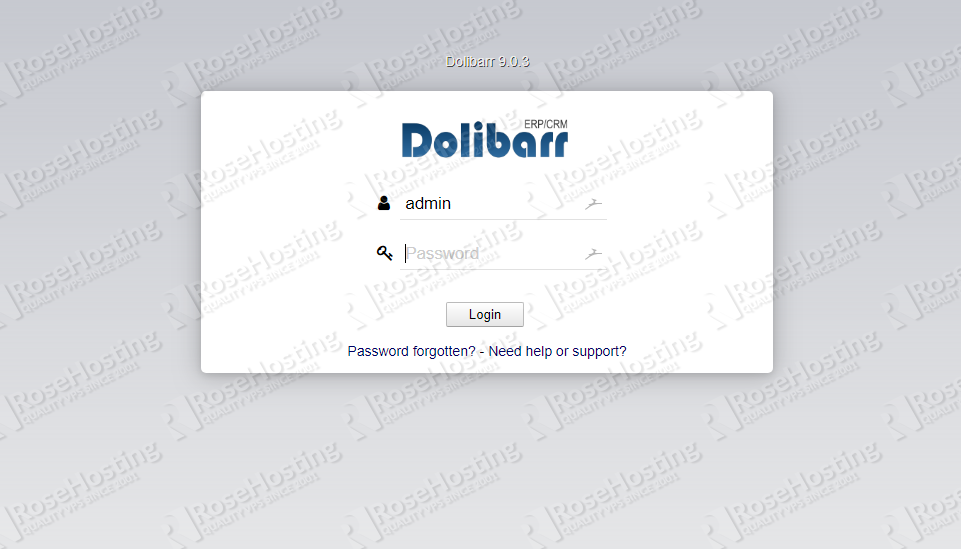
With this step, Dolibarr installation is completed. You can now visit http://your_domain.com (or your IP address) and log in to your Dolibarr instance using the credentials that you created in one of the installation steps.
Click on Company/Organization and enter the Details of your company, then go to Modules/Applications and select which Modules you want to use. You can now access your admin panel:
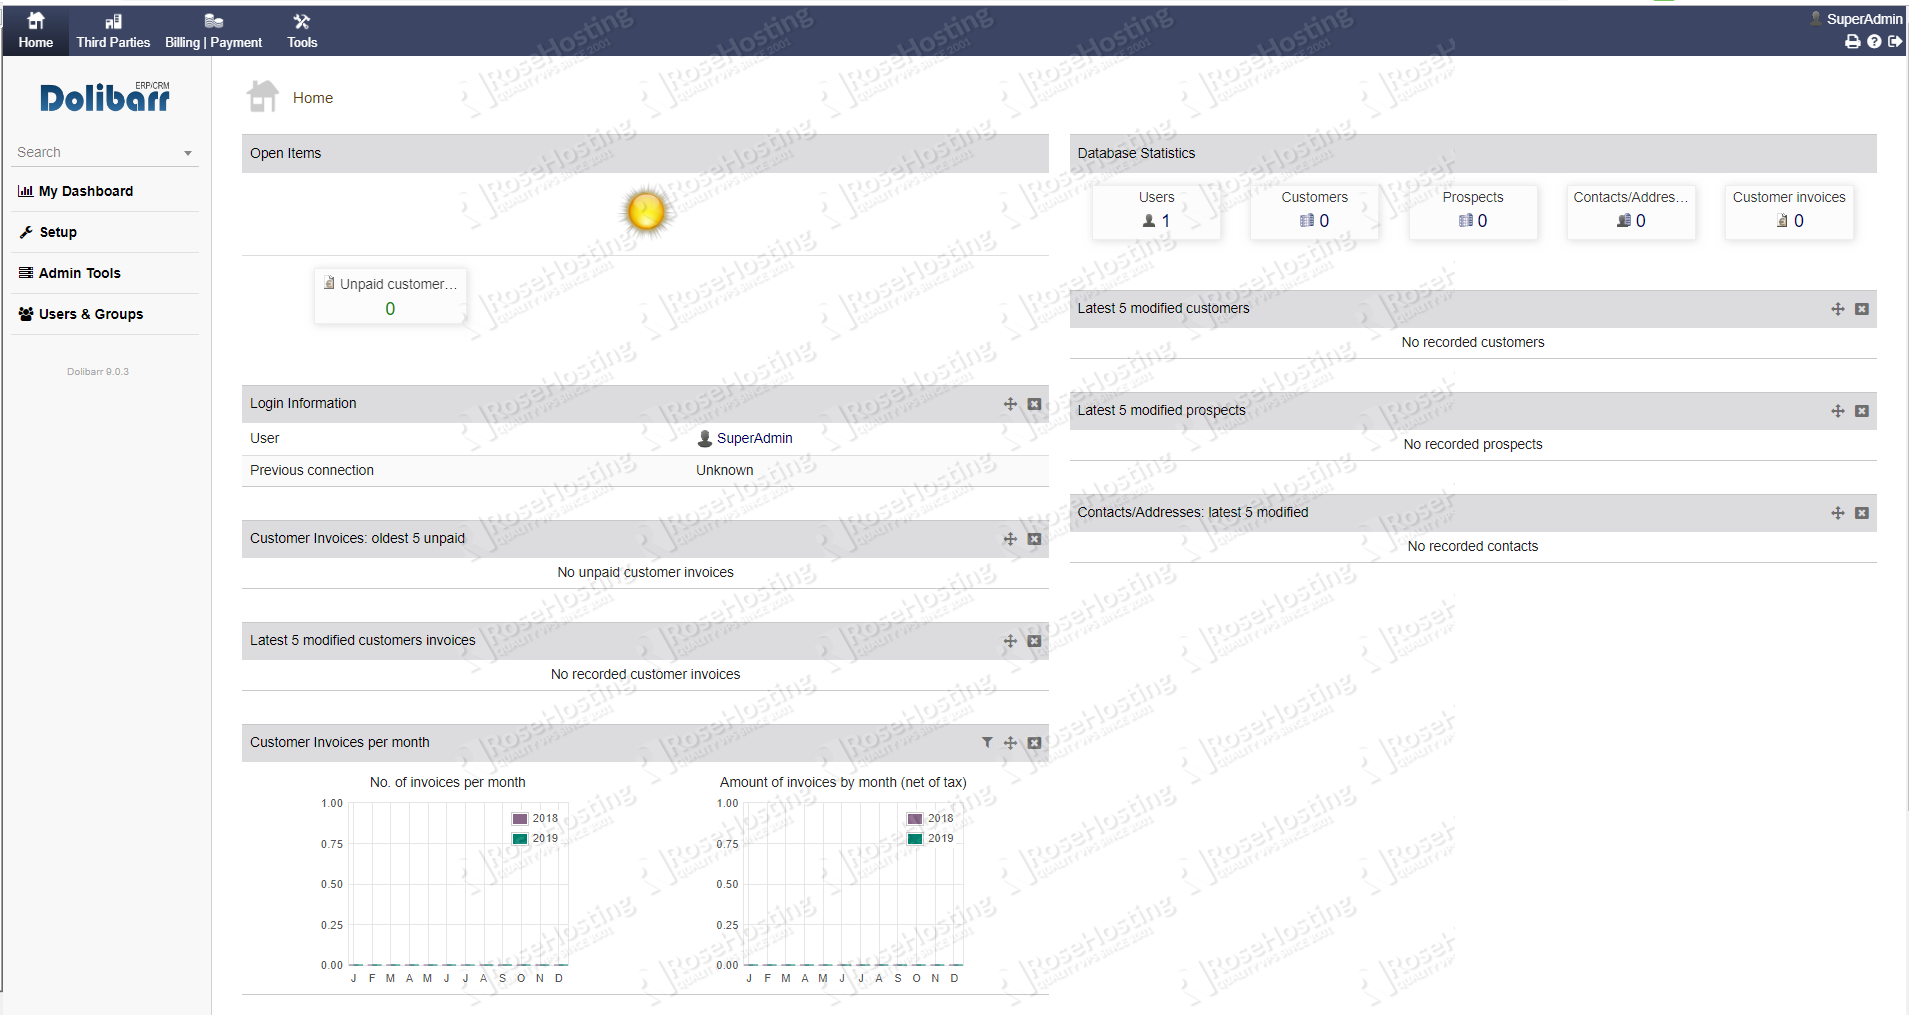
That’s it! Dolibarr has been successfully installed on your Debian 9 server.
 Of course, you don’t have to install Dolibarr on Debian 9 if you use one of our Linux VPS Hosting plans, in which case you can simply ask our expert Linux admins to set up Dolibarr for you. They are available 24×7 and will take care of your request immediately.
PS. If you liked this post, on how to install Dolibarr on Debian 9, please share it with your friends on the social networks using the share buttons below, or simply leave a comment in the comments section. Thanks.