Moodle is a free, open-source, and one of the most popular learning management systems around the world. It helps you to create your online learning site in minutes. It allows both teachers and students to choose a time and place for training. It is customizable, user-friendly, and allows you to extend learning environments using plugins. Currently, it is used in many places including, schools, universities, workplaces, and other sectors.
RoseHosting Cloud PaaS provides a one-click Moodle installer to automate the Moodle installation process on the cloud environment. You can set up Moodle, securely manage it through SSH, import/export any files, and perform other management operations from a single control panel.
In this guide, we will explain how to install Moodle E-Learning System on the RoseHosting Cloud PaaS.
Table of Contents
Install Moodle E-Learning System
First, login to RoseHosting Cloud.
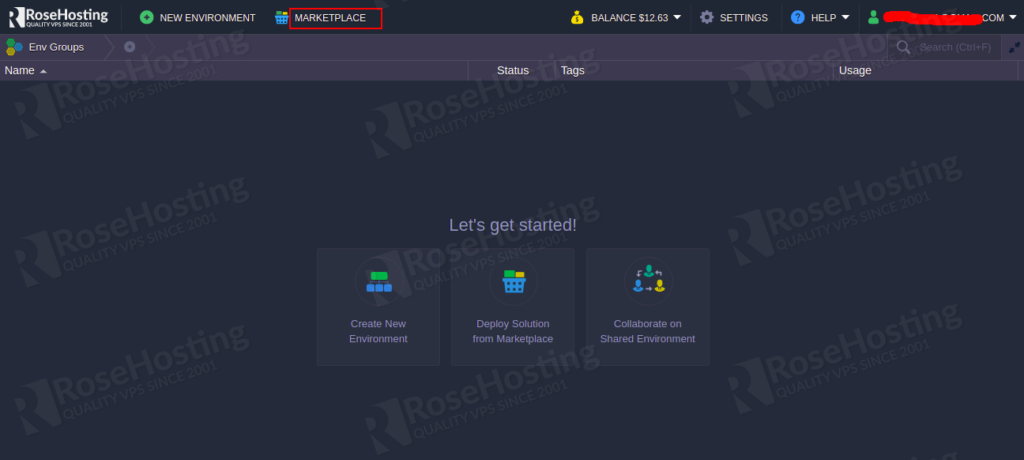
Click on the MARKETPLACE button. You should see the following screen:
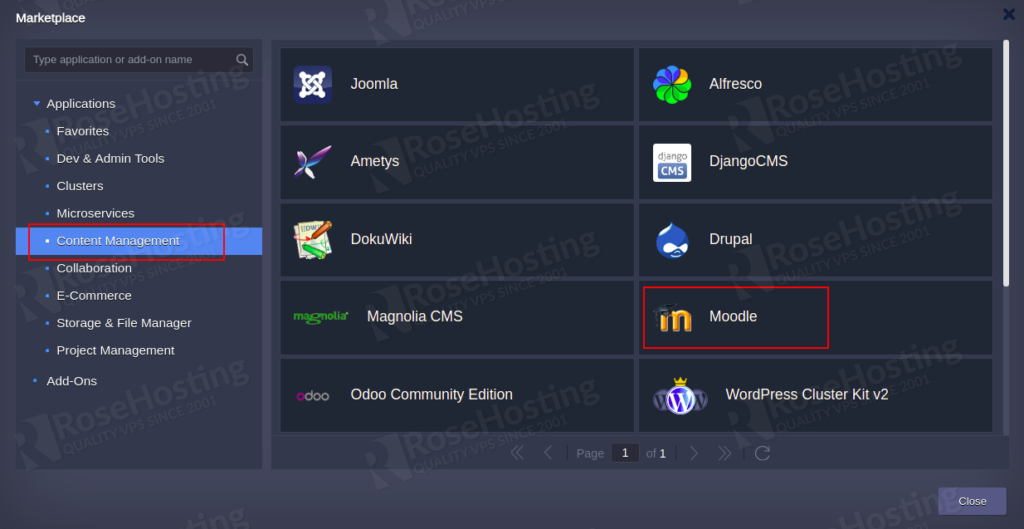
Now, click on the Content Management , select Moodle and click on the Install button. You will be asked to define your environment name as shown below:
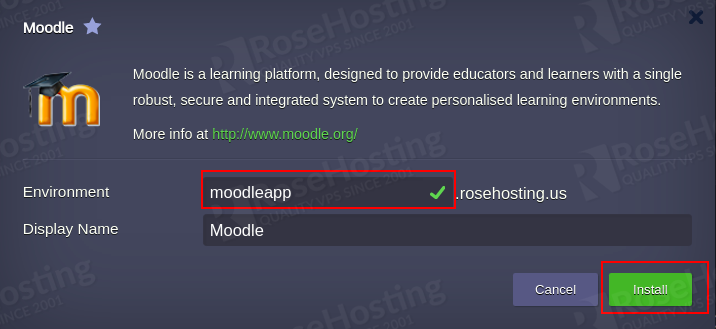
Provide your environment name and click on the Install button. Once Moodle is installed, you should see the Moodle access credentials on the following screen.
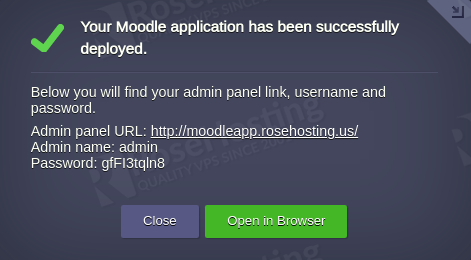
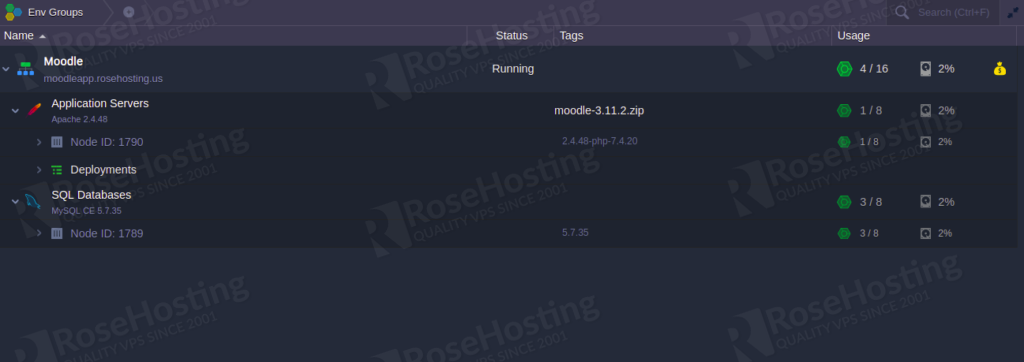
Now, click on the Close button. You should see the Moodle environment on the following screen.
Access Moodle Control Panel
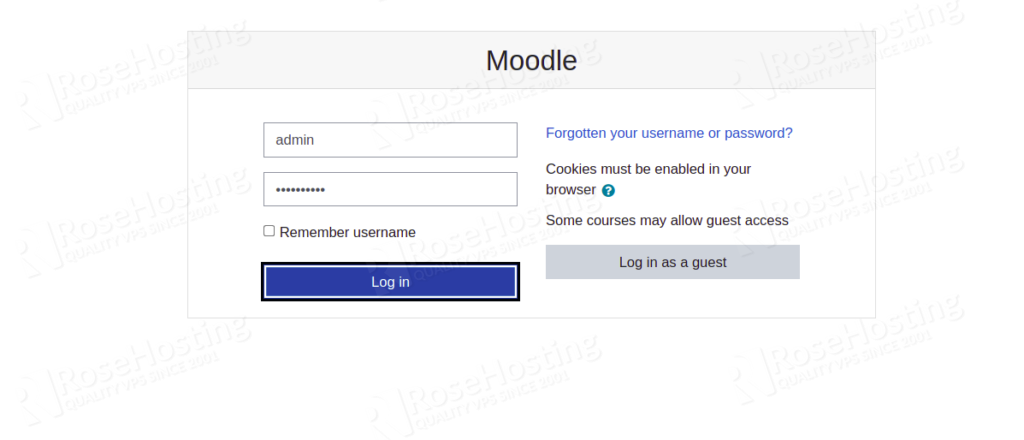
You should also receive an email with all access credentials. Copy the Moodle admin panel link and access it through the web browser. You should see the Moodle login screen:
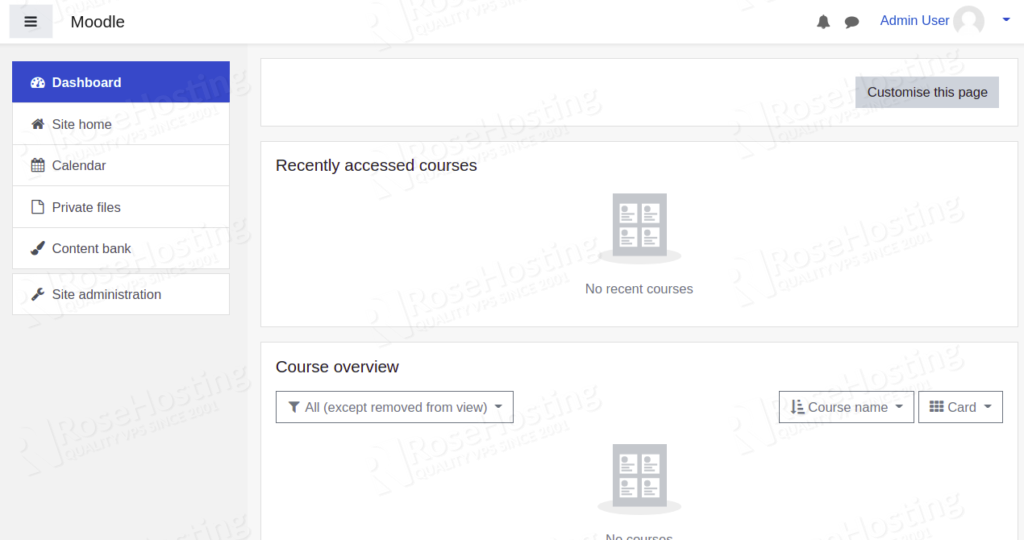
Provide Moodle admin username, password and click on the Login button. You should see the Moodle dashboard:
By default, debugging is disabled in Moodle. It is always a good idea to enable debug level to debug any issues.
To enable debug level, click on the Site administration and search for debug as shown below:

Now, scroll down and select “MINIMAL: Show only fatal errors” as shown below:
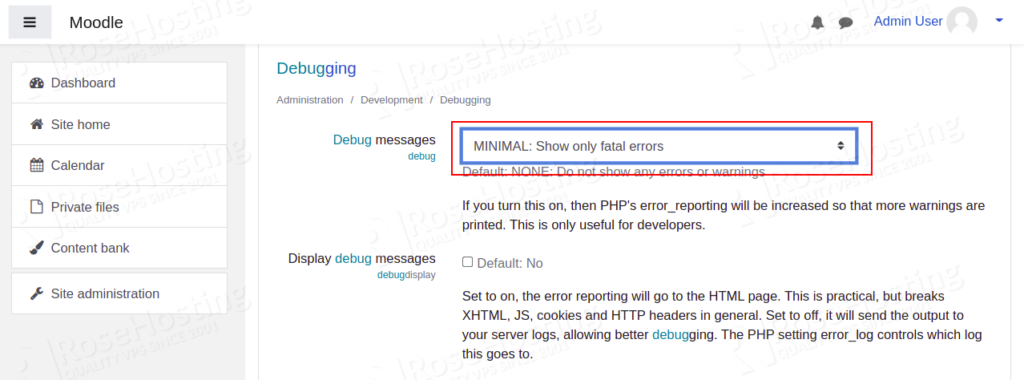
Now, click on the Save change to apply the changes.
How to Upgrade Moodle E-Learning System
If you are using an older version of Moodle then you can upgrade your Moodle version to the latest version. It is recommended to backup Moodle before performing any upgrade. You should backup three components of Moodle:
- Moodle software (/var/www/webroot/ROOT)
- Moodle static assets (/var/www/webroot/moodledata)
- Moodle dynamic content (database dump)
Follow the below steps to upgrade your Moodle to the latest version.
Step 1 – On the Moodle environment dashboard, hover your mouse on Application Servers. You should see the following screen:
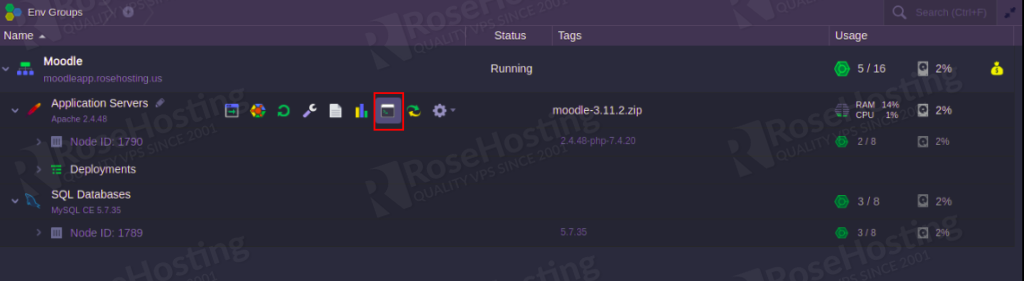
Step 2 – Click on the Web SSH to connect to the application server node as shown below.
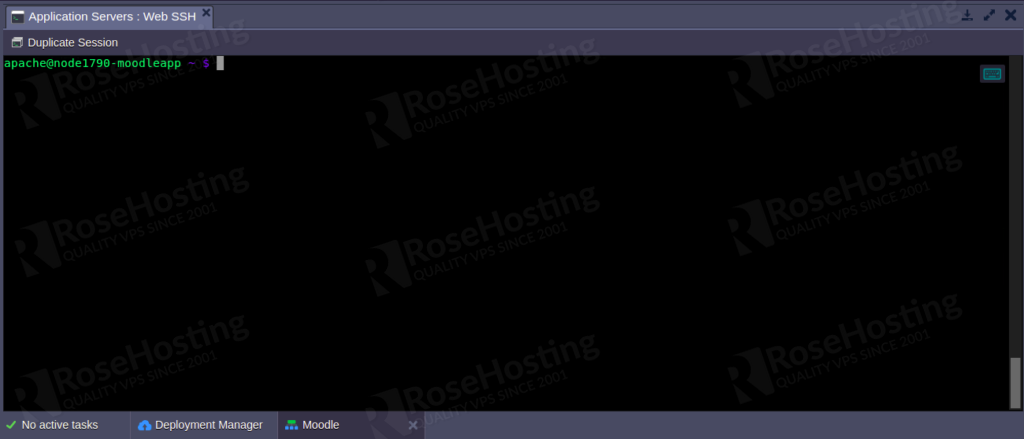
Now, run the following commands to backup three Moodle components:
cd /var/www/webroot
tar -czvf moodledata_root.tar.gz ROOT/,
tar -czvf moodledata.tar.gz moodledata/
mysqldump -h node1789-moodleapp.rosehosting.us -u root -p moodle --column-statistics=0 > moodle_dump.sql
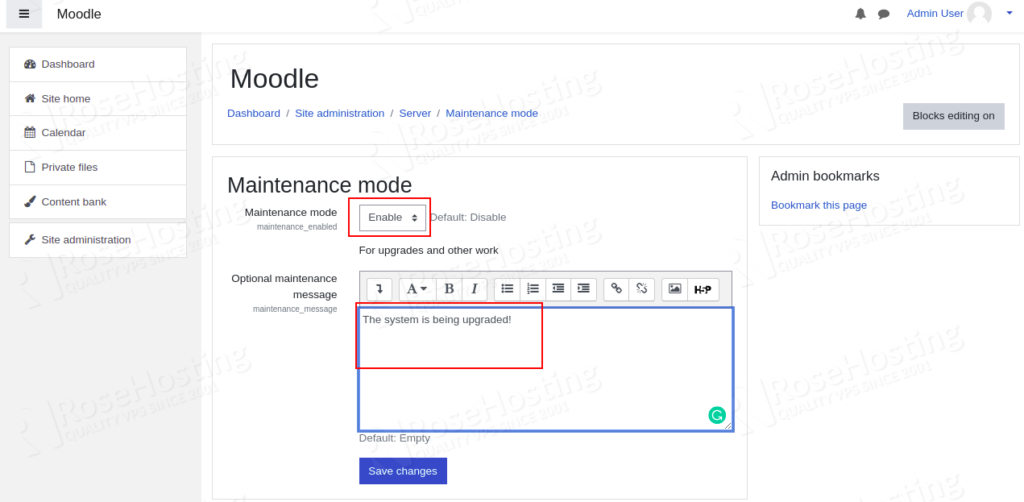
Step 3 – Before performing an upgrade, you will need to enable Maintenance Mode in Moodle. Click on the Administration => Site administration => Server => Maintenance mode => Enable and click on the Save changes as shown below:
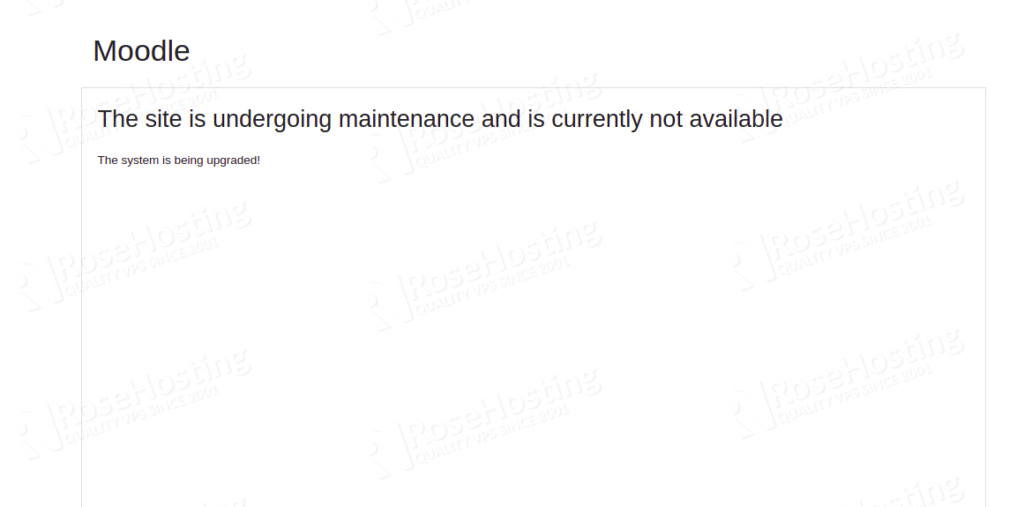
Step 4 – Now, log out from the Moodle admin panel and access it again. You should see the Moodle maintenance window on the following screen:
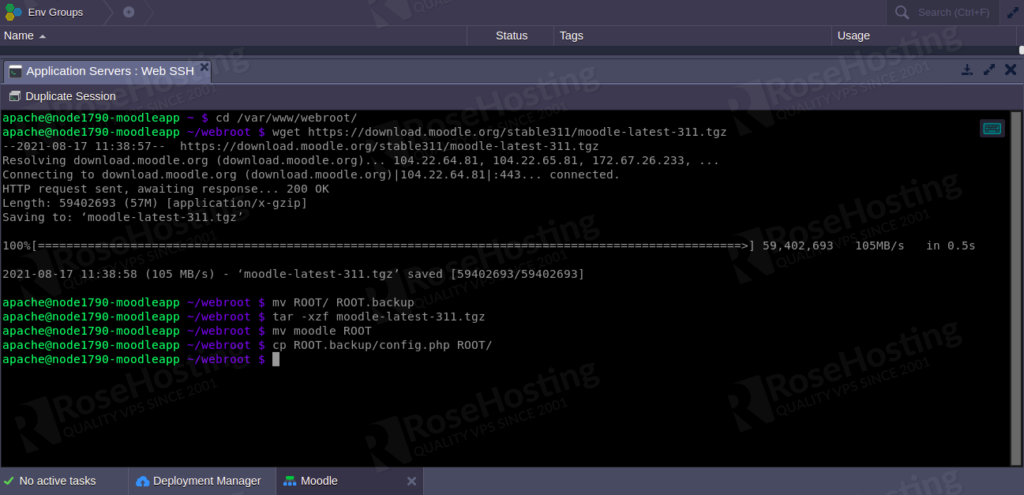
Step 5 – Now, connect to the Moodle application through Web SSH and download the latest version of Moodle using the following command:
cd /var/www/webroot
wget https://download.moodle.org/stable311/moodle-latest-311.tgz
Now, rename the Moodle software directory to another name:
mv ROOT ROOT.backup
Next, extract the downloaded file with the following command:
tar -xzf moodle-latest-311.tgz
Next, rename the extracted moodle directory to ROOT directory:
mv moodle ROOT
Next, copy the configuration file from the backup directory to the new Moodle ROOT directory:
cp ROOT.backup/config.php ROOT
You can also copy any themes and modules from the backup directory:
cp -pr ROOT.backup/theme/* ROOT/theme/
cp -pr ROOT.backup/mod/* ROOT/mod/
Step 6 – Now, access your Moodle admin URL at http://moodleapp.rosehosting.us/admin. You should see the following screen:
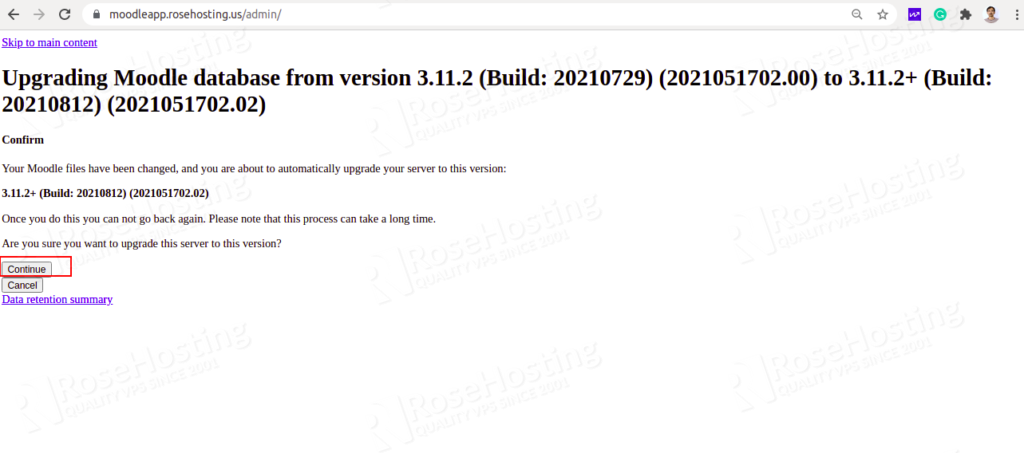
Step 7 – Click on the Continue button to upgrade Moodle to the latest version. You should see the following screen:
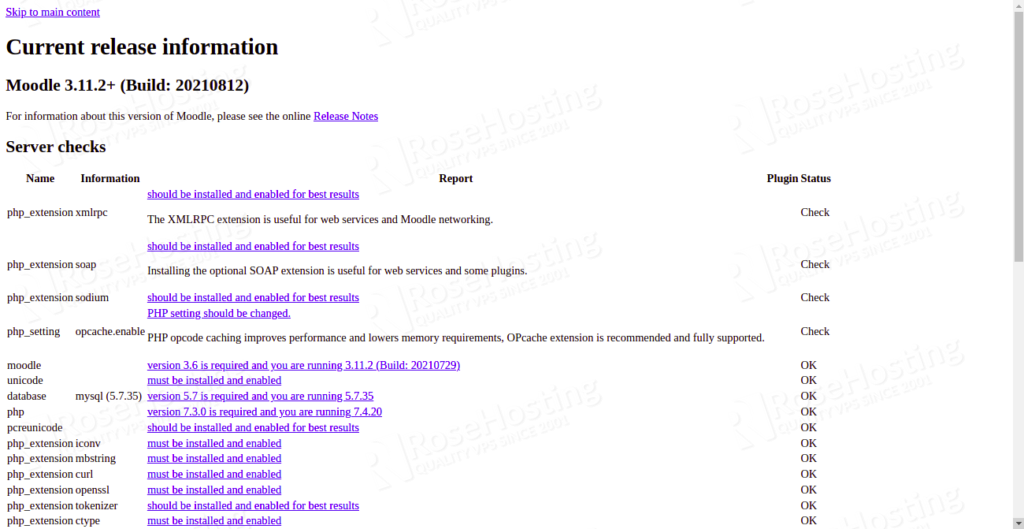
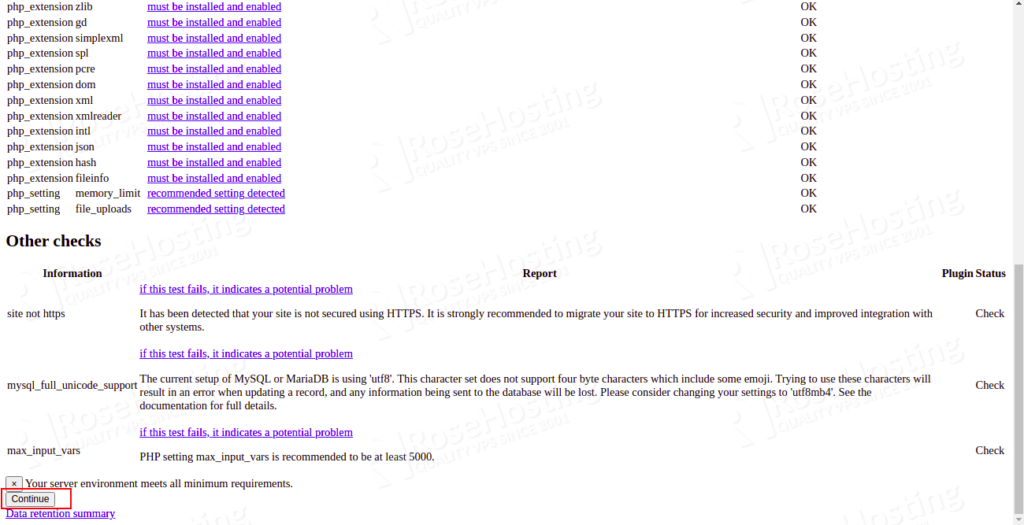
Step 8 – Review newer version information, scroll down and click on the Continue button. You should see the plugins check page:

Step 9 – Click on Upgrade Moodle database now. Once the upgrade process is completed, you should see the Success message in the following screen:
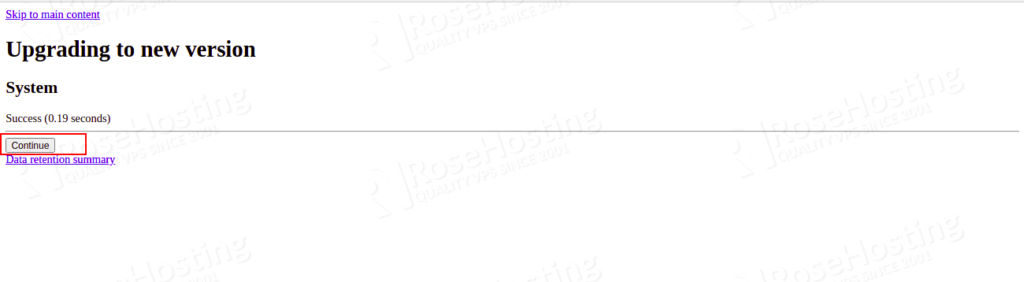
You can now click on the Continue button to log in to the latest Moodle version.
Congratulations! You have successfully installed Moodle E-Learning system on the RoseHosting Cloud PaaS platform. As always, if you face any problems or need any assistance, you can always contact us. We are available 24/7 to help you.
If this post on Moodle Online Learning System Automated Installation and Upgrade helped you in any way, you can share it with your friends on the social networks using the buttons on the left, or simply comment your appreciation in the comments below. Thanks.