 Today we will show you how to improve the performance of your website with APC and memcached.
APC stands for Alternative PHP Cache and it is an open source solution if you like to speed-up your website. APC caches the output of compiled PHP code and stores the result in shared memory.
Memcached on the other hand, stores arbitrary data such as strings and objects that come up as a result from API, database calls etc. It is open source as well and it is intended for improving the performance of your website.
The installation of APC and memcahed is very simple and usually takes 10-15 minutes to be completed. This guide will show you how to do that on a Linux VPS.
Installation of APC
First thing you need to do is to perform a full system update
## yum update
Then install the required packages
## yum install php-devel pcre-devel php-pear httpd-devel make gcc
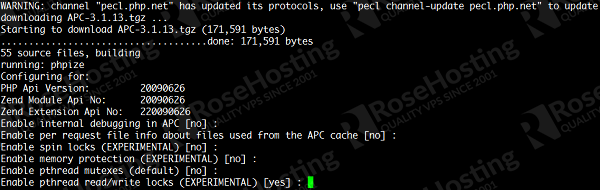
After you have installed the required packages, you can install APC using PECL
## pecl install apc
Once the installation is completed you need to add ‘extension=apc.so’ to php.ini. You can use the following command:
## echo "extension=apc.so" > /etc/php.ini
And finally, restart the Apache service so the changes can take place
## /etc/init.d/httpd restart
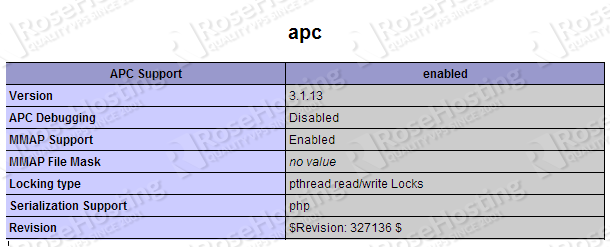
To verify that the installation of APC is successful on your CentOS 6 VPS, you can create an info.php file
## nano /var/www/html/info.php
with the following content
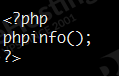
Save the file. To load the newly created info.php file you need to open your favorite web browser and type the IP address of your server followed by the name of the file.
http://IP-ADRESS/info.php
That’s it.
Installation of memcached
To install memcached you need to run the following command
## yum install memcached
and the yum package manager will install memcached and all dependencies.
Edit the memcached configuration file, locate the value for OPTIONS and change it to localhost or 127.0.0.1:
vi /etc/sysconfig/memcached

OPTIONS="-l 127.0.0.1"
Then, run the command
## pecl install memcache
After that, you need to add the ‘extension=memcache.so’ to your /etc/php.ini file
## echo "extension=memcache.so" >> /etc/php.ini
Next, you can edit the /etc/sysconfig/memcached file in order to configure memcached according to your needs
## nano /etc/sysconfig/memcached
Now you can restart memcached and Apache
## /etc/init.d/memcached restart
## /etc/init.d/httpd restart
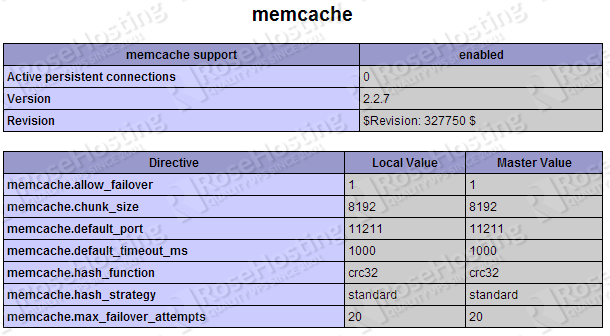
Finally, you can verify that memcached is successfully installed on your server by reloading the previously created info.php at
http://IP-ADRESS/info.php
Of course you don’t have to do any of this if you use one of our Linux VPS Hosting services, in which case you can simply ask our expert Linux admins to install APC and memcached for you. They are available 24×7 and will take care of your request immediately.
PS. If you liked this post please share it with your friends on the social networks using the buttons on the left or simply leave a reply below. Thanks.