Akaunting is web-based, free, and open-source accounting software designed to help small businesses. It helps small businesses and freelancers manage and streamline payment, invoicing, and other operations. With its client portal features, administrators are able to share financial information like transactional and invoicing information with the clients. The application also offers complete tools to manage your finances. These are their main features:
– App Store
– Bank Accounts
– Billable Expenses
– Client Portal
– Customer Management
– Easy Invoicing
– Fine-Grained Permissions
– Inventory Management
– Multi-Company
– Multi-Currency
– Multilingual Panel
– Permission Management
– Process Automation
– Powerful Reporting
– Tax Rates
– Transaction Categories
– Unlimited Attachments
– Vendor Management
Installing Akaunting is a fairly easy task. In this tutorial, we will show you how to install Akaunting on Ubuntu 20.04.
Prerequisites
- Ubuntu 20.04
- SSH access with root privileges or a regular system user with sudo privileges
Step 1. Log in to the server
First, log in to your Ubuntu 20.04 server through SSH as the root user:
ssh root@IP_Address -p Port_number
You will need to replace ‘IP_Address’ and ‘Port_number’ with your server’s respective IP address and SSH port number. Additionally, replace ‘root’ with the username of the system user with sudo privileges.
You can check whether you have the proper Ubuntu version installed on your server with the following command:
$ lsb_release -a
You should get this output:
No LSB modules are available.
Distributor ID: Ubuntu
Description: Ubuntu 20.04.3 LTS
Release: 20.04
Codename: focal
Before starting, you have to make sure that all Ubuntu OS packages installed on the server are up to date. You can do this by running the following commands:
$ sudo apt update -y
$ sudo apt upgrade -y
Step 2. Install LEMP
We need to install web server, database server and PHP to proceed with installing akaunting. In this post, we will use Nginx instead of Apache. So, let’s run the command below to install LEMP.
$ sudo apt install wget unzip nginx-full mariadb-server mariadb-client php7.4-{bcmath,cli,curl,fpm,gd,gmp,json,mbstring,mysql,snmp,xml,zip}
On Ubuntu 20.04, Nginx and MariaDB are configured to start running upon installation, you can check them by running this command:
$ sudo systemctl status mysql nginx --lines=0
Step 3. Create a Database
Akaunting supports MySQL, PostgreSQL, and SQLite. We installed MySQL/MariaDB in the previous step, so we will be using it for the installation.
By default, the MySQL root user does not have a password, you can run this command to log in to the MySQL shell.
$ sudo mysql
Or, if you already give MySQL root user a password, then you need to run this command to enter the MySQL shell:
$ mysql -u root -p
Once logged in, let’s run the following commands to create a new database for akaunting installation.
MariaDB [(none)]> CREATE DATABASE akaunting;
Query OK, 1 row affected (0.000 sec)

MariaDB [(none)]> CREATE USER 'akaunting'@'localhost' IDENTIFIED BY 'm0d1fyth15';
Query OK, 0 rows affected (0.000 sec)

MariaDB [(none)]> GRANT ALL PRIVILEGES ON akaunting.* TO 'akaunting'@'localhost';
Query OK, 0 rows affected (0.001 sec)

MariaDB [(none)]> FLUSH PRIVILEGES;
Query OK, 0 rows affected (0.000 sec)

MariaDB [(none)]> \q
Make sure you create a stronger database password, replace m0d1fyth15 in the command above with a stronger one.
Step 4. Download Akaunting
At the time of writing, we downloaded Akaunting version 2.1.33. You can download the latest version of Akaunting from their website or directly from their GitHub repository.
$ cd /tmp
$ wget https://akaunting.com/download.php?version=latest -O akaunting.zip
$ sudo unzip akaunting.zip -d /var/www/html/akaunting
Then, change the ownership of the files and akaunting directory.
$ sudo chown -R www-data. /var/www/html/akaunting
Step 5. Configure Nginx
Let’s create a new Nginx server block.
$ sudo nano /etc/nginx/sites-enabled/akaunting.conf
Paste the following content into the file, make sure you edit the server_name and use your actual domain or subdomain name.
server {
    listen      80;
    server_name akaunting.yourdomain.com;

    root /var/www/html/akaunting/;
    index index.php index.html index.htm;
    charset utf-8;
    error_log /var/log/nginx/akaunting.error;
    access_log /var/log/nginx/akaunting.access;

    add_header X-Frame-Options "SAMEORIGIN";
    add_header X-XSS-Protection "1; mode=block";
    add_header X-Content-Type-Options "nosniff";

    location / {
        try_files $uri $uri/ /index.php?$query_string;
    }

    # Protect Files
    location ~ \.(env|log) {
        deny all;
    }

    # Protect Directories
    location ~ ^/(^app$|bootstrap|config|database|resources|routes|storage|tests|artisan) {
        deny all;
    }

    # Prevent Direct Access To modules/vendor Folders Except Assets
    location ~ ^/(modules|vendor)\/(.*)\.((?!ico|gif|jpg|jpeg|png|js|css|less|sass|font|woff|woff2|eot|ttf|svg).)*$ {
        deny all;
    }

    error_page 404 /index.php;

    location ~ \.php$ {
        fastcgi_split_path_info ^(.+\.php)(/.+)$;
        fastcgi_pass unix:/run/php/php7.4-fpm.sock;
        fastcgi_index index.php;
        include fastcgi_params;
        fastcgi_param SCRIPT_FILENAME $document_root$fastcgi_script_name;
    }

    location ~ /\.(?!well-known).* {
        deny all;
    }

}
Save the file then exit from Nano editor.
After creating a server block, we need to restart nginx. Do not forget to test the configuration file prior to restarting nginx.
$ sudo nginx -t
$ sudo systemctl restart nginx
Step 6. Install Akaunting
Open your favorite web browser and navigate to your http://yourdomain.com you configured in the previous step.
In the initial step, you will be asked to choose your language.
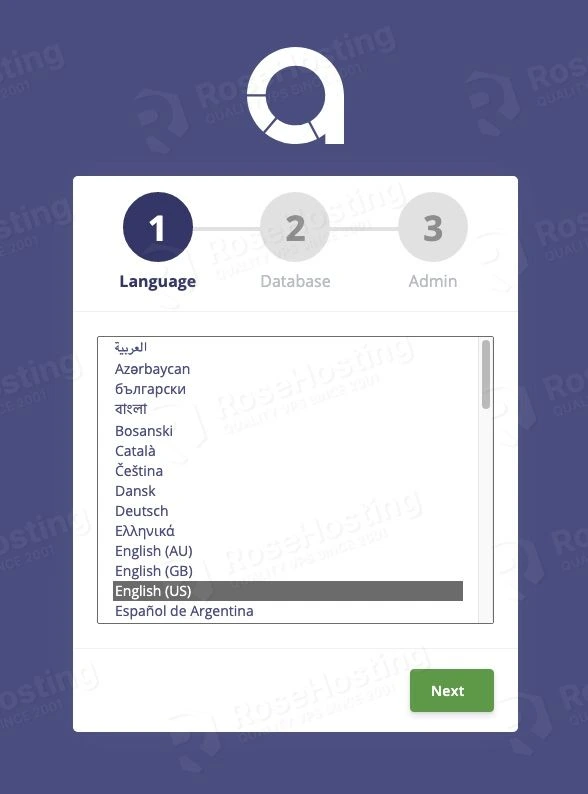
Choose your desired language then click Next.
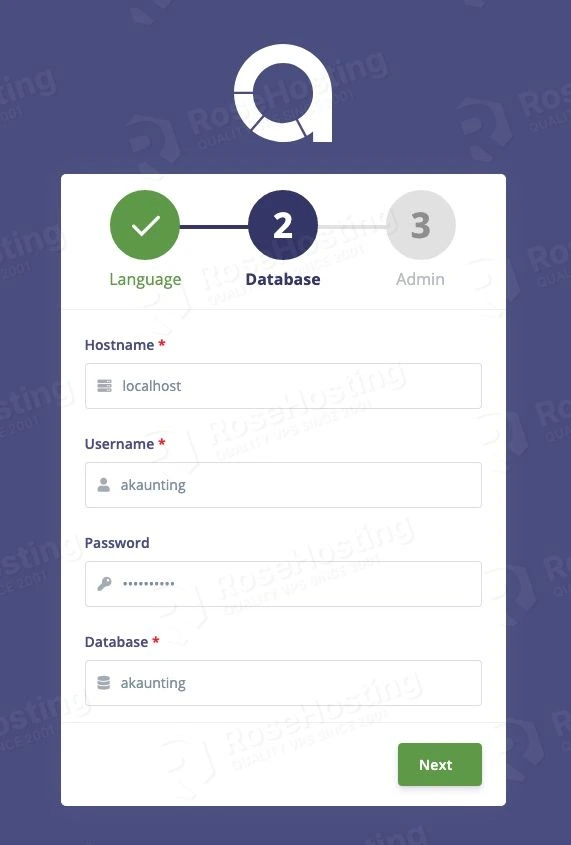
In this step, you need to insert the database details you created earlier. Click Next to continue.
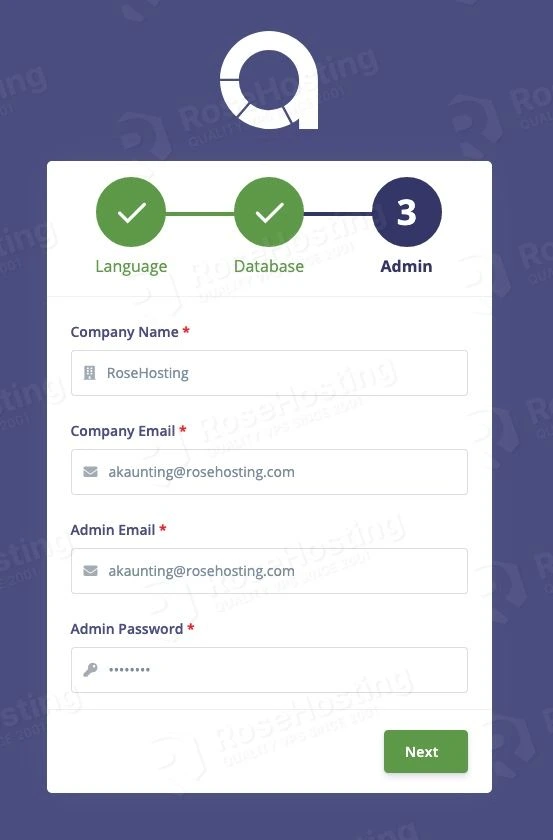
You need to create an admin user in this step. The combination of admin email address and the admin password is required to log in to Akaunting backend, click next to continue.

You will be brought to the Akaunting login screen, enter the administrative user you created earlier then click on the Login button.
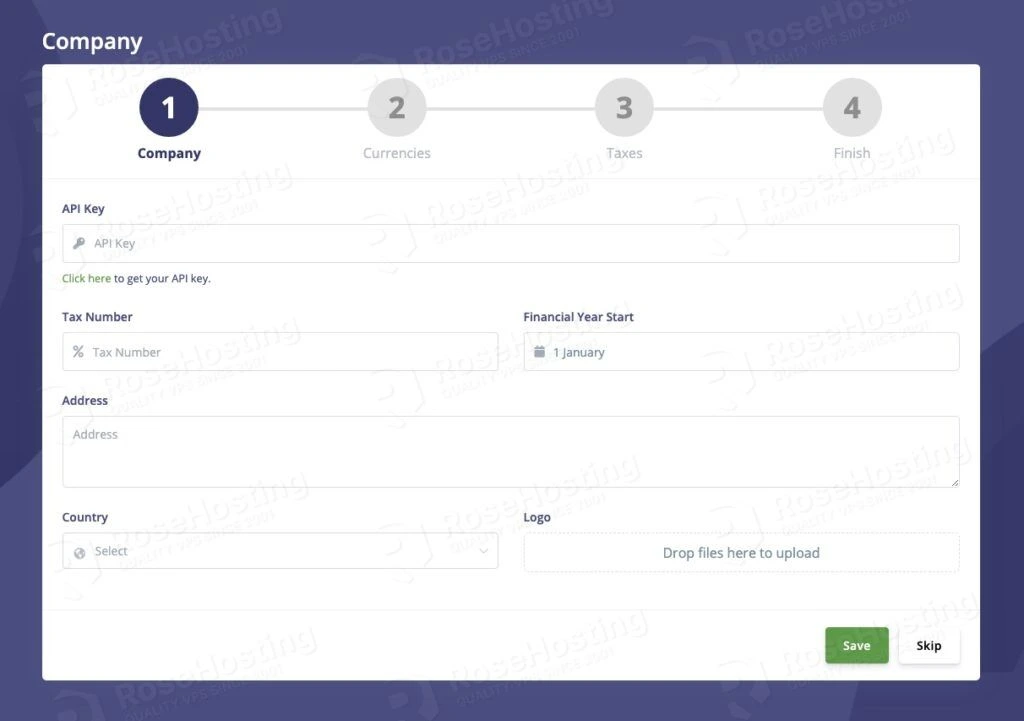
Once logged in, you will need to provide your company information and finish all 4 steps as seen in the picture below.
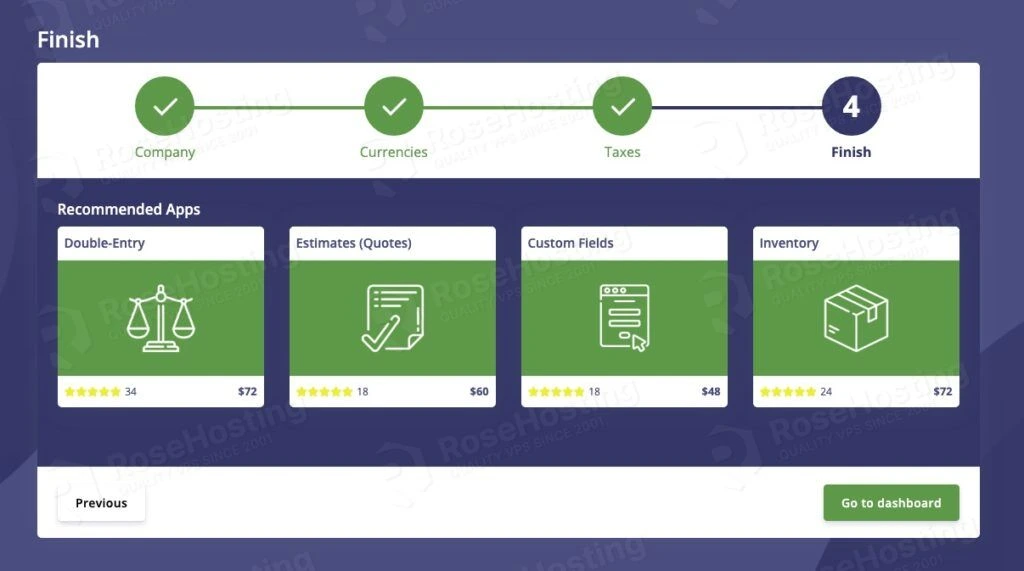
After finishing the steps above, you can click on the ‘Go to dashboard’ button to enter the website backend.

That’s all. You can now start working and using Akaunting to manage your financial things.
Step 7. Install SSL certificate
This is an optional step but highly recommended to complete. We will install a free SSL certificate from Let’s Encrypt.
$ sudo apt install python3-certbot-nginx -y
Once completed, we can run this command to install the SSL certificate.
$ sudo certbot
You will be asked for your email address, accept the Let’s Encrypt TOS, and whether you want to share your email address with the Electronic Frontier Foundation or not. Then, you need to choose which names would you like to activate HTTPS for. Choose your Akaunting website by typing the number and hitting ENTER. Let’s encrypt will install the certificate and it will ask you whether to configure HTTP to HTTPS redirect or not, you can choose redirect then certbot will create the redirection and reload nginx if everything is okay.
Now, you should be able to access your Akaunting website in HTTPS mode at https://akaunting.yourdomain.com, you can proceed with building your application using Akaunting.
Of course, you don’t have to spend your time installing Akaunting on Ubuntu 20.04 if you have a managed Linux VPS hosting plan hosted with us. If you do, you can simply ask our support team to install Akaunting on Ubuntu 20.04 for you. They are available 24/7 and will be able to help you with the installation of Akaunting, as well as any additional requirements that you may have.
PS. If you enjoyed reading this blog post on how to install Akaunting on Ubuntu 20.04, feel free to share it on social networks by using the shortcuts below or simply leave a comment down in the comments section. Thank you.