In this article, we’ll learn how to install and configure PHP applications using NGINX webserver on our Cloud Environment. By using this service, we’ll be able to deploy our PHP application within minutes.
The RoseHosting Cloud platform is perfect for developers, as it offers easy application deployment and configuration. It is also popular among web companies since it offers the installation of applications such as WordPress, Magento, or Odoo with a single click. Finally, many large, medium, and small businesses use our PaaS, as it offers seamless implementation of high availability clusters.
Now, let’s begin with the tutorial.

Table of Contents
Prerequisites
- You should have at least 1 dollar to access our PaaS Cloud hosting Panel. You can go to our Managed Cloud hosting page and then hit sign up.
Deployment
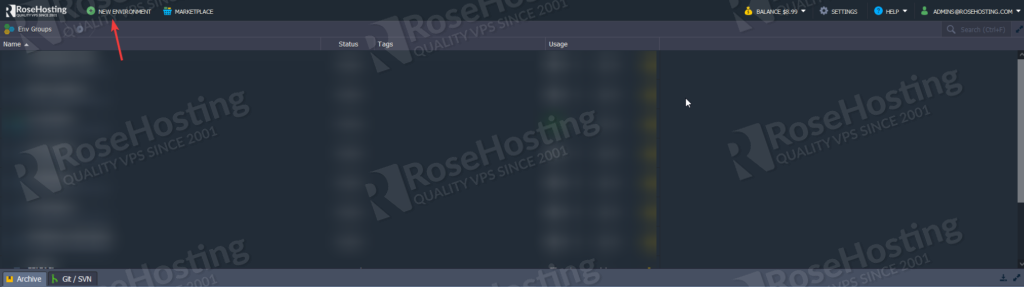
Once we add the one dollar to our Cloud Account, we’ll need to set up our new environment on the cloud.
Then we need to choose NGINX instead of Apache on our application server as shown below:

You can also switch between the PHP version on this menu, so you can choose one that fits better for you.
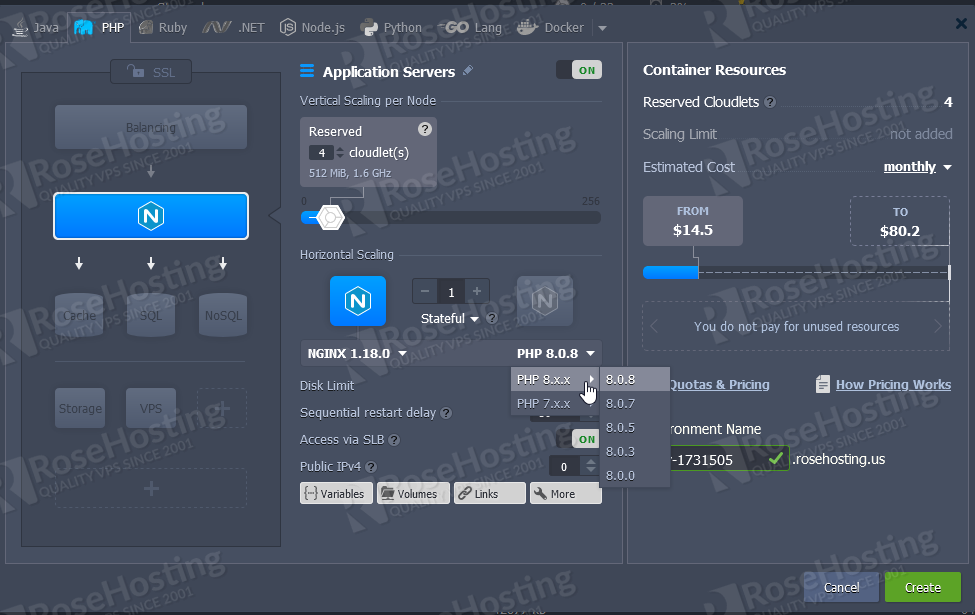
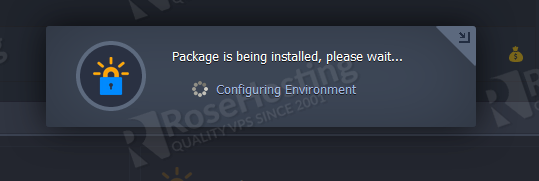
Once we finish the selection on this table, we can hit Create and this window will close and a pop-up will appear on the right side of our dashboard.
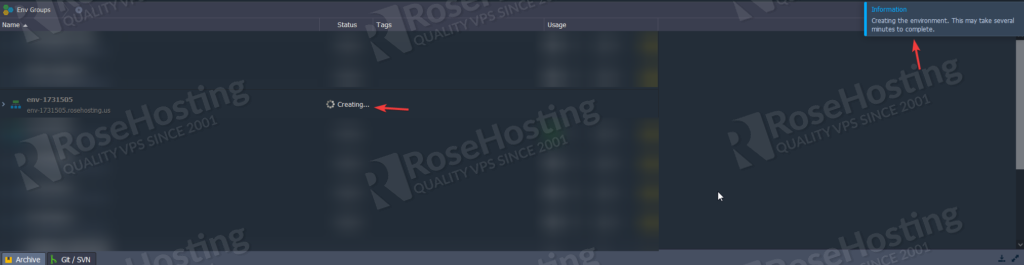
After the environment deploys, we need to upload our PHP website to the instance, and this can be done in 3 ways, URL, GIT, and ZIP file. We’ll describe below how to do with all types.

Uploading PHP using a compressed file.
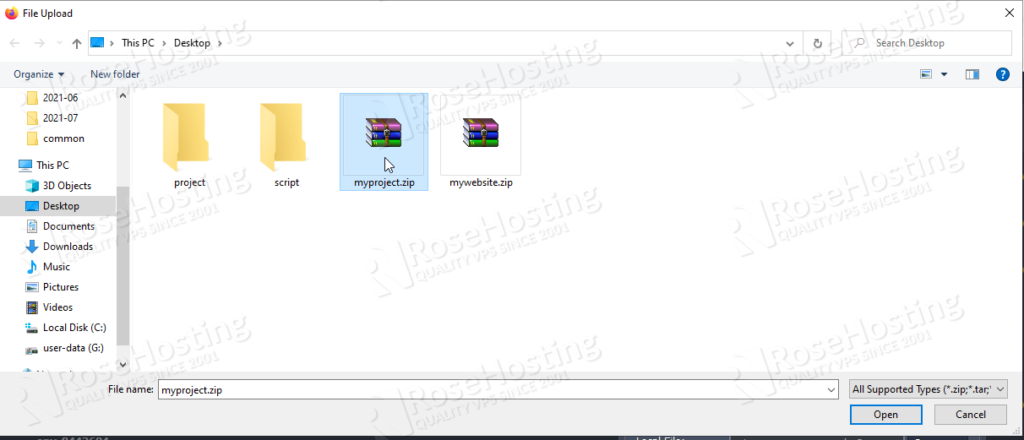
In this step, you need to compress all your PHP files into a zip. If you have a Windows Machine, you can just do these steps to create a zip file:
Create an empty zip file (If in your computer you don’t have Winrar, the option will be called “Compressed (zipped) folder”)
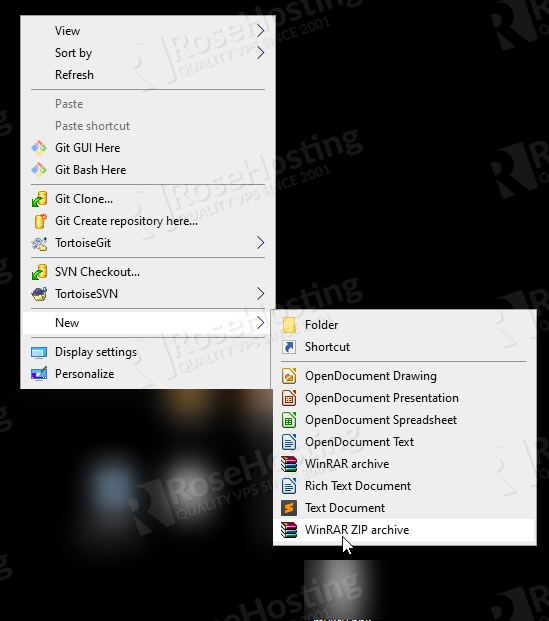
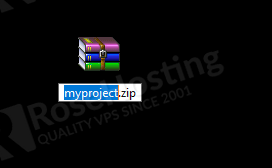
Then after creating the file, you should nominate it to whatever you like more. Please avoid using spaces and special characters.
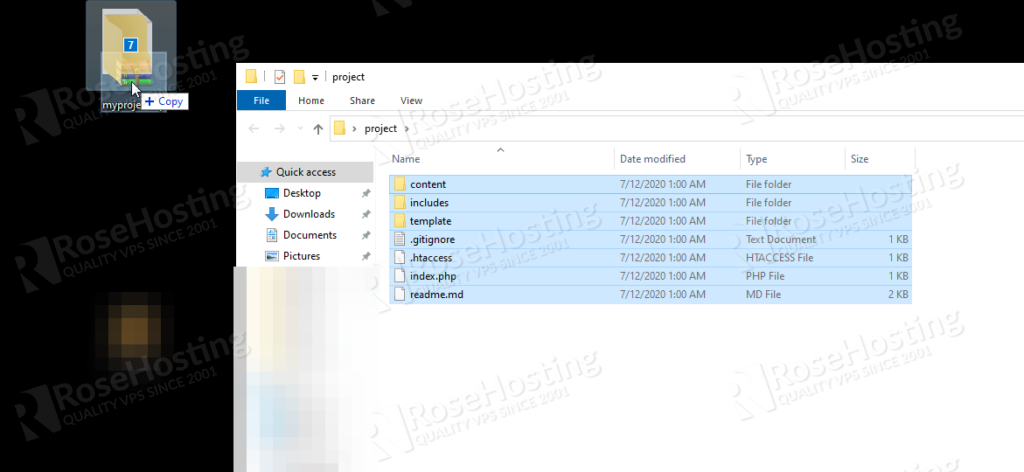
After you create the zip file, we’ll need to put our PHP structure inside the zip file. We can do that by selecting the files and dragging them inside the ZIP.
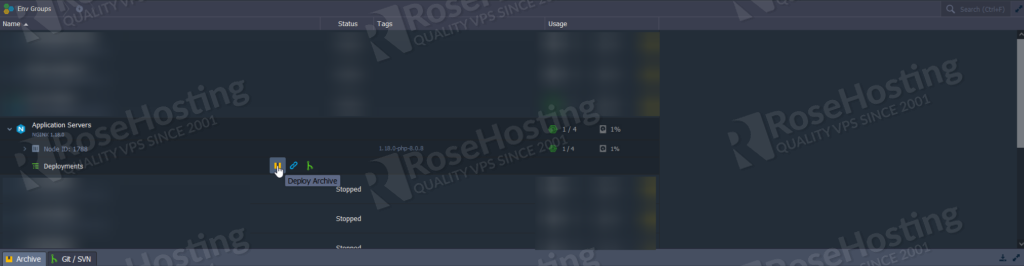
So, now we have our PHP website inside the zip, let’s upload it to our environment as shown below:
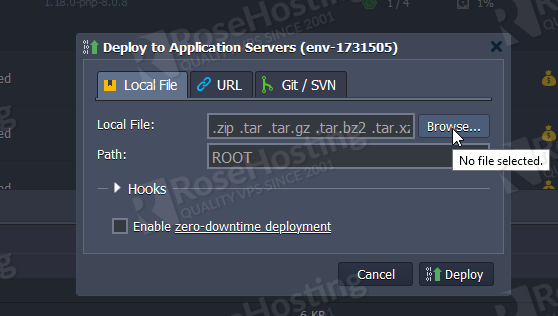
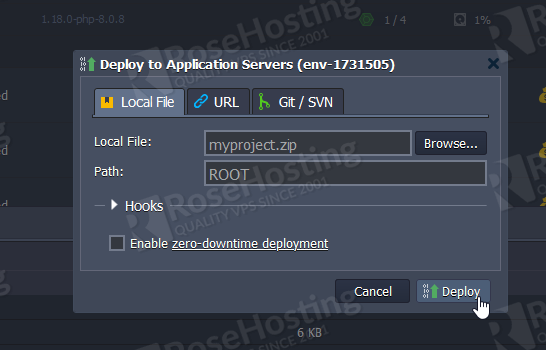
Once you reach here, you just need to hit deploy and your application will start deploying to the root.

Then, you can access your environment link without problems and your application will be there.
Uploading using an URL
If you have your website up and running on an external provider, you can zip the content from your website and let it be available through the website link. And then our cloud will download it and extract it.
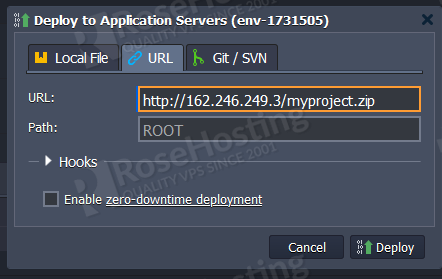
Once you hit Deploy, the same will happen as if you were uploading with the file. The project will start to upload, and you’ll be able to check it on the environment link.

Uploading using a git REPO.
This one is the best one if you want to update it automatically with a team or with a colleague.

After hitting Add New Repository, you need to fill it with your data, repo link, and repo name.
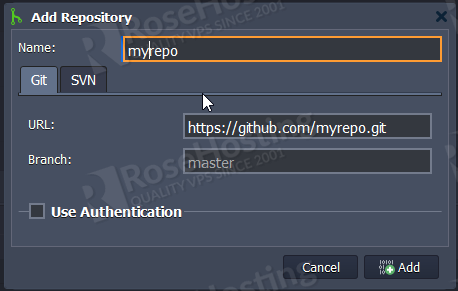
Be sure to configure the branch for the one that you want to deploy; master is the default. Once you hit Add, a new Box will pop up to finish the setup of your repositories.
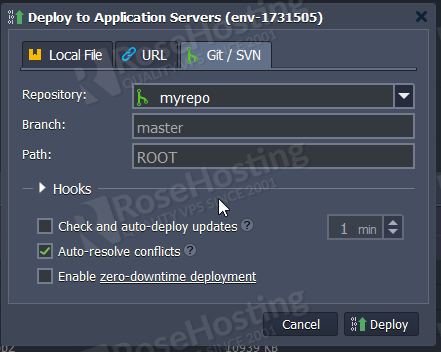
With this option of Git, you can set a check and auto-deploy updates. So any updates from your repo will be automatically uploaded.
If you have already finished the configuration, just hit Deploy and it will start deploying.
Now, we need to set up a custom domain for our environment and put it in production.
Binding custom domain and installing SSL.
We’ll not proceed with the domain binding, so we can use this environment as production. Just access settings from your environment.

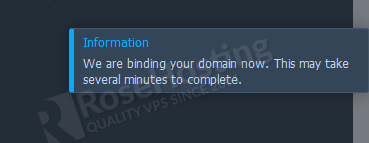
Once you bind, a pop-up will appear on the right top.
Then, when the domain is listed below the box, we can proceed with the SSL installation. Be sure that you pointed your domain/subdomain to the environment link as shown on step 2 from the dashboard.
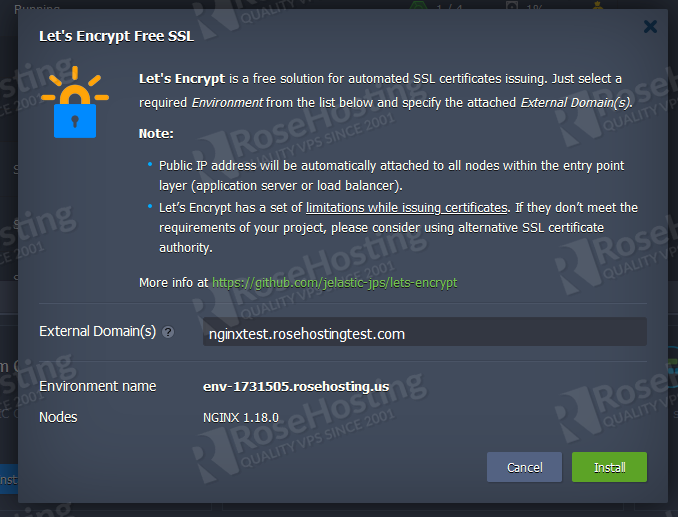
You should now fill your domain on the External Domain(s) and hit Install. Your SSL request will start to be issued and then you’ll be able to access your domain with a valid SSL and will see your PHP application.
After this screen closes, you’re ready to go and start using your environment as production. You have successfully deployed your PHP application to our Cloud PaaS. Of course, if you face any problems or need any assistance to deploy your application to our fully-managed Cloud PaaS hosting, you can always contact us. We are available 24/7 to help you.