In this article, you will learn how to install and configure Apache and PHP on Rosehosting Cloud PaaS, in order to achieve full control over your data. By using our Cloud environment you can avoid the installation command-line interfaces and get your Apache and PHP up and running within minutes.
The tutorial covers all the necessary steps and prerequisites to set up and configure Apache and PHP on our RoseHosting cloud platform-as-a-service.
Table of Contents
Prerequisites
- You should have at least 1 dollar to access our PaaS Cloud hosting Panel. You can go to our Managed Cloud hosting page and then hit sign up.
Deployment
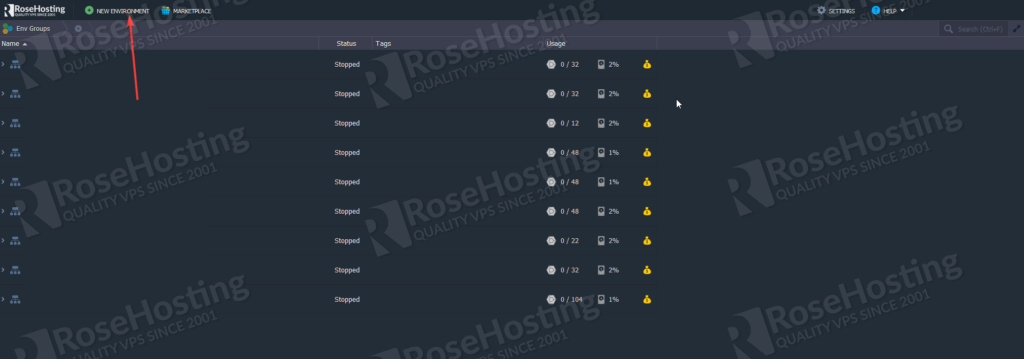
After adding one dollar to your Cloud Account, we need to access it and start our new environment, as shown below:
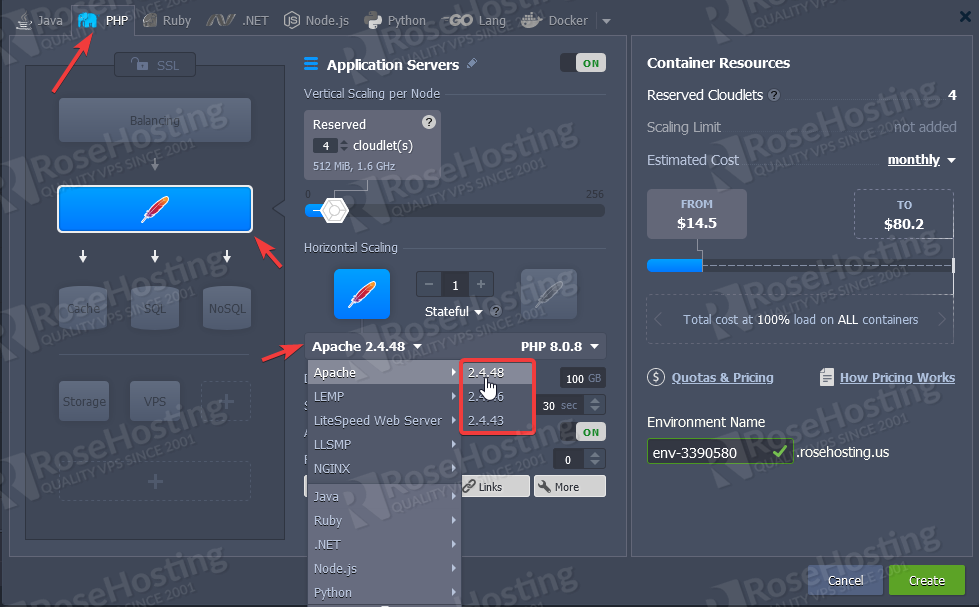
Then, we’ll need to choose PHP and select Apache as our Web Server. You can also change the Apache version for the one that fits better for you:
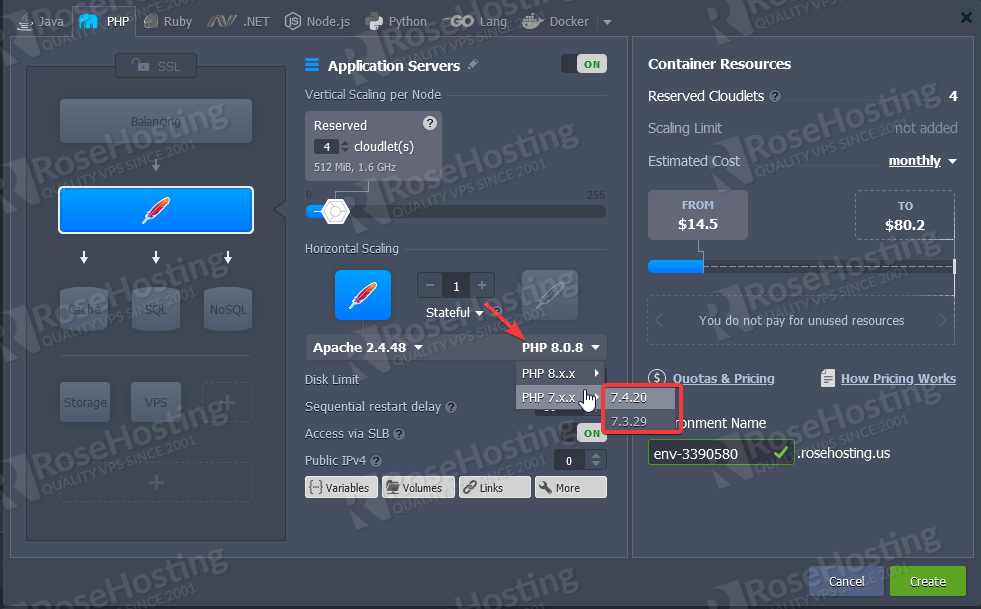
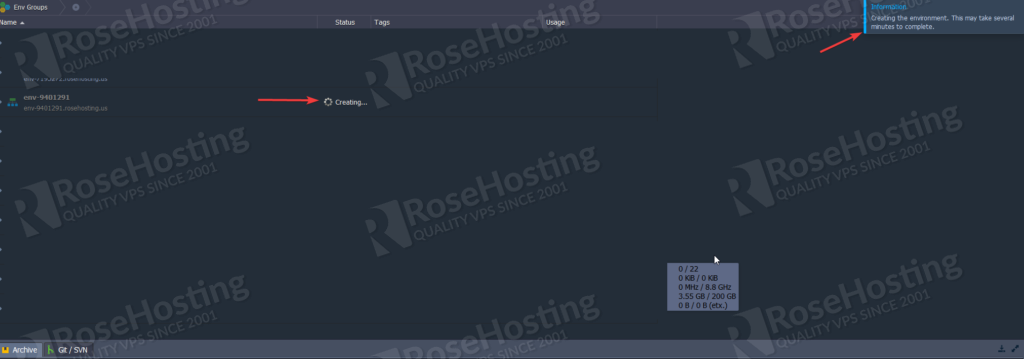
Once you hit the “Create” button, the configuration window will close and a new environment will appear on your dashboard, also a notification that your environment is currently under the building process will pop up on the right-top corner.
Now we need to deploy our PHP application to the environment. You have three ways to deploy your PHP application, from a compressed file, GIT, or URL.
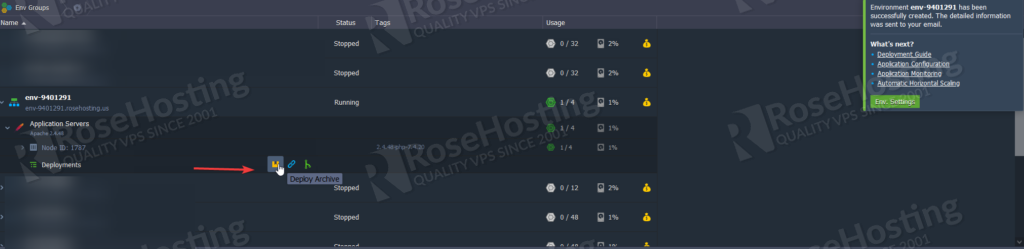
Once you hit “Deploy Archive” a new pop-up will appear and you can select the method that you want to upload your website. Below, we’ll show you how to upload on all three ways.

Uploading PHP using a compressed file.
In this step, you need to compress all your PHP files into a zip. If you have a Windows Machine, you can just do these steps to create a zip file:
Create an empty zip file (If in your computer you don’t have Winrar, the option will be called “Compressed (zipped) folder”)
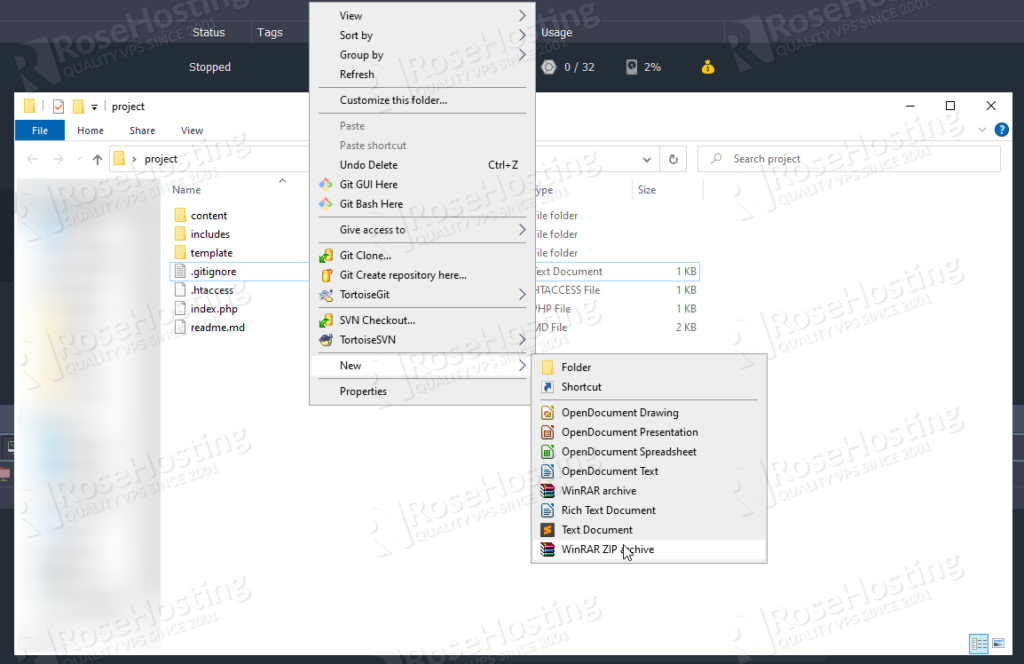
Then nominate it to whatever you like more, avoid using spaces and special characters.

After creating your zip file, you just need to upload it in your Deployment Archive.
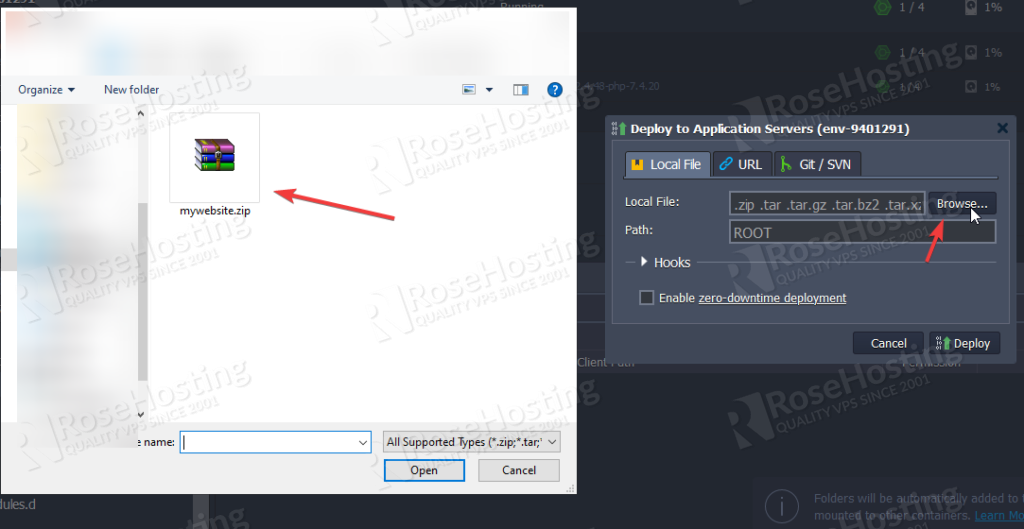
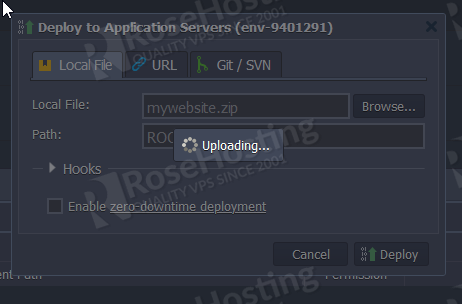
Just need to hit Deploy now and it will start to upload your Zip file and will restart your node so you can see the changes.
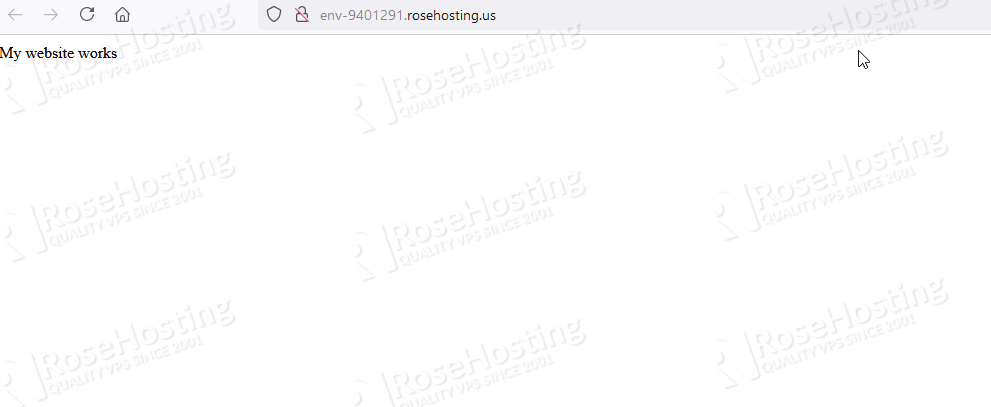
After all steps, your website will be live on the environment link.
Uploading using an URL
If your website is already up and running in an external provider and you have a zip file publicly accessible, you can download it on the URL tab:
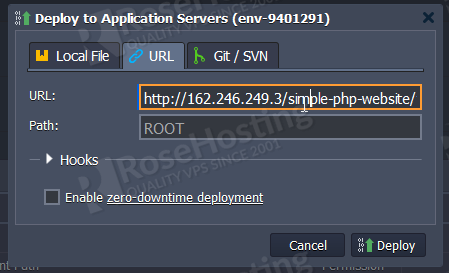
After you fill the URL with the right path of your zip file, you can just hit Deploy.
Uploading using a git REPO.
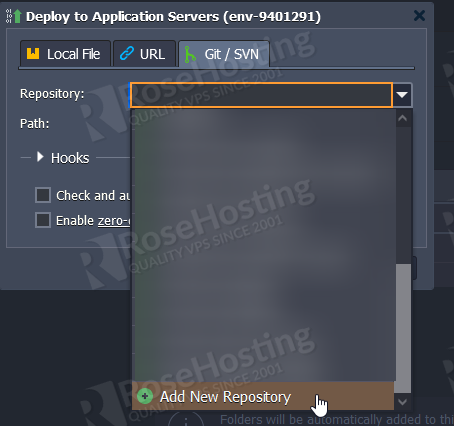
On the Git / SVN tab you need to scroll down and hit + Add New Repository:
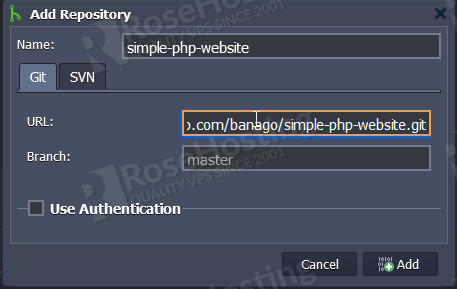
A new window will appear to fill your Git URL and things related such as the name for repository and Branch.
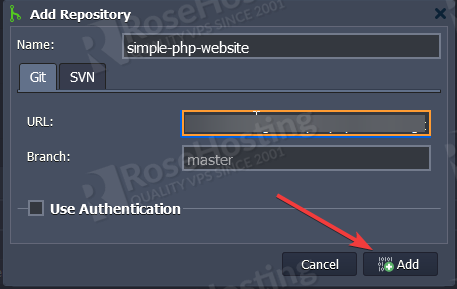
Once everything is configured, you can hit Add.
Using git you can configure auto-deployment updates to your instance. But it’s not mandatory, with this option every new update on the branch selected your instance will auto-update.
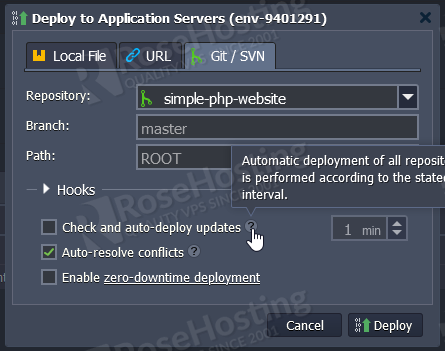
You can leave the path and branch blank if you don’t want to set a specific branch. And after deploying, your website will be accessible with the Git content.
Binding custom domain and installing SSL.
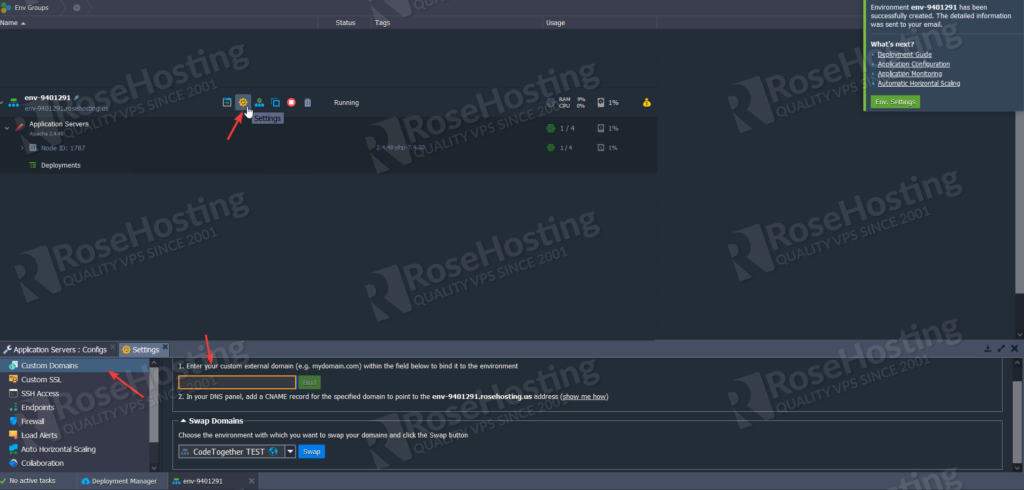
To bind a custom domain in your apache environment, you need to reach the Settings page and fill it with your domain.
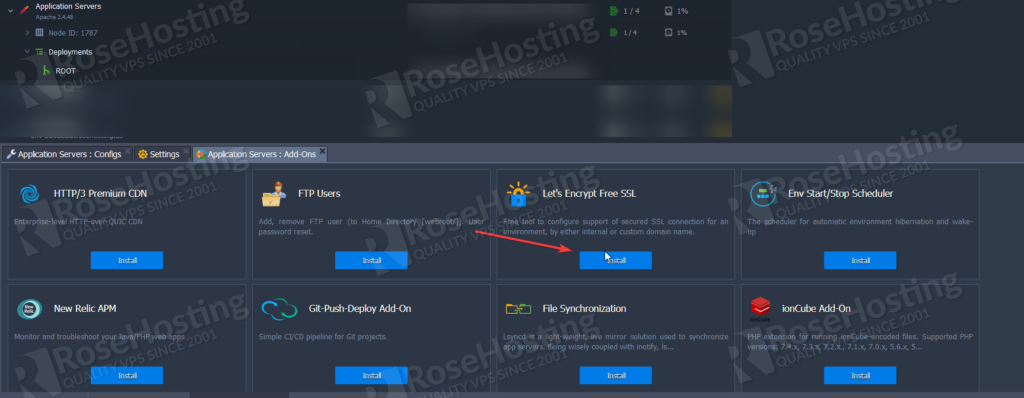
After bonding to the apache node, we’ll need to install the SSL certificate. Now you should access the Add-ons option and install the Let’s Encrypt SSL certificate, as shown below on the images.

Then after hitting Install, a new pop-up will appear to fill your domain.
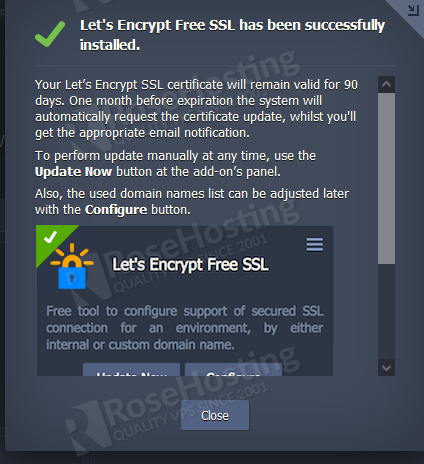
And we are done, you have successfully uploaded your PHP application to our Cloud environment and can start using it. Of course, if you face any problems or need any assistance to deploy your application to our fully-managed Cloud PaaS hosting, you can always contact us. We are available 24/7 to help you.
If this post on How to install and configure Apache and PHP on RoseHosting Cloud PaaS helped you in any way, you can share it with your friends on the social networks using the buttons on the left, or simply comment your appreciation in the comments below. Thanks.