
In this tutorial, we will show you how to set up a BigBlueButton server on Ubuntu 16.04 and integrate it with WordPress using the BigBlueButton plugin.

BigBlueButton is a free and open-source web conferencing system that can be used for online learning, online meetings, and webinars. It’s based on HTML5 and runs entirely within your web browser. BigBlueButton provides high-quality audio, video, and screen sharing using the browser’s built-in support for web real-time communication (WebRTC) libraries. It can be also integrated into WordPress, allowing bloggers to create and manage meeting rooms to interact with their readers.
These excellent features make BigBlueButton one of the best tools for tutors, teachers, schools, colleges, universities, and even entire school districts. At the time of writing this tutorial, the latest version of BigBlueButton is 2.2 and it can be installed on Ubuntu 16.04. The BigBlueButton authors plan to support Ubuntu 18.04 and Ubuntu 20.04 for the next release of BigBlueButton, but their current recommended version is 16.04. Let’s get started with the installation. Let’s get started with installing BigBlueButton on an Ubuntu 16.04 VPS.

Table of Contents
Prerequisites
- An Ubuntu 16.04 VPS with root access enabled, or a user with sudo privileges. Our VPSes come with root access included.
- A minimum of 4 GB of RAM and 2 CPU cores.
1. Getting Started
First, you will need to log into our server using SSH. You can do that by entering this command:
ssh root@IP_Address -p Port_Number
Remember to replace “root” with your username if you are not using the root user. Change “IP_Address” and “Port_Number” according to your server’s IP address and SSH port number.
Once you are logged in, you should update all of your packages to their latest available versions.
apt-get update -y
apt-get upgrade -y
Once all the packages are up-to-date, restart your server to apply the configuration changes.
Next, you will need to check that the locale of the server is en_US.UTF-8.
cat /etc/default/locale
You should see the following output:
LANG="en_US.UTF-8"
If you don’t see LANG=”en_US.UTF-8″, enter the following commands to set the locale to en_US.UTF-8.
apt-get install language-pack-en -y
update-locale LANG=en_US.UTF-8
Next, install the required dependencies in your server with the following command:
apt-get install apt-transport-https haveged -y
Once installed, you can proceed to the next step.
2. Install BigBlueButton
By default, BigBlueButton is not available in the pre-installed Ubuntu 16.04 repositories. Because of this, you will need to add the BigBlueButton repository to your server.
First, download and add the GPG key with the following command:
wget https://ubuntu.bigbluebutton.org/repo/bigbluebutton.asc -O- | apt-key add -
Next, add the repository using the following command:
echo "deb https://ubuntu.bigbluebutton.org/xenial-110/ bigbluebutton-xenial main" | tee /etc/apt/sources.list.d/bigbluebutton.list
After that, update the repository list and install the BigBlueButton package with the following command:
apt-get update -y
apt-get install bigbluebutton -y
If you receive any error during the installation, run the following command to update the gem package to version 3.0.0.
gem update --system 3.0.0
Next, run the following command to install any missing dependencies:
apt-get install -f
Once the installation has been completed successfully, restart BigBlueButton with the following command:
bbb-conf --restart
You can now check the status of the BigBlueButton service with the following command:
bbb-conf --status
You should get the following output:
start: inactive
red5: active
tomcat7: active
nginx: active
freeswitch: active
redis-server: active
libreoffice: active
bbb-apps-akka: active
bbb-fsesl-akka: active
Next, you will need to find the URL and secret of your BigBlueButton server. You can find it with the following command:
bbb-conf --secret
You should get the following output:
URL: http://<server_IP_address>/bigbluebutton/
Secret: <your secret will show up here>
Note: Please remember this URL and secret. You will need to define this in WordPress.
3. Install the BigBlueButton Demo
Next, you will need to install the API demos to test the BigBlueButton API. You can install the API demos using the following command:
apt-get install bbb-demo -y
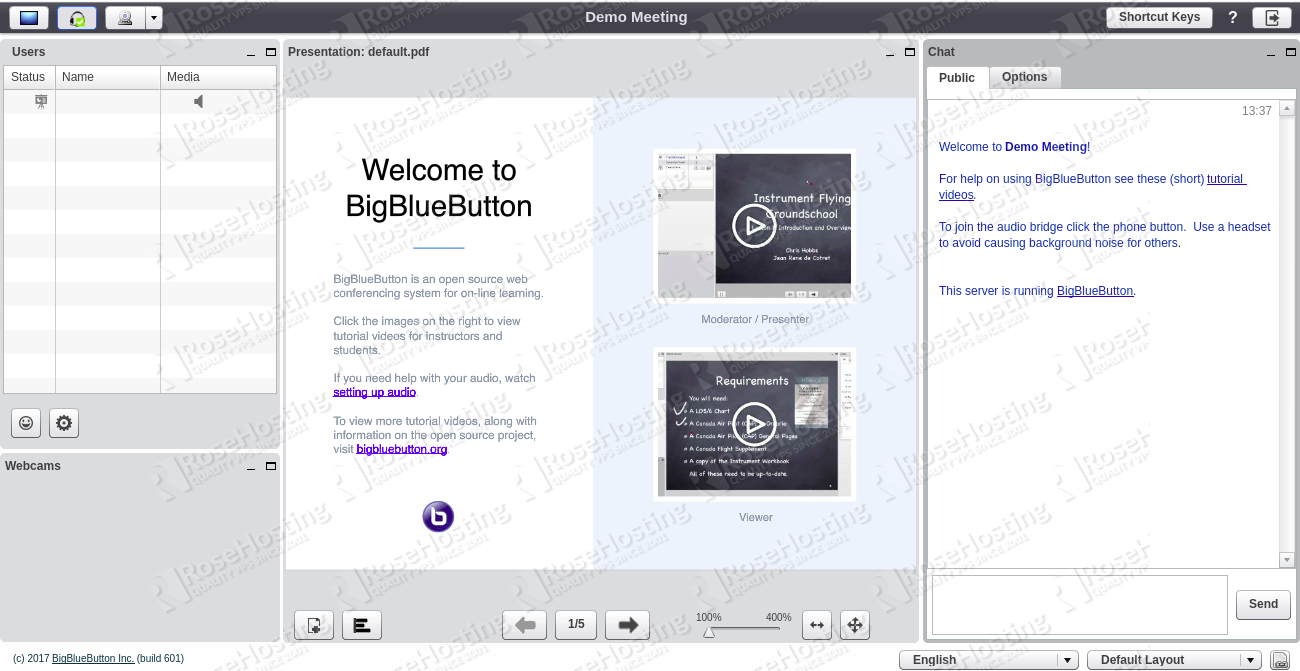
Once installed, open your web browser and type the URL http://your-server-ip-address . You should see the BigBlueButton web interface on the following screen:

Now, provide your room name and click on the JOIN button. You should see the Demo meeting page on the following screen:
4. Integrate BigBlueButton with WordPress
You can integrate BigBlueButton with WordPress by following these next steps:
Step 1: Install the BigBlueButton Plugin
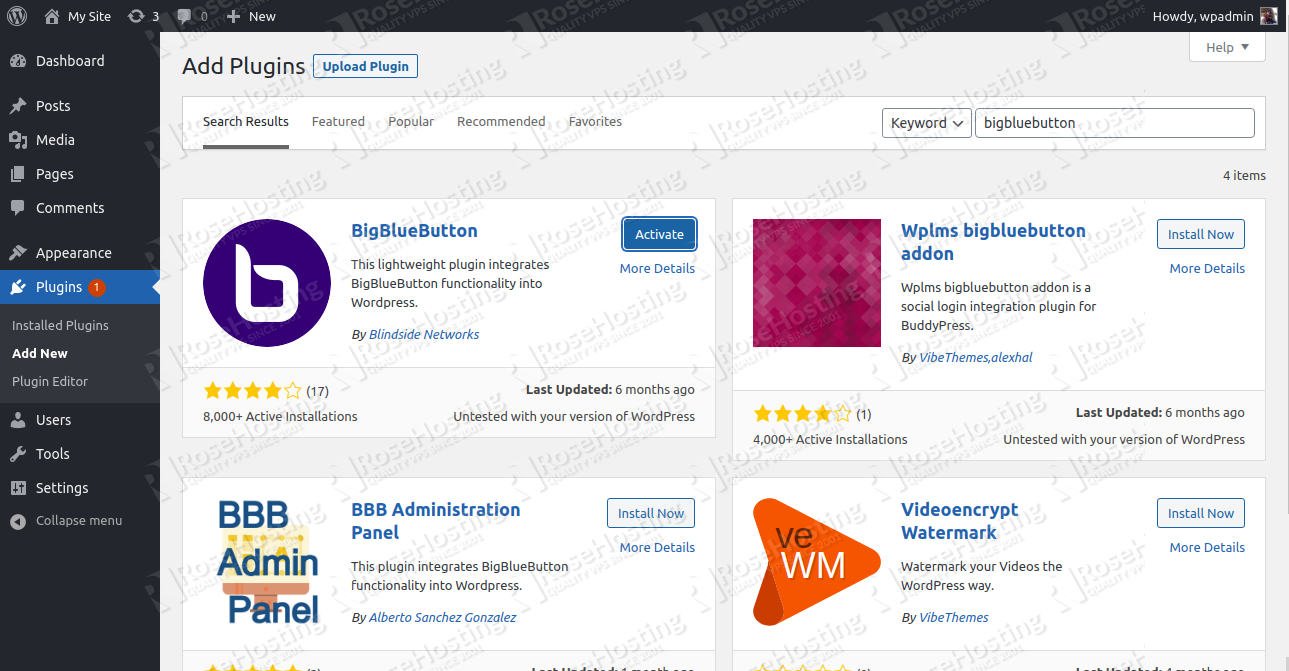
First, log in to your WordPress admin panel and click on the Plugins => Add New button, as shown below:
Next, type bigbluebutton in the search field. You should see the BigBlueButton plugin on the following screen:

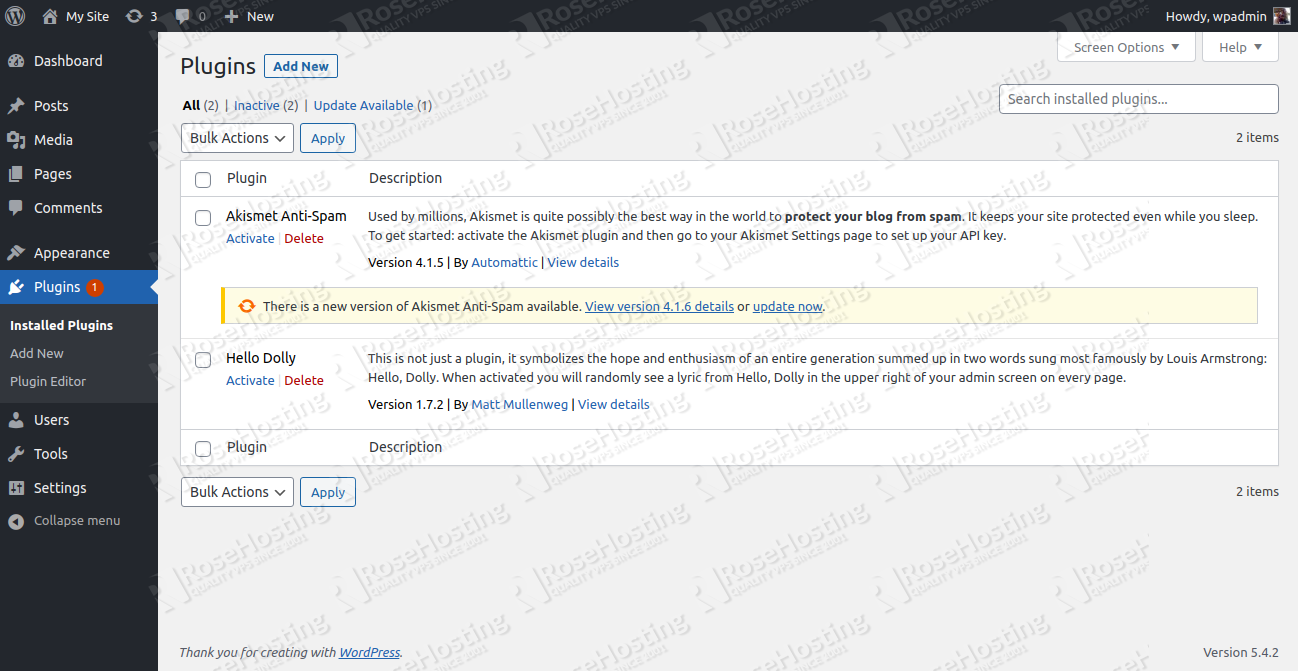
Next, click on the Install Now button to install the plugin. Once the plugin is installed, you should see the following screen, the “Install Now” button has been replaced with an “Activate” button:
Now, click on the Activate button to activate and enable the plugin.
Step 2: Create a Room
Next, you will need to go to the WordPress dashboard and create a new room.
In the left pane, click on the Rooms => All Rooms button. You should see the following screen:
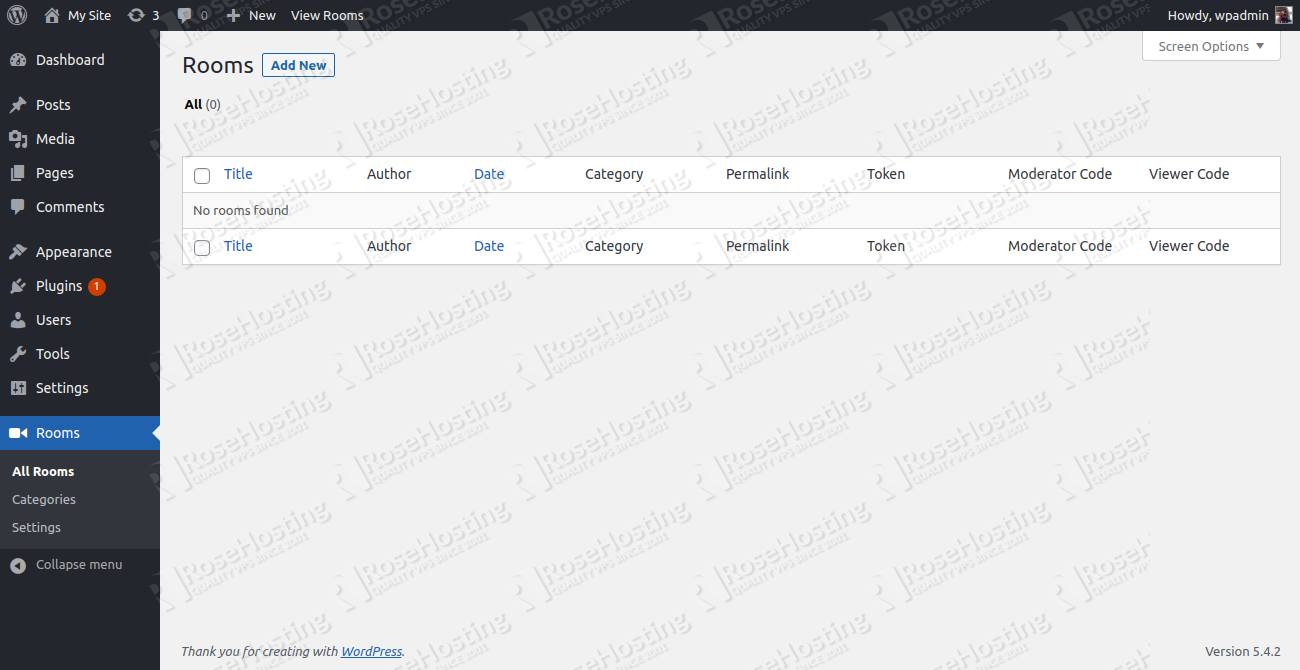
Click on the Add New button. You should see the following screen:
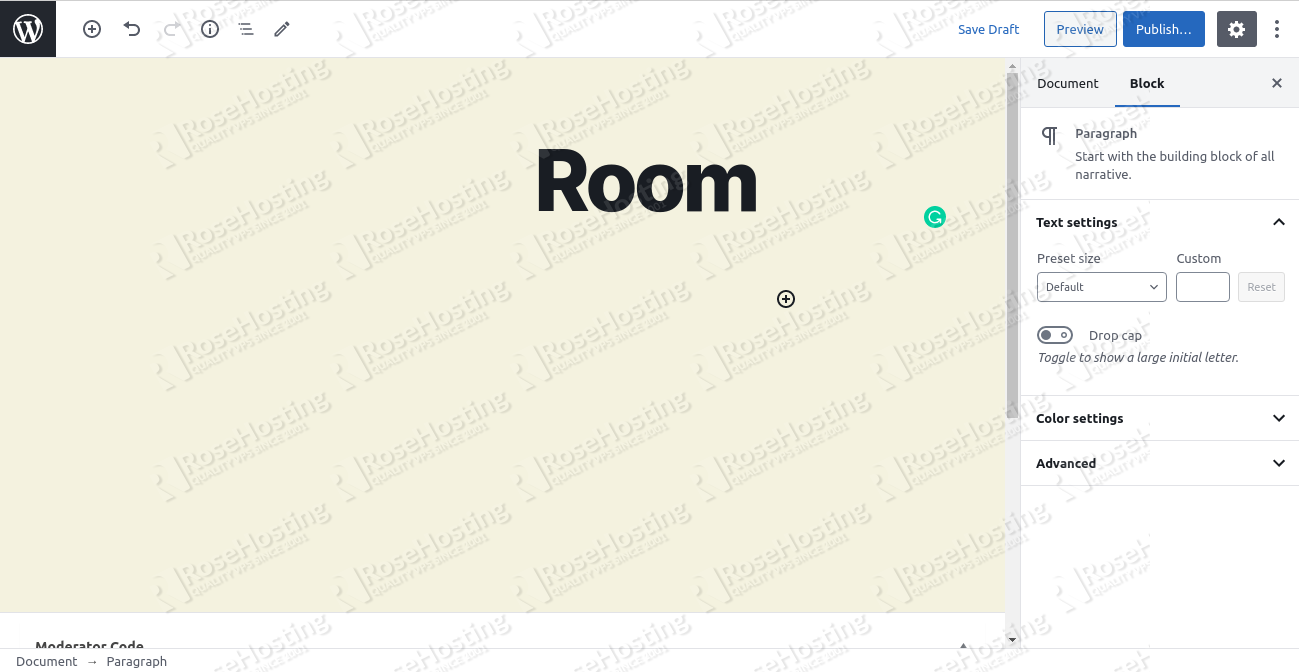
Type your room name and click on the Publish button.
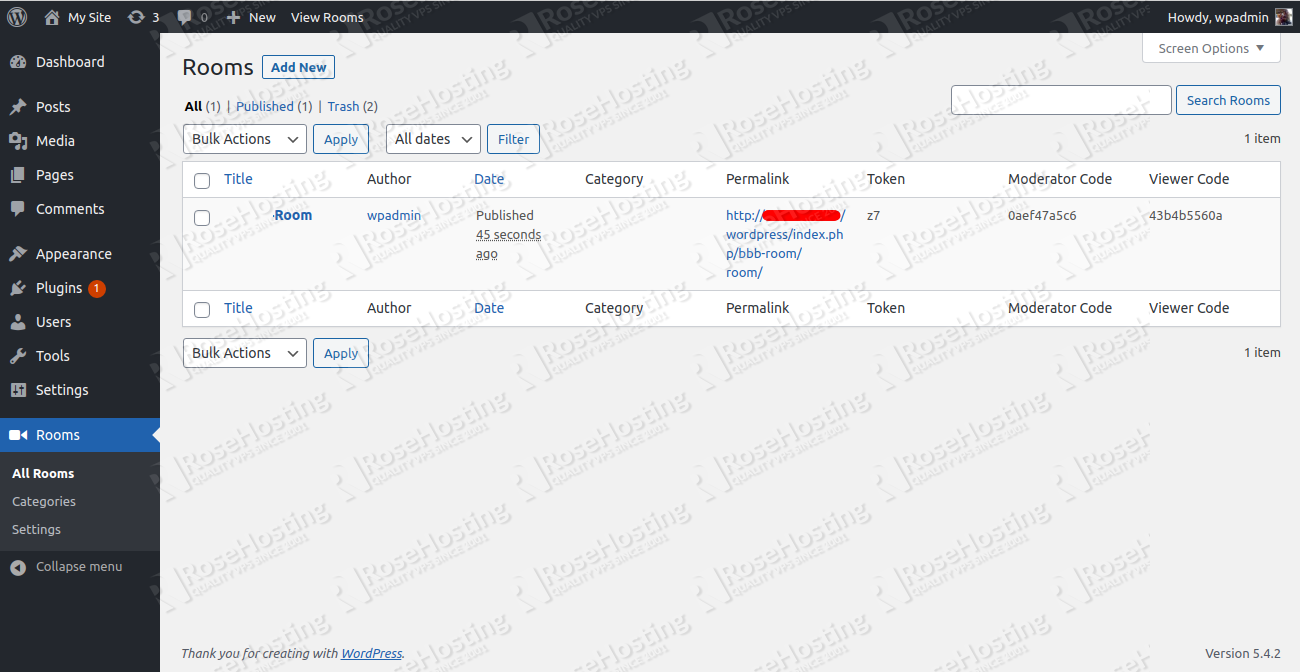
Next, click on the Rooms => All Rooms button again and copy the token of your new room, as shown below:
Next, click on widgets under the Appearance menu. You should see the following screen:
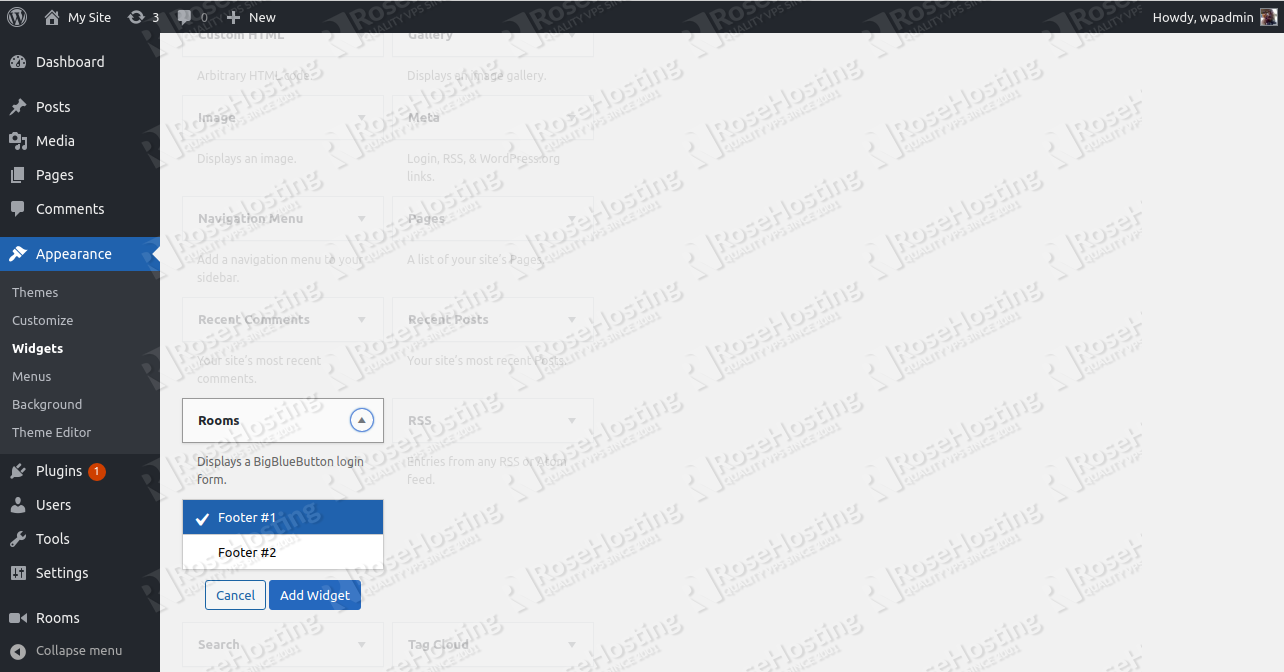
Next, click on the Rooms select Footer #1 and click on the Add Widget button. You should see the following screen:
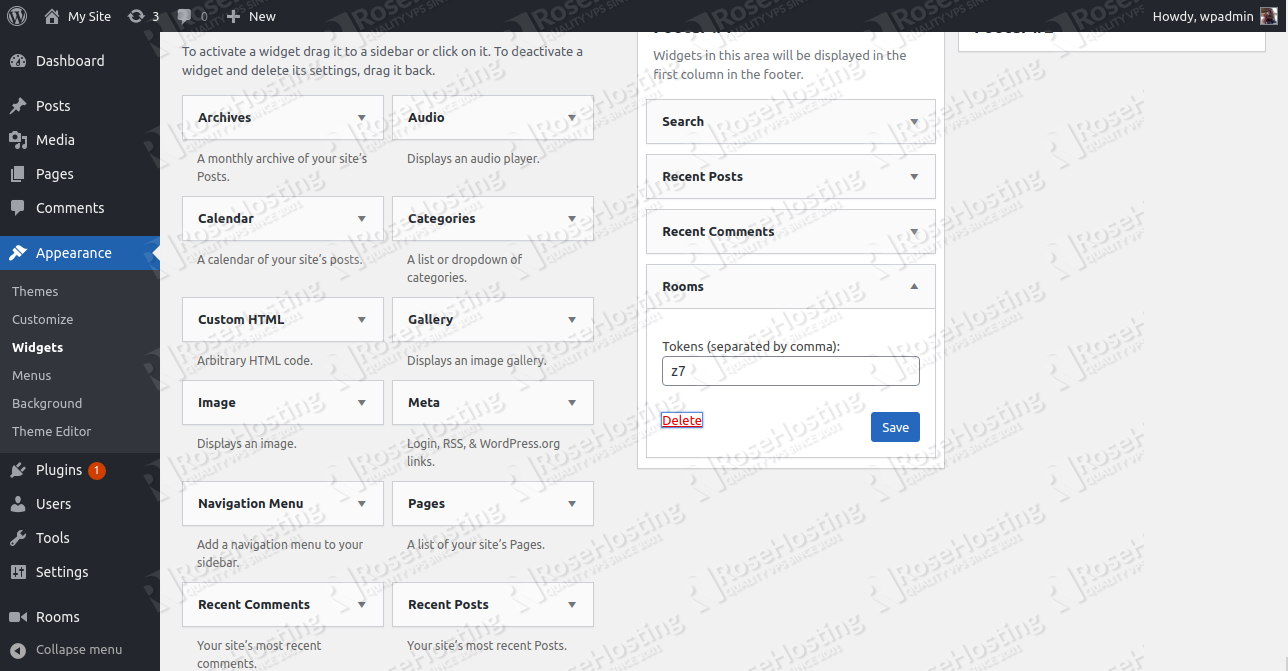
Enter the token you copied earlier into the widget and Save.
Next, click on Rooms in the sidebar and click on Server Settings. You should see the following screen:
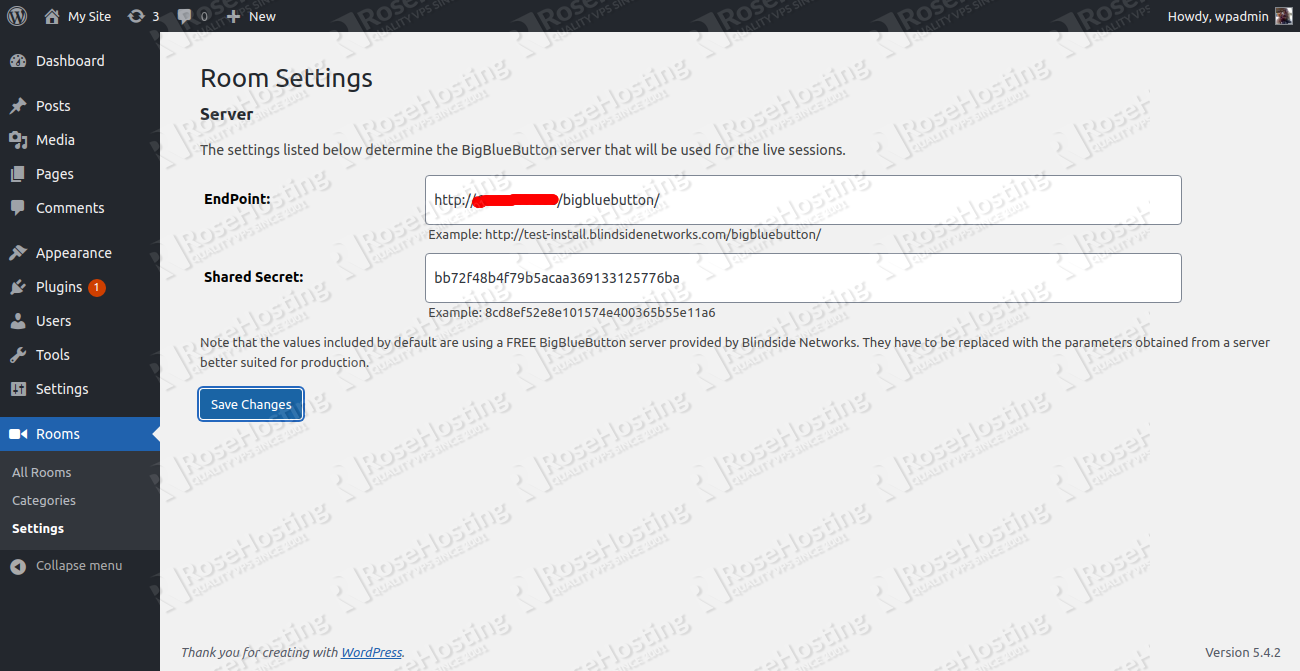
Enter the URL and secret of your BigBlueButton server that we saw at the end of step 2, then click on the Save button.
You are now ready to begin with creating meetings and holding conferences.
Step 3: Join the Room
Next, access your WordPress website. You should see your Rooms on the following screen:
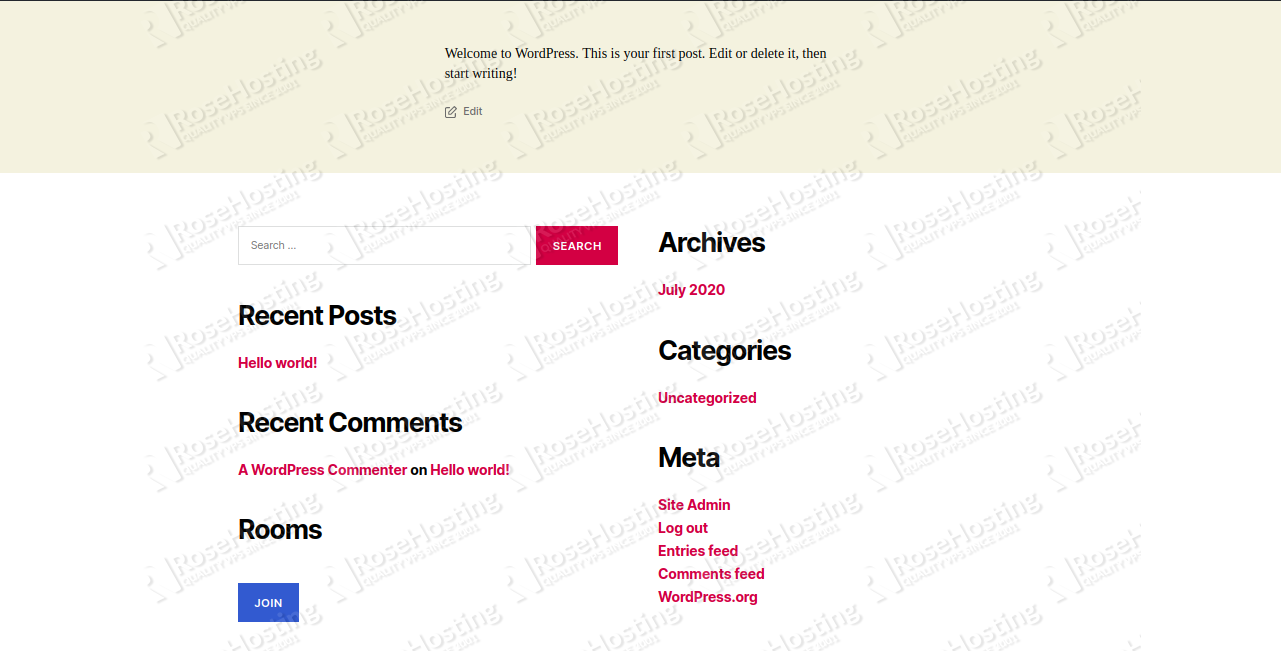
Click on the JOIN button to join the room. You should see the following screen:
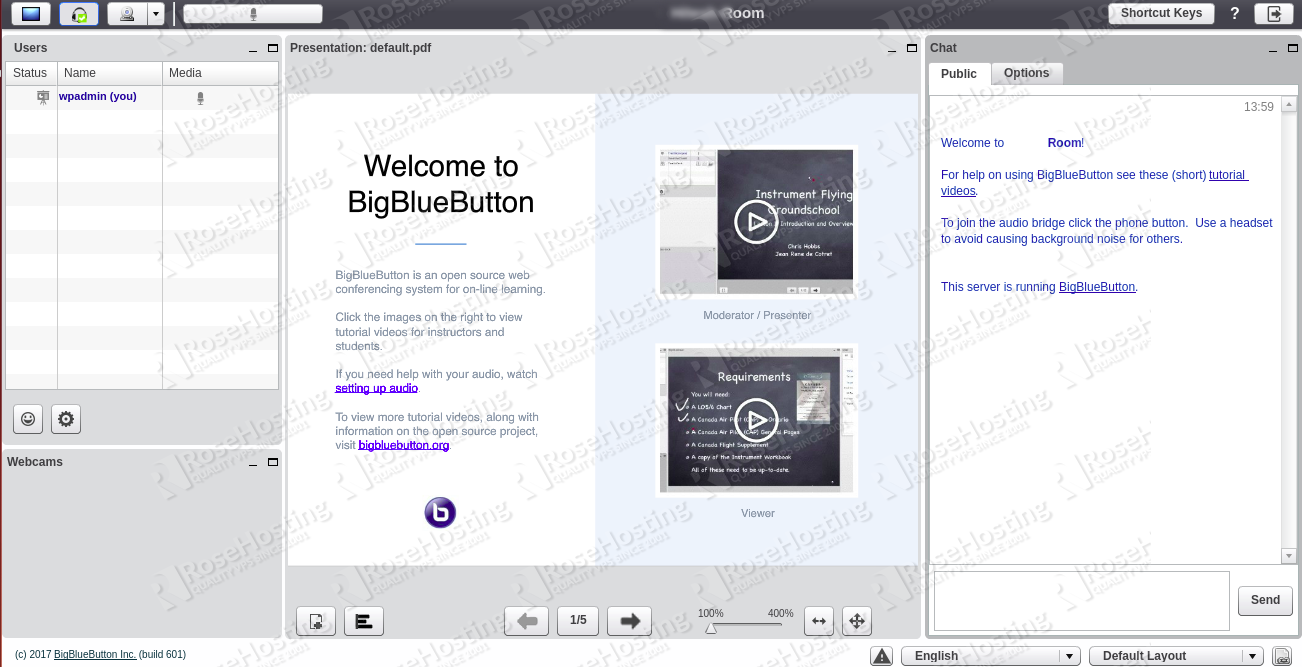
Congratulations! you have successfully installed and integrated BigBlueButton with WordPress on your Ubuntu 16.04 VPS.

You don’t have to install and configure BigBlueButton on your Linux VPS if you use one of our fully managed web hosting solutions – you can always ask our technical support to install BigBlueButton for you. Our admins can also configure it and set up the WordPress integration all without you having to do a thing. They are available 24/7 and will also help you with any other aspect of managing or maintaining your server.
If you found this blog post helpful, please consider sharing it with your friends on social media with our share shortcuts, or leave a comment in our comments section. Thank you.
Hello I have managed to successfully install bbb using this tutorial, I’d love to update my bbb version to the latest. How can you help?
If you have a VPS with us you can create a support ticket and we will help you with the update
I would like to bring to your attention that the plugin mentioned in the blog had been outdated and not updated for 2 years now. The official WP plugin repo also displays a notice on the plugin page.
We at eLearning evolve have taken the challenge to maintain this plugin. We have released our forked version,
https://wordpress.org/plugins/video-conferencing-with-bbb/
It would be really helpful to your readers and the BBB community if you could update your blog information.
Thanks!
We will create a new article possibly in the future with your new plugin.
Ok. Thanks for letting us know!