DokuWiki is an open-source wiki application written in PHP programming language. It is mainly aimed at creating documentation of any kind. All data is stored in plain text; hence no database server is required. Dokuwiki offers many features, and you can even add more by installing extensions. In this tutorial, we will show you how to install DokuWiki on Debian 11.
Table of Contents
Prerequisites
- A Debian 11 VPS
- SSH root access or regular system user with sudo privileges
Step 1. Log in to your server
Login to your Debian 11 server via SSH.
ssh root@IP_Address -p Port_number
Replace IP_Address and Port_number with your server’s actual IP address and SSH port number. You can also use another system user with sudo privileges instead of using ‘root’ to log in to your VPS.
In this article, we will use ‘root’ to execute the shell commands. If you want to use your regular user with sudo privileges to run the commands, make sure to append ‘sudo’ in front of the commands.
This tutorial is written for Debian 11 server. To check your operating system, run this command:
# lsb_release -a
You will get an output like this:
No LSB modules are available.
Distributor ID: Debian
Description: Debian GNU/Linux 11 (bullseye)
Release: 11
Codename: bullseye
Step 2. Update the System
Before starting, you must ensure that your Debian 11 packages installed on the server are up to date. You can do this by running the following commands:
# apt update
# apt upgrade
Step 3. Install PHP and Nginx
According to DokuWiki documentation, it requires at least PHP 7.2. Since the default PHP version on Debian 11 is version 7.4, we can simply install it from the default Debian 11 repository. Execute this command below to install nginx and PHP and also other requirements.
# apt install wget unzip nginx-full php-{bcmath,cli,curl,fpm,gd,gmp,json,mbstring,snmp,xml,zip}
Step 4. Configure Nginx
DokuWiki can run on almost all of the popular web servers that support PHP, but in this tutorial, we already installed nginx and it is time to configure it to host our DokuWiki website. Let’s create a new nginx server block for our website.
# nano /etc/nginx/sites-enabled/dokuwiki.conf
Paste the following into the file.
server {
listen 80;
server_name wiki.yourdomain.com;
return 301 https://$server_name$request_uri;
}

server {
listen 443 ssl;
ssl_certificate /etc/letsencrypt/live/wiki.yourdomain.com/fullchain.pem;
ssl_certificate_key /etc/letsencrypt/live/wiki.yourdomain.com/privkey.pem;

server_name wiki.yourdomain.com;

# Maximum file upload size is 4MB - change accordingly if needed
client_max_body_size 4M;
client_body_buffer_size 128k;

root /var/www/html/dokuwiki;
index doku.php;

#Remember to comment the below out when you're installing, and uncomment it when done.
#location ~ /(conf/|bin/|inc/|vendor/|install.php) { deny all; }

#Support for X-Accel-Redirect
location ~ ^/data/ { internal ; }

location ~ ^/lib.*\.(js|css|gif|png|ico|jpg|jpeg)$ {
expires 365d;
}

location / { try_files $uri $uri/ @dokuwiki; }

location @dokuwiki {
# rewrites "doku.php/" out of the URLs if you set the userwrite setting to .htaccess in dokuwiki config page
rewrite ^/_media/(.*) /lib/exe/fetch.php?media=$1 last;
rewrite ^/_detail/(.*) /lib/exe/detail.php?media=$1 last;
rewrite ^/_export/([^/]+)/(.*) /doku.php?do=export_$1&id=$2 last;
rewrite ^/(.*) /doku.php?id=$1&$args last;
}

location ~ \.php$ {
try_files $uri $uri/ /doku.php;
include fastcgi_params;
fastcgi_param SCRIPT_FILENAME $document_root$fastcgi_script_name;
fastcgi_param REDIRECT_STATUS 200;
fastcgi_pass unix:/var/run/php/php7.4-fpm.sock;
}
}
Save the file, then exit, do not restart or reload nginx at this time. It will throw an error because the configuration needs to access the SSL certificate, and we haven’t installed it yet.
Step 5. Install SSL/TLS Certificate
In this modern era, it is important to run a website in HTTPS mode. In this step, we will show you how to install an SSL/TLS certificate for your DokuWiki website using the free one from Let’s Encrypt.
# apt install python3-certbot-nginx
Then, invoke this command to issue an SSL/TLS certificate for your domain/subdomain. Make sure to replace dokuwiki.yourdomain.com with an actual domain or subdomain name pointing to your VPS.
# certbot certonly --nginx -d dokuwiki.yourdomain.com
The command will ask for your email address, and it will ask you whether to agree with the agreement or not. Finally, your SSL/TLS certificate will be generated if everything is okay.
Saving debug log to /var/log/letsencrypt/letsencrypt.log
Plugins selected: Authenticator nginx, Installer nginx
Obtaining a new certificate
Performing the following challenges:
http-01 challenge for dokuwiki.yourdomain.com
Waiting for verification...
Cleaning up challenges

IMPORTANT NOTES:
- Congratulations! Your certificate and chain have been saved at:
/etc/letsencrypt/live/dokuwiki.yourdomain.com/fullchain.pem
Your key file has been saved at:
/etc/letsencrypt/live/dokuwiki.yourdomain.com/privkey.pem
Your cert will expire on 2023-03-09. To obtain a new or tweaked
version of this certificate in the future, simply run certbot
again. To non-interactively renew *all* of your certificates, run
"certbot renew"
- If you like Certbot, please consider supporting our work by:

Donating to ISRG / Let's Encrypt: https://letsencrypt.org/donate
Donating to EFF: https://eff.org/donate-le
Certbot has now issued an SSL/TLS certificate for your domain/subdomain, we can restart nginx now.
# systemctl restart nginx
Step 6. Install DokuWiki
Go to your https://dokuwiki.yourdomain.com/install.php to initiate the DokuWiki installation; use any web browser you like.
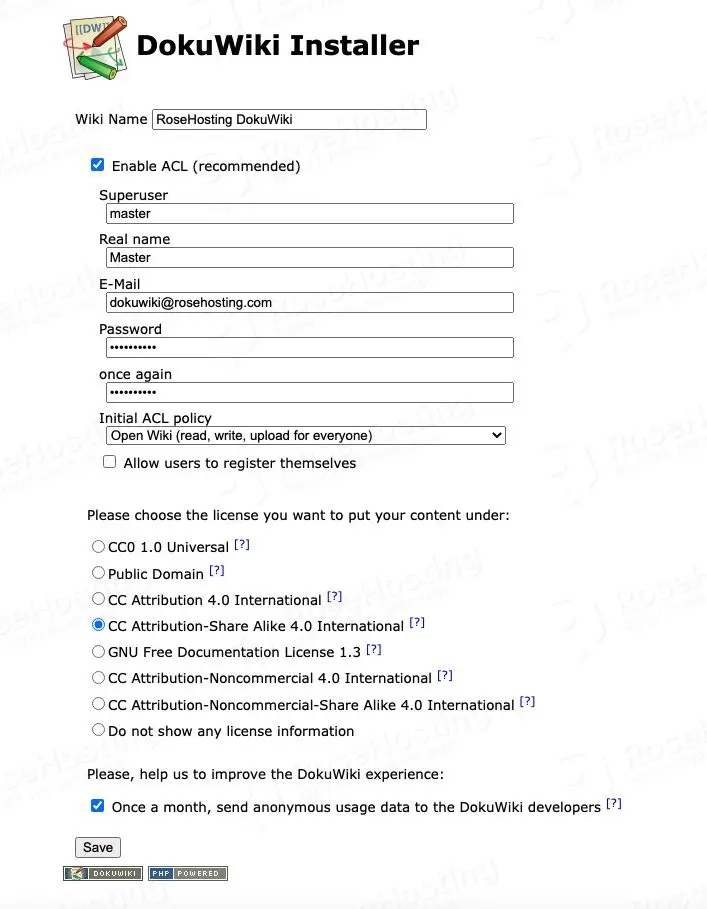
In this step, you can start installing and configuring your DokuWiki website. Fill in the boxes to give your DokuWiki website name and create a super administrator. You would also want to enable ACL by ticking the ‘Enable ACL’ tickbox. You can also tick the ‘Allow users to register themselves’ if you want visitors to be able to register on your website. Do not forget to click on the save button. You do not need to enter any database credentials, and DokuWiki does not require a database server to run.
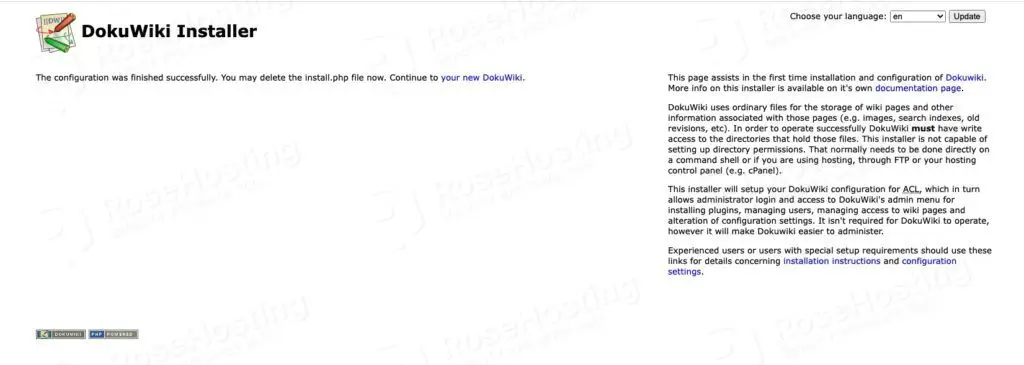
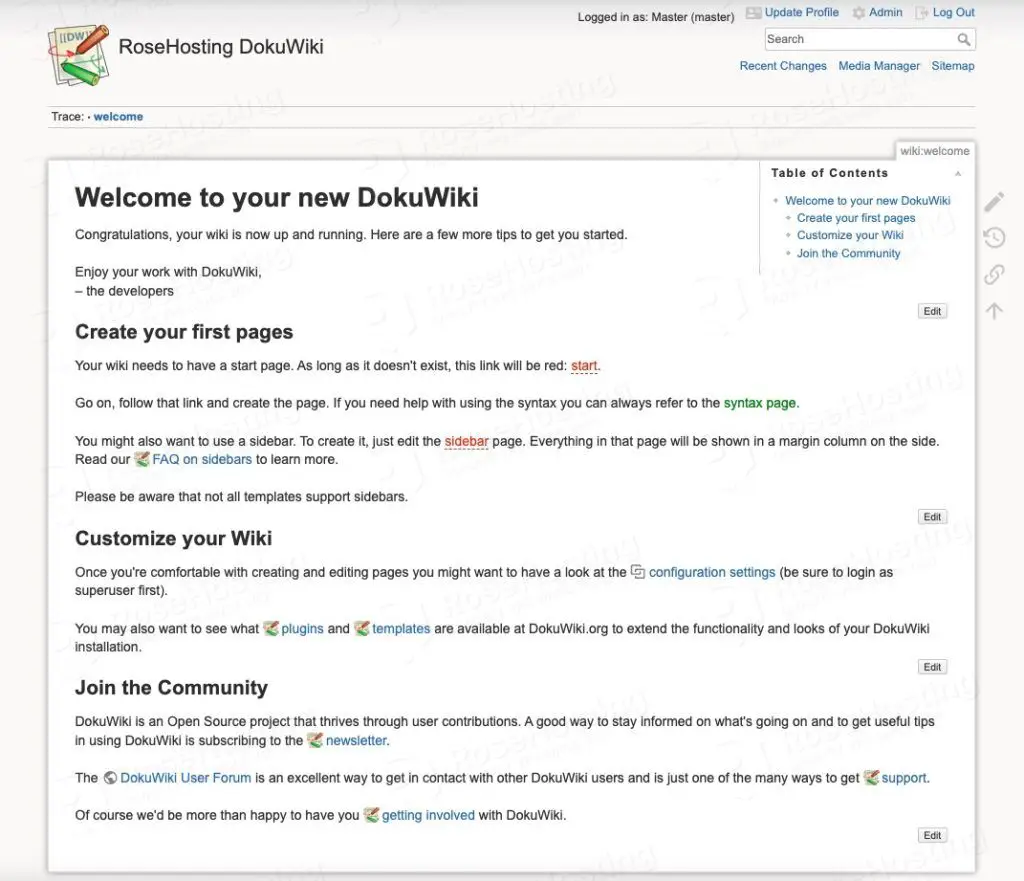
The installation has been completed. You can click the ‘your new DokuWiki’ link to see your welcome page.
To start configuring the website, you can click on the ‘Log In’ link on the top right.
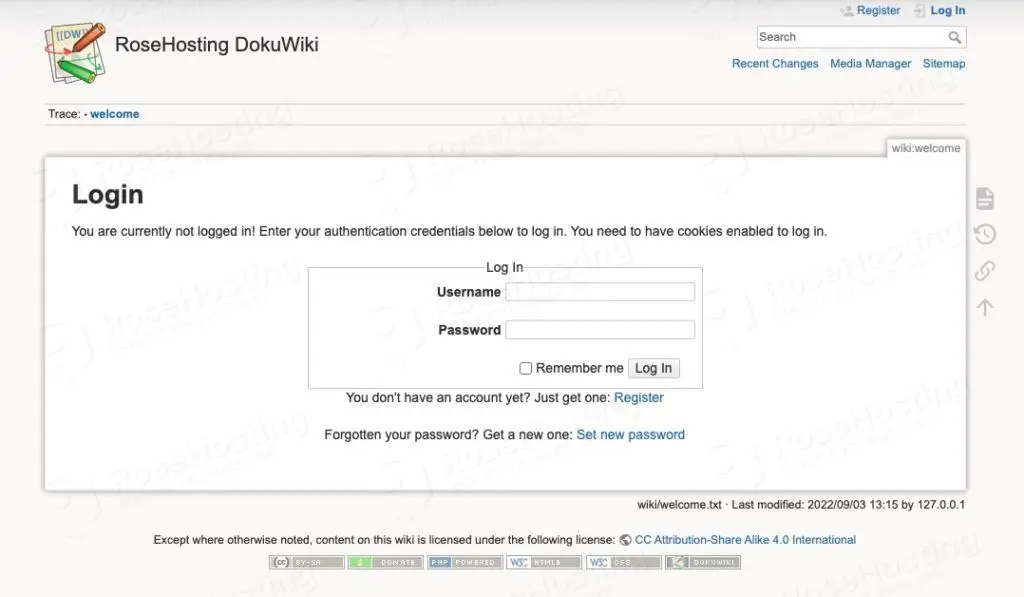
Use the username and password you created when installing DokuWiki to log in to the backend. Once logged in, it will bring you to the administrator dashboard.
You can start customizing your DokuWiki website, like installing extensions, templates, etc, by going to the administration page after clicking on the ‘Admin’ link on the top right.
That’s all, and you have successfully installed DokuWiki on Debian 11.
We installed and configured everything. Now you need to modify your DokuWiki nginx server block.
# nano /etc/nginx/sites-enabled/dokuwiki.conf
Find this line
#location ~ /(conf/|bin/|inc/|vendor/|install.php) { deny all; }
Uncomment it, and it should look like this
location ~ /(conf/|bin/|inc/|vendor/|install.php) { deny all; }
Save the file, then restart nginx
# systemctl restart nginx
Congratulation! You followed this article, and now you should be able to install DokuWiki on Debian 11.
Of course, you don’t have to spend your time and follow this article to install DokuWiki on Debian 11 if you have an active Debian VPS Hosting service with us, in which case you can simply ask our expert Linux admins to install DokuWiki for you. They are available 24×7 and will take care of your request immediately.
PS. If you liked this post on how to install DokuWiki on Debian 11, please share it with your friends on social networks or simply leave a reply below. Thanks.
Does installing dokuWiki require strong concentration?
Yes, you need to carefully follow the steps to install DokuWiki. If you have an active VPS Hosting service with us, you can simply ask our expert Linux admins to install DokuWiki for you