

Jenkins is an open-source automation server that helps developers to automate the software development process including, build, test, and deployment. Jenkins allows you to manage and monitor any code changes in GitHub, Bitbucket, or GitLab and build the code automatically using the tools like Maven and Gradle. Using Jenkins, you can efficiently distribute work across multiple machines.
In this guide, we will show you how to install Jenkins on Ubuntu 20.04.
Table of Contents
Prerequisites
- An Ubuntu 20.04 VPS (we’ll be using our SSD 2 VPS plan)
- Access to the root user account (or access to an admin account with root privileges)
Step 1: Log in to the Server & Update the Server OS Packages
First, log in to your Ubuntu 20.04 server via SSH as the root user:
ssh root@IP_Address -p Port_number
You will need to replace ‘IP_Address’ and ‘Port_number’ with your server’s respective IP address and SSH port number. Additionally, replace ‘root’ with the username of the admin account if necessary.
Before starting, you have to make sure that all Ubuntu OS packages installed on the server are up to date. You can do this by running the following commands:
apt-get update -y
apt-get upgrade -y
Step 2: Install Java
Jenkins is a java-based application. So Java must be installed in your system if not installed you can install it using the following command:
apt-get install default-jdk -y
This will install the Java version 11 in your system. You can verify the Java version with the following command:
java -version
You should get the following output:
openjdk version "11.0.9.1" 2020-11-04
OpenJDK Runtime Environment (build 11.0.9.1+1-Ubuntu-0ubuntu1.20.04)
OpenJDK 64-Bit Server VM (build 11.0.9.1+1-Ubuntu-0ubuntu1.20.04, mixed mode, sharing)
Step 3: Install Jenkins
By default, Jenkins is not available in the Ubuntu standard repository so you will need to add the jenkins repository to your system.
First, install the necessary dependencies with the following command:
apt-get install apt-transport-https gnupg2 -y
Next, download and add the GPG key with the following command:
wget -q -O - https://pkg.jenkins.io/debian/jenkins.io.key | apt-key add -
Next, add the Jenkins repository with the following command:
sh -c 'echo deb http://pkg.jenkins.io/debian-stable binary/ > /etc/apt/sources.list.d/jenkins.list'
Once the repository is added, update the repository cache and install the Jenkins with the following command:
apt-get update -y
apt-get install jenkins -y
After installing Jenkins, verify the status of Jenkins using the command below:
systemctl status jenkins
You should get the following output:
● jenkins.service - LSB: Start Jenkins at boot time
     Loaded: loaded (/etc/init.d/jenkins; generated)
     Active: active (exited) since Mon 2020-12-21 05:34:22 UTC; 6s ago
       Docs: man:systemd-sysv-generator(8)
      Tasks: 0 (limit: 2353)
     Memory: 0B
     CGroup: /system.slice/jenkins.service

Dec 21 05:34:20 ubuntu2004 systemd[1]: Starting LSB: Start Jenkins at boot time...
Dec 21 05:34:21 ubuntu2004 jenkins[15472]: Correct java version found
Dec 21 05:34:21 ubuntu2004 jenkins[15472]:  * Starting Jenkins Automation Server jenkins
Dec 21 05:34:21 ubuntu2004 su[15526]: (to jenkins) root on none
Dec 21 05:34:21 ubuntu2004 su[15526]: pam_unix(su-l:session): session opened for user jenkins by (uid=0)
Dec 21 05:34:21 ubuntu2004 su[15526]: pam_unix(su-l:session): session closed for user jenkins
Dec 21 05:34:22 ubuntu2004 jenkins[15472]:    ...done.
Dec 21 05:34:22 ubuntu2004 systemd[1]: Started LSB: Start Jenkins at boot time.
Jenkins is now running and listening on port 8080. You can verify it with the following command:
ss -antpl | grep 8080
You should get the following output:
LISTEN 0 50 *:8080 *:* users:(("java",pid=15539,fd=141))
Step 4: Configure Nginx as a Reverse Proxy for Jenkins
It is a good idea to use Nginx as a reverse proxy to access the Jenkins. To do so, install the Nginx using the following command:
apt-get install nginx -y
Once the nginx is installed, create an Nginx configuration file with the following command:
nano /etc/nginx/conf.d/jenkins.conf
Add the following lines:
upstream jenkins {
  keepalive 32;
  server 127.0.0.1:8080;
}

# Required for Jenkins websocket agents
map $http_upgrade $connection_upgrade {
        default upgrade;
        '' close;
}

server {
  listen          80;

  server_name     jenkins.domain.com;

  # this is the jenkins web root directory
  # (mentioned in the /etc/default/jenkins file)
  root            /var/run/jenkins/war/;

  access_log      /var/log/nginx/access.log;
  error_log       /var/log/nginx/error.log;
  # pass through headers from Jenkins that Nginx considers invalid
  ignore_invalid_headers off;

  location ~ "^/static/[0-9a-fA-F]{8}\/(.*)$" {
    rewrite "^/static/[0-9a-fA-F]{8}\/(.*)" /$1 last;
  }

  location /userContent {
    root /var/lib/jenkins/;
    if (!-f $request_filename){
      #this file does not exist, might be a directory or a /**view** url
      rewrite (.*) /$1 last;
      break;
    }
    sendfile on;
  }

  location / {
      sendfile off;
      proxy_pass         http://jenkins;
      proxy_redirect     default;
      proxy_http_version 1.1;

      # Required for Jenkins websocket agents
      proxy_set_header   Connection        $connection_upgrade;
      proxy_set_header   Upgrade           $http_upgrade;

      proxy_set_header   Host              $host;
      proxy_set_header   X-Real-IP         $remote_addr;
      proxy_set_header   X-Forwarded-For   $proxy_add_x_forwarded_for;
      proxy_set_header   X-Forwarded-Proto $scheme;
      proxy_max_temp_file_size 0;

      #this is the maximum upload size
      client_max_body_size       10m;
      client_body_buffer_size    128k;

      proxy_connect_timeout      90;
      proxy_send_timeout         90;
      proxy_read_timeout         90;
      proxy_buffering            off;
      proxy_request_buffering    off; # Required for HTTP CLI commands
      proxy_set_header Connection ""; # Clear for keepalive
  }

}
Save and close the file then verify the Nginx configuration using the following command:
nginx -t
You should get the following output:
nginx: the configuration file /etc/nginx/nginx.conf syntax is ok
nginx: configuration file /etc/nginx/nginx.conf test is successful
Finally, restart the Nginx service with the following command:
systemctl restart nginx
Step 5: Access Jenkins
Now, open your web browser and access the Jenkins web interface using the URL http://jenkins.domain.com. You should see the following page:
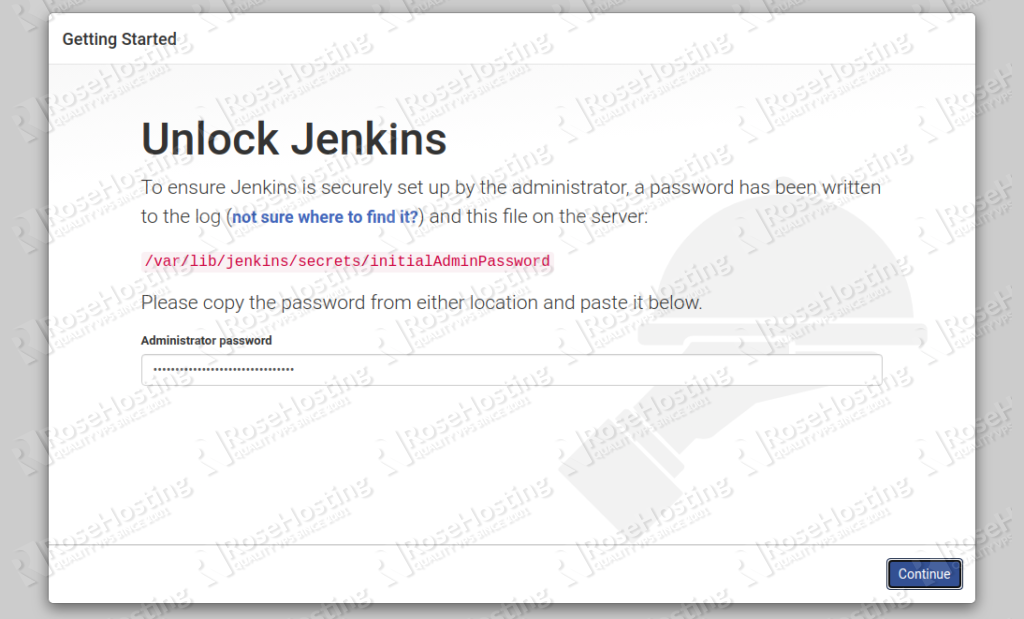
Now, open your terminal and print the Jenkins password using the following command:
cat /var/lib/jenkins/secrets/initialAdminPassword
You should get the Jenkins admin password in the following output:
00c7fa4f27c142a3ab8e6867eddb1bdd
Next, back to your web interface and paste the above password and click on the Continue button. You should see the following screen:
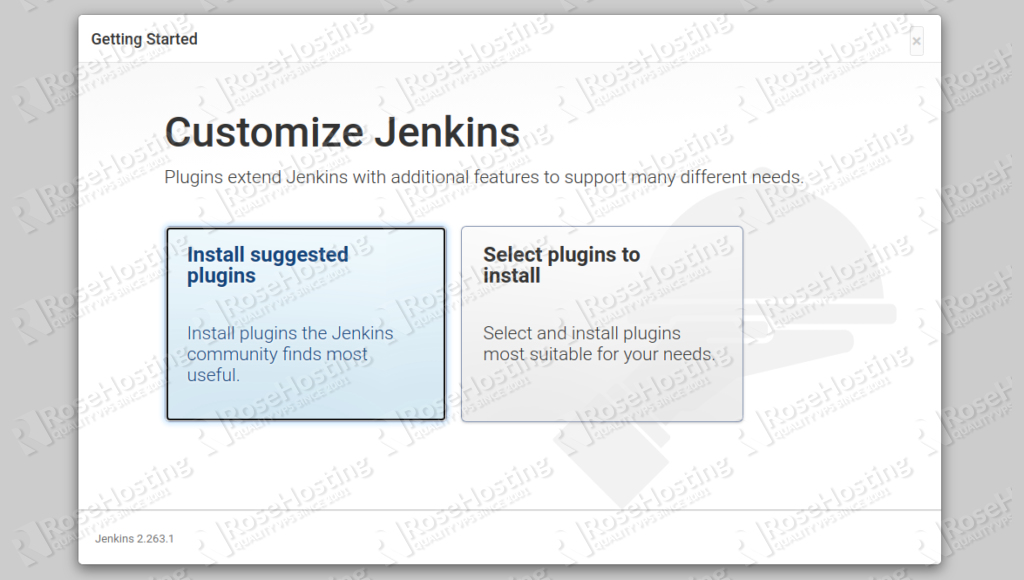
Click on the install suggested plugins button. Once all the plugins are installed, you should get the following page:
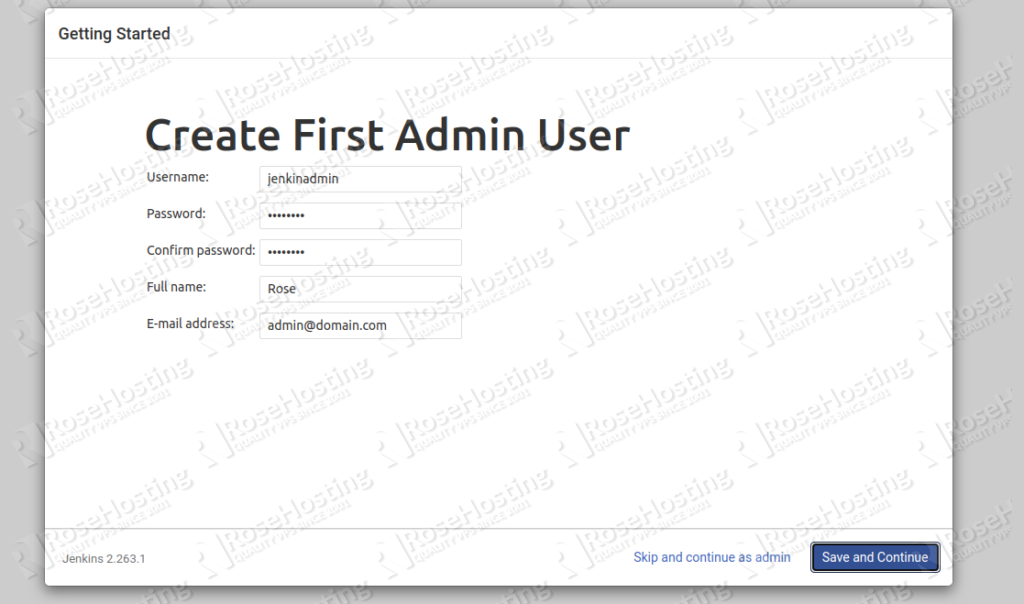
Provide your desired username, password, email and click on the Save and Continue button. You should see the following page:
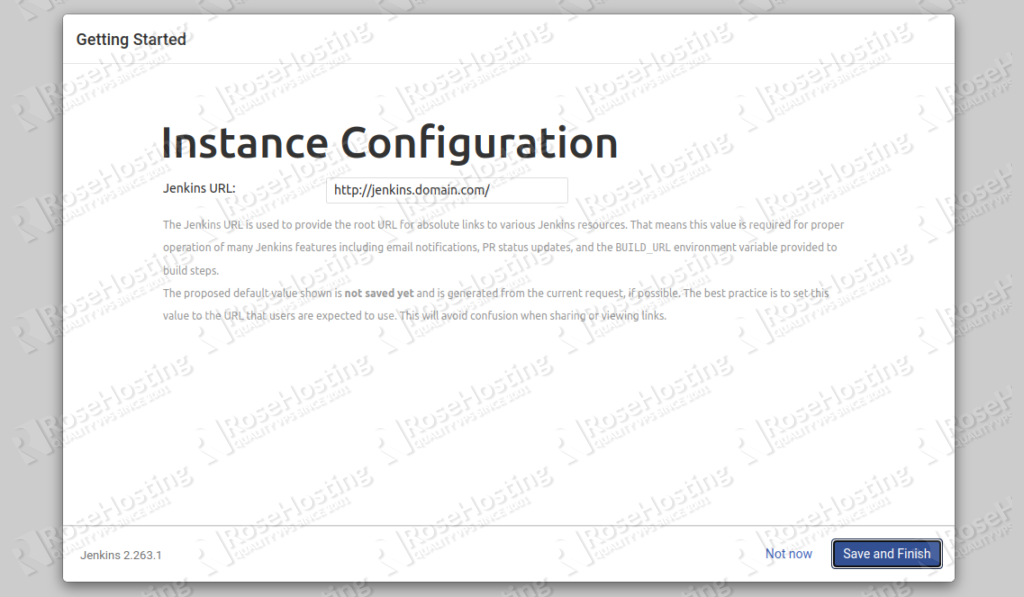
Provide your Jenkins website URL and click on the Save and Finish button. You should see the following page:
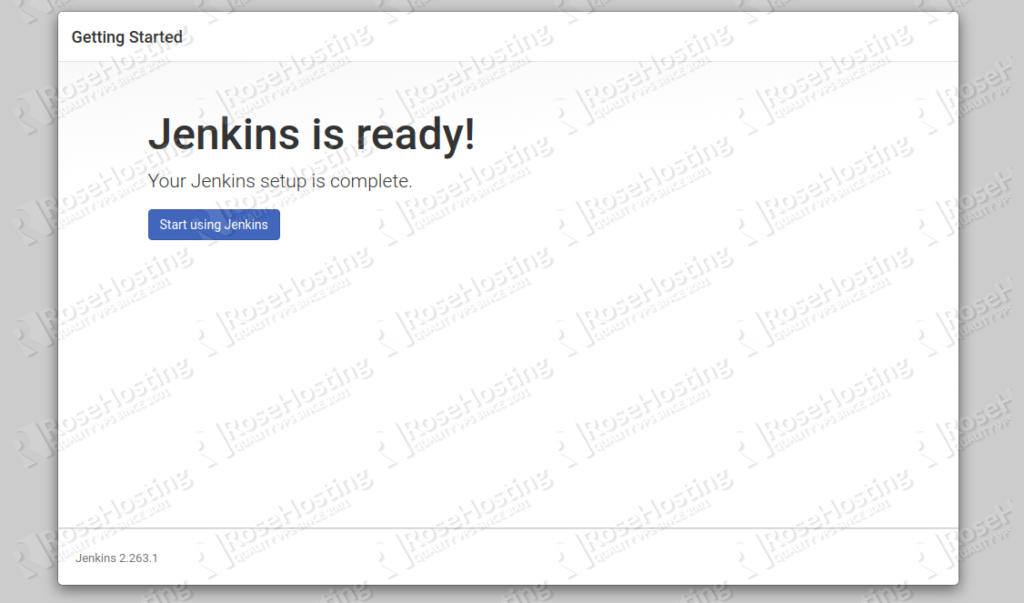
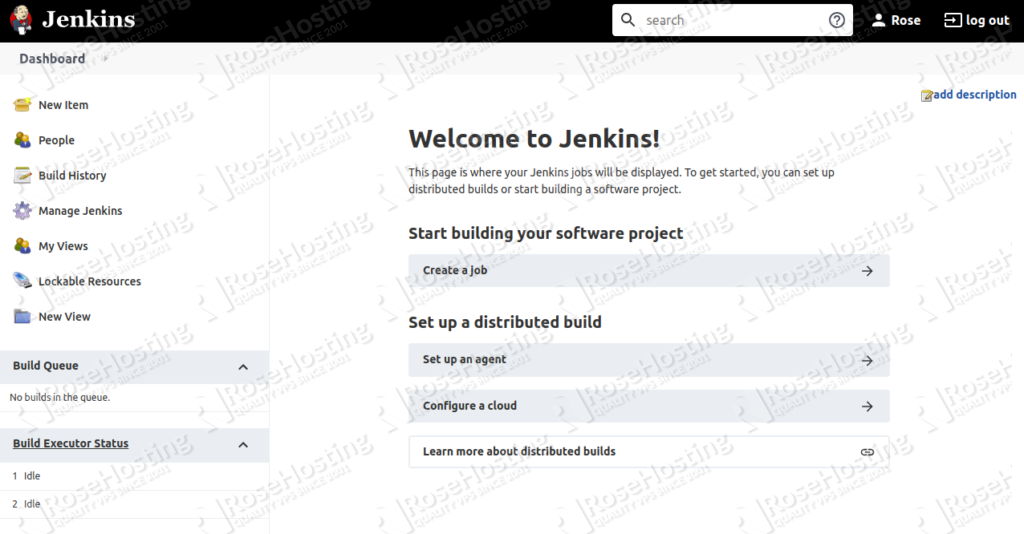
Click on the Start using Jenkins. You should see the Jenkins default dashboard in the following page:
Of course, you don’t have to do any of this if you use one of our Managed Jenkins VPS Hosting services, in which case you can simply ask our expert Linux admins to setup this for you. They are available 24×7 and will take care of your request immediately.
PS. If you liked this post please share it with your friends on the social networks using the buttons on the left or simply leave a reply below. Thanks.