
Matomo, formerly known as Piwik, is open-source web analytics software used to track websites’ visitors. As an alternative to Google Analytics, Matomo should be considered by those seeking complete control over their website’s visitor statistics. Matomo allows you to host your own data, ensuring full control over your analytics and compliance with privacy regulations like GDPR and CCPA. With this application, you can customize your analytics dashboard to focus on the metrics that matter most to your business. In this article, we will show you how to install Matomo on Ubuntu 26.04.
Table of Contents
Prerequisites
- An Ubuntu 26.04 VPS with at least 2GB of RAM
- SSH access with sudo privileges, or root access
Conventions
# – given commands should be executed with root privileges either directly as a root user or by use of sudo command
$ – given commands should be executed as a regular user
Step 1. Update the System
First of all, we need to log in to our Ubuntu 26.04 server through SSH:
ssh root@IP_Address -p Port_numberReplace “root” with a user that has sudo privileges. Additionally, replace “IP_Address” and “Port_Number” with your server’s respective IP address and SSH port number. Next, let’s make sure that we’re on Ubuntu 26.04. You can verify it with this command:

# lsb_release -aYou should get this as the output:
No LSB modules are available.
Distributor ID:    Ubuntu
Description:    Ubuntu 26.04 LTS
Release:    26.04
Codename:    resolute
Then, run the following command to make sure that all installed packages on the server are updated to their latest available versions:
# apt update That’s it; the system package information should be updated now.
Step 2. Install PHP
Ubuntu 26.04 ships with PHP 8.5, and Matomo version 5 supports this PHP version. For more information on the system requirements, refer to the documentation page at https://matomo.org/faq/on-premise/matomo-requirements/. Let’s install PHP and its required extensions.
# apt install php8.5-{fpm,xml,intl,common,curl,mbstring,mysql,gd,imagick,zip} Upon installation, PHP-FPM should be up and running. We will use the default PHP-FPM configuration.
Step 3. Install MySQL Server
For the database engine, Matomo only supports MySQL and MariaDB. In this step, we are going to install MySQL server from the default Ubuntu 26.04 repository. To install MySQL server, execute the command below:
# apt install mysql-server MySQL should be up and running now.
Step 4. Create a Database
On Ubuntu 26.04, MySQL will start automatically upon installation. Since the database server is now up and running, we can log in to the MySQL shell and create a database for our Matomo website.
# mysql Once logged in to the MySQL shell, we can run the following commands.
mysql> CREATE DATABASE matomo;
mysql> CREATE USER 'matomo'@'localhost' IDENTIFIED BY 'm0d1fyth15';
mysql> GRANT ALL PRIVILEGES ON matomo.* TO 'matomo'@'localhost';
mysql> FLUSH PRIVILEGES;
mysql> \q
Remember to replace m0d1fyth15 with a stronger password.
Step 5. Install and Configure Nginx
Matomo supports Apache, Nginx, IIS, LiteSpeed, etc as the web server. In this tutorial, we will use nginx. Let’s install and create an nginx server block now.
# apt install nginx -yThen, create an nginx server block.
# nano /etc/nginx/conf.d/matomo.confPaste these lines below into the file. You can replace matomo.yourdomain.com with your own domain or subdomain. Make sure the domain/subdomain is already pointing to your server.
upstream matomo {
server unix:/run/php/php8.5-fpm.sock;
}

server {
    listen 80;
    server_name matomo.yourdomain.com;
    access_log /var/log/nginx/matomo.access.log;
    error_log /var/log/nginx/matomo.error.log;

    add_header Referrer-Policy origin always;
    add_header X-Content-Type-Options "nosniff" always;
    add_header X-XSS-Protection "1; mode=block" always;

    root /var/www/html/matomo/;

    index index.php;

    location ~ ^/(index|matomo|piwik|js/index|plugins/HeatmapSessionRecording/configs)\.php$ {
        include snippets/fastcgi-php.conf;
        fastcgi_param HTTP_PROXY "";
        fastcgi_pass matomo;

    }

    location ~* ^.+\.php$ {
        deny all;
        return 403;
    }

    location / {
        try_files $uri $uri/ =404;
    }

    location ~ ^/(config|tmp|core|lang) {
        deny all;
        return 403;
    }

    location ~ /\.ht {
        deny  all;
        return 403;
    }

    location ~ js/container_.*_preview\.js$ {
        expires off;
        add_header Cache-Control 'private, no-cache, no-store';
    }

    location ~ \.(gif|ico|jpg|png|svg|js|css|htm|html|mp3|mp4|wav|ogg|avi|ttf|eot|woff|woff2)$ {
        allow all;
        expires 1h;
        add_header Pragma public;
        add_header Cache-Control "public";
    }

    location ~ ^/(libs|vendor|plugins|misc|node_modules) {
        deny all;
        return 403;
    }

    location ~/(.*\.md|LEGALNOTICE|LICENSE) {
        default_type text/plain;
    }
}
Save the file, then exit from the editor.
Step 6. Download Matomo
We need to download the Matomo installation file. Let’s just download it now.
# cd /tmp
# wget https://builds.matomo.org/matomo.zip
Now, let’s extract it and store the extracted files to /var/www/html/matomo
# unzip matomo.zip -d /var/www/html/The command above will extract matomo.zip and store the files in /var/www/html/matomo. Let’s restart nginx now.
# systemctl restart nginxStep 7. Install Matomo
At this point, you can go to http://matomo.yourdomain.com to start the interactive installation.
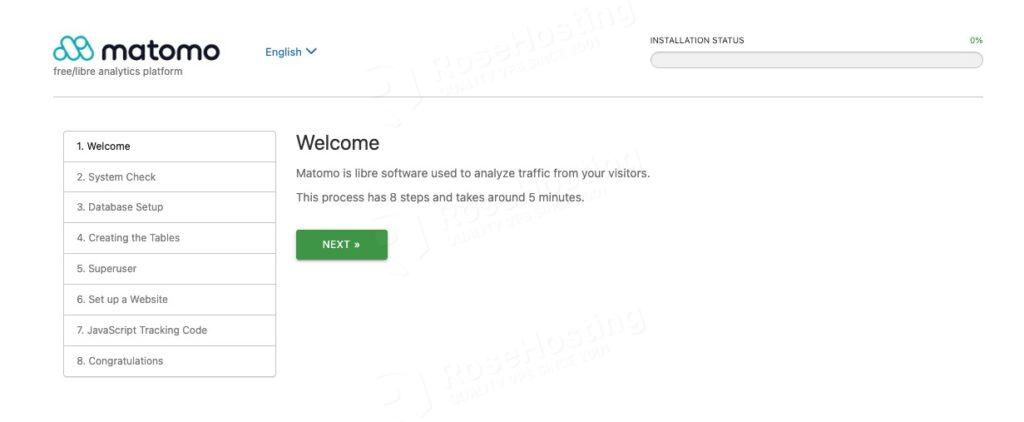
Simply click on the NEXT button to start it.
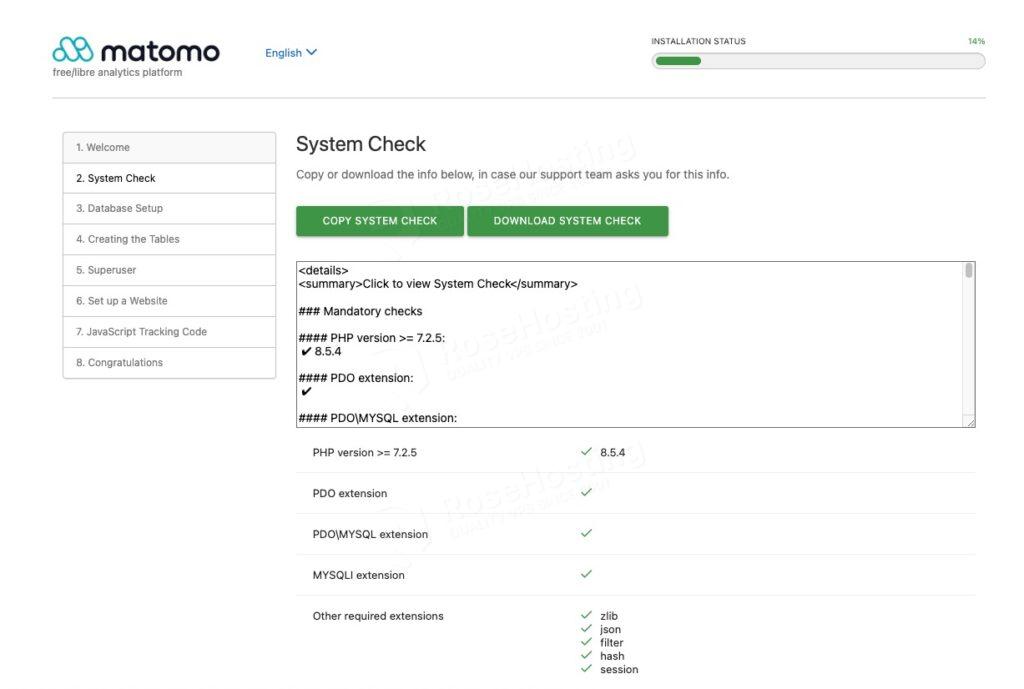
In this step, you will need to scroll down and check if everything meets the requirements.
Scroll down again, then click NEXT
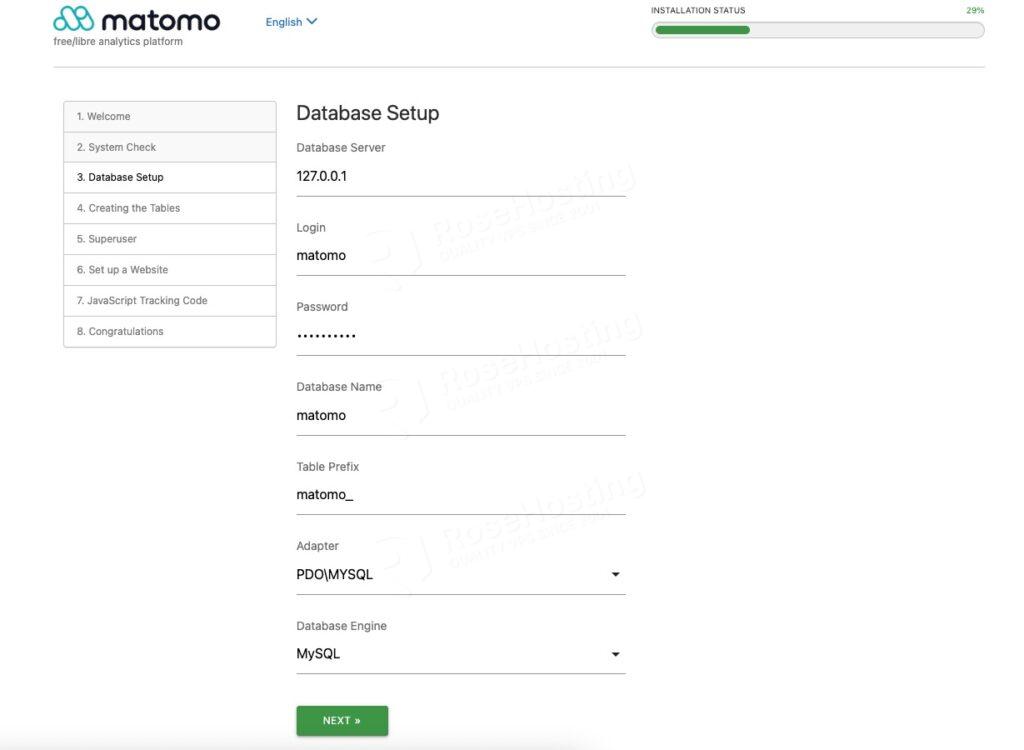
Fill in all the database details here, then click NEXT to continue
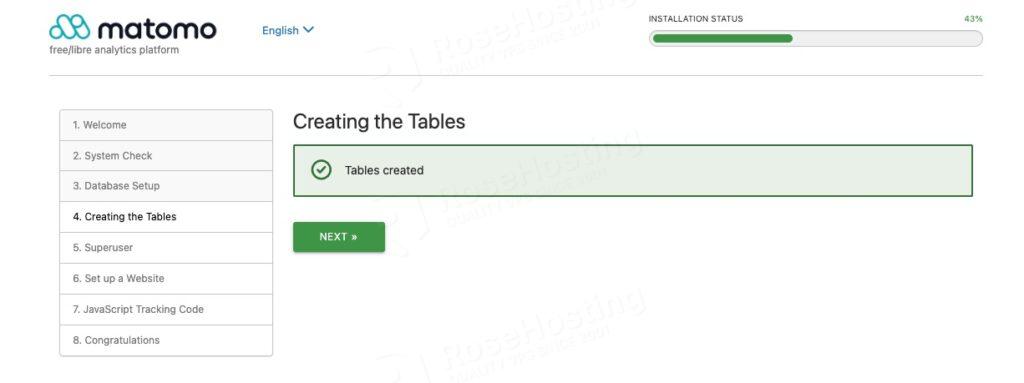
In this step, the tables have been created under your Matomo database. Click NEXT to continue.
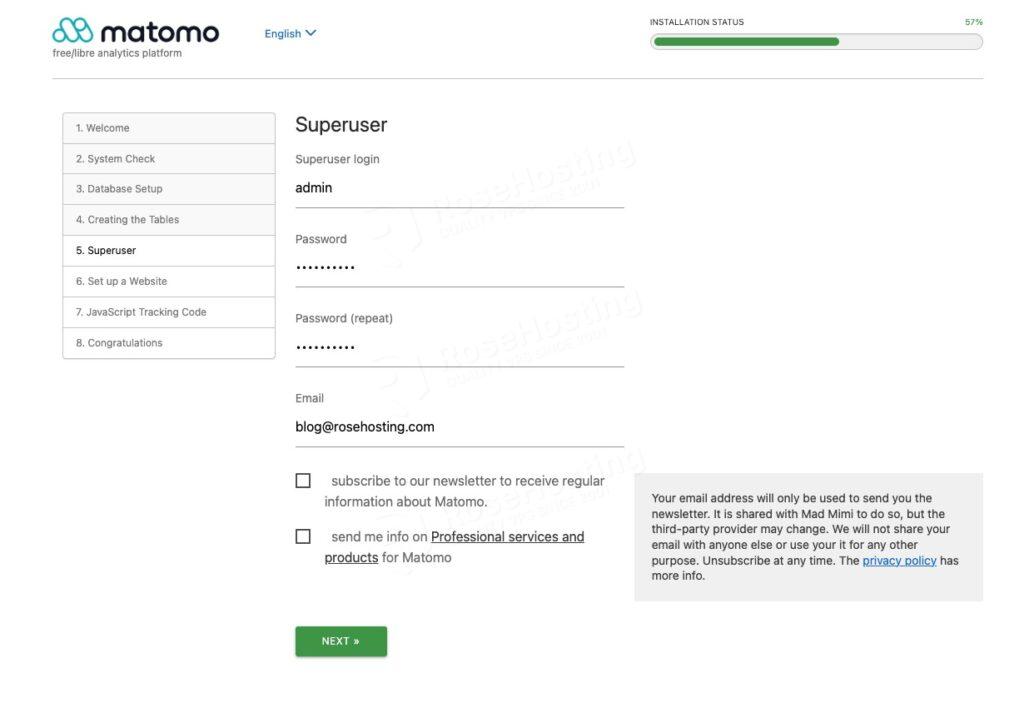
Create a new administrative user. Make sure to use a strong password. Click NEXT to continue.
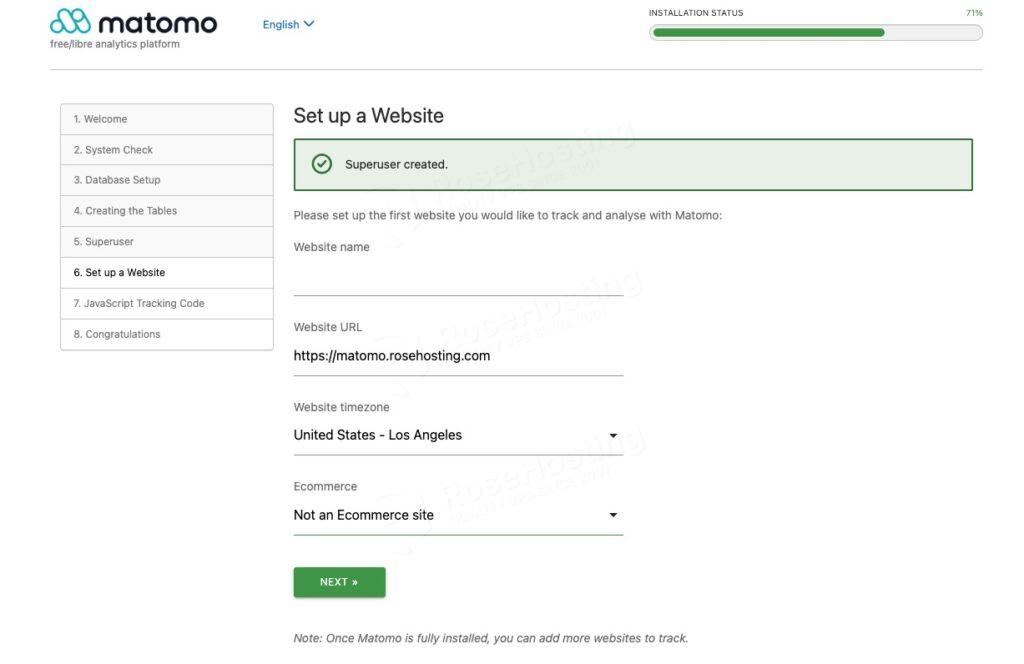
Fill in everything, then click on the NEXT button to continue.
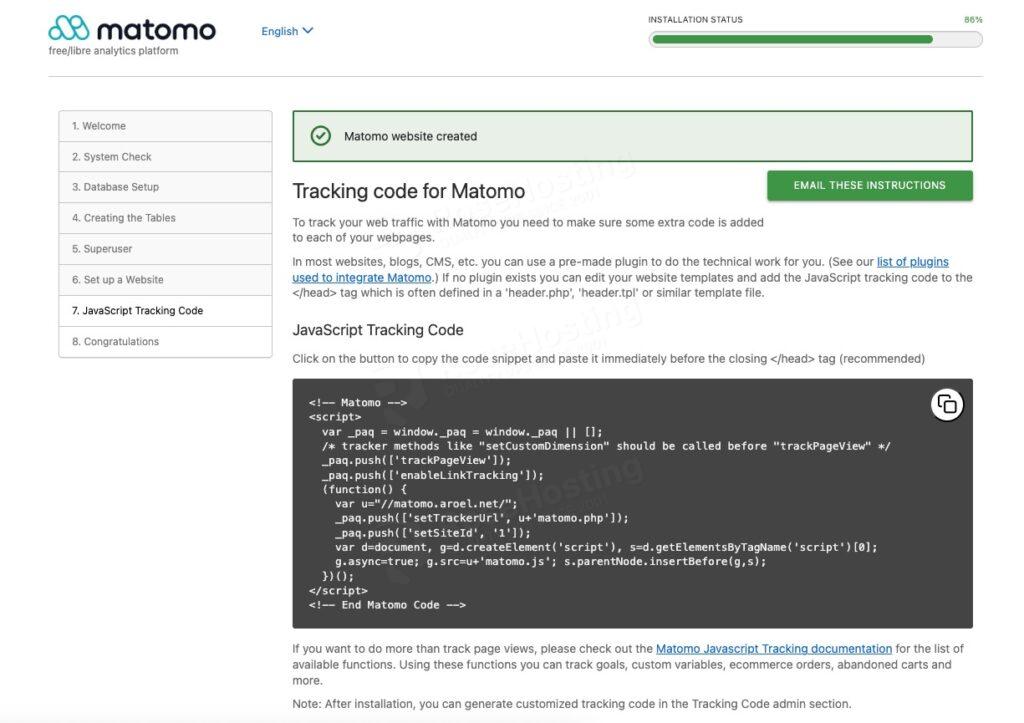
In this step, you receive a tracking code. You can add it to a website you want to monitor. Scroll down to finalize the installation and click on the NEXT button
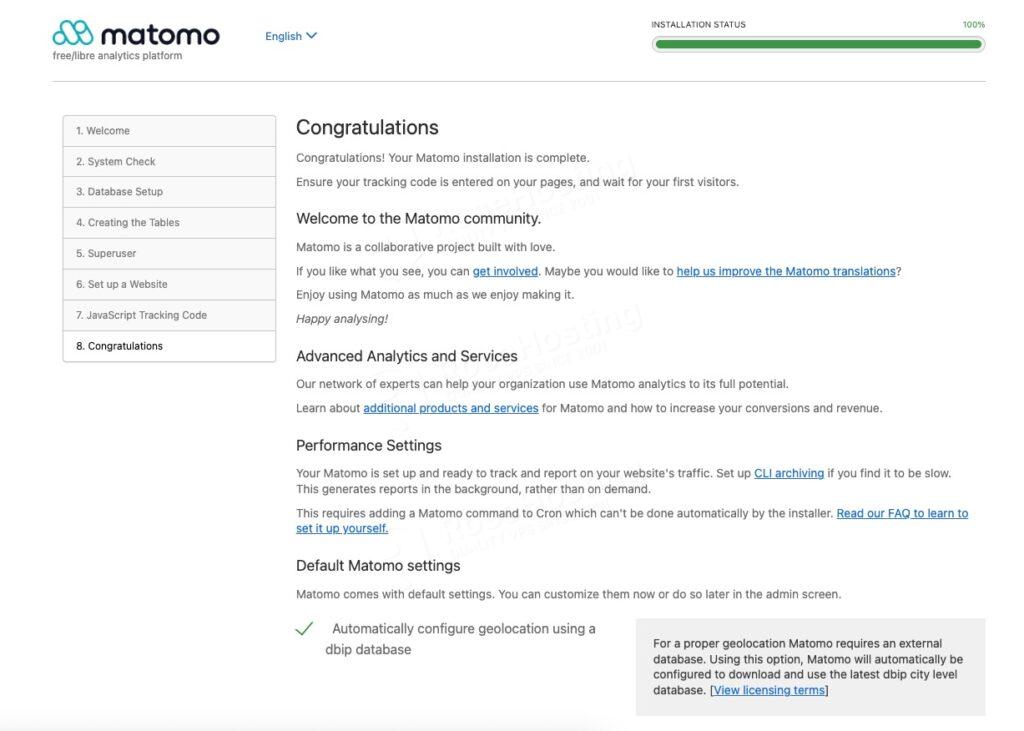
Finally, the installation has completed. You can scroll down and click on the CONTINUE TO MATOMO button to log in to the backend.
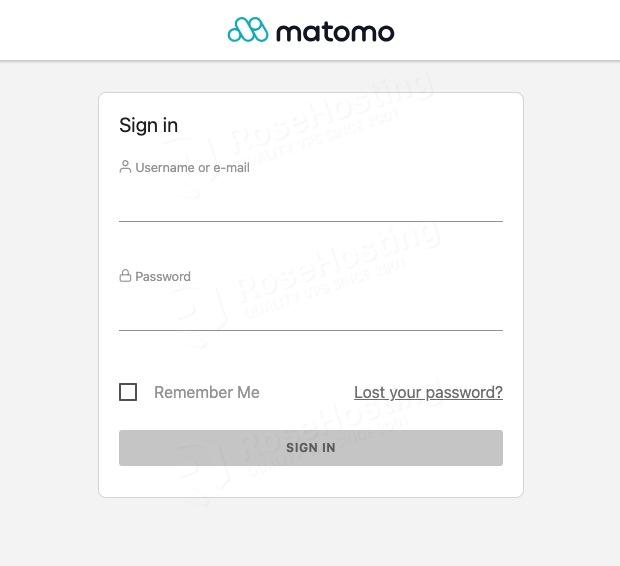
You can log in using the administrative user credentials you created earlier.
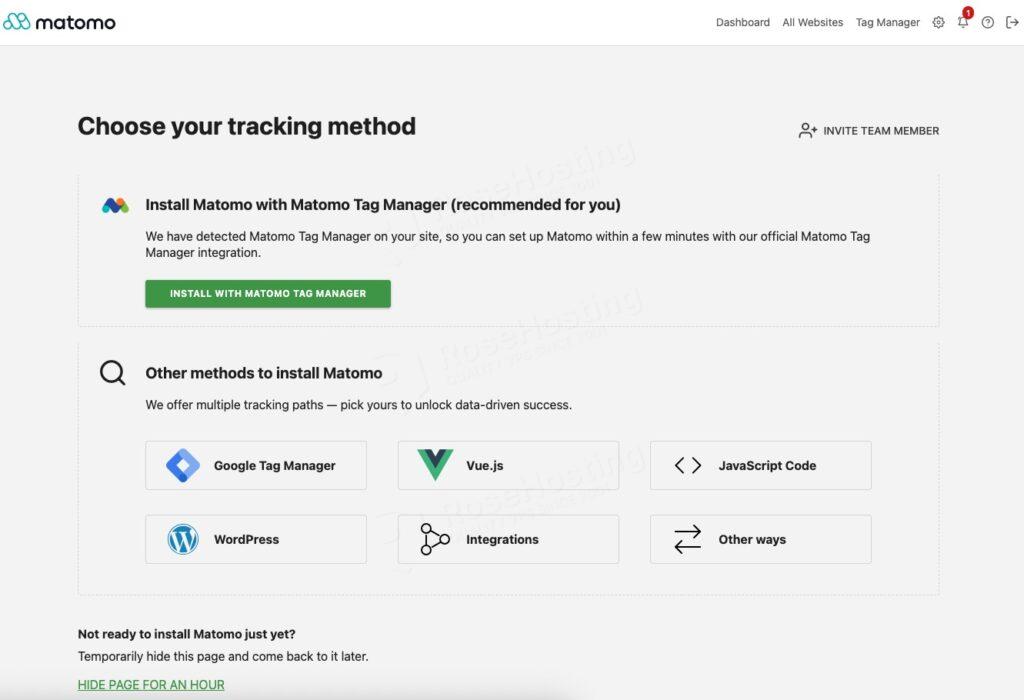
Once logged in, you can start working and customizing your Matomo website.
You Managed to Install Matomo on Ubuntu 26.04
Congratulations! You have followed this article and successfully installed Matomo on Ubuntu 26.04.
Of course, you don’t have to install Matomo on Ubuntu 26.04 if you use one of our managed Matomo analytics hosting services, in which case you can simply ask our expert Linux admins to install Matomo on Ubuntu 26.04 for you. Our experienced administrators are available 24×7 and will address your request immediately.
If you liked this post on how to install Matomo on Ubuntu 26.04, please share it with your friends or leave a comment in the section below.