MERN stack is a combination of MongoDB, Express, React, Node. All of them are based on Javascript and the stack is used to build modern web applications. It is comprising the front-end (React), back-end (Node and Express), and database components (MongoDB).
MongoDB
MongoDB is a cross-platform document-oriented database program that belongs to a family of NoSQL. NoSQL is different from traditional table-based SQL databases (MySQL and PostgreSQL), it saves data using documents and collections then stores them in binary JSON format. It allows for large changes to be made to databases with no downtime.
Express
ExpressJS is a prebuilt web application framework for NodeJS, it helps in building robust and scalable web applications. ExpressJS is designed for developing single-page, multi-page, and hybrid modern web applications.
React
ReactJS is an open-source JavaScript library for building responsive user interfaces. ReactJS is simple to use, fast and swift. It focuses on building natural and interactive web applications.
Node
NodeJS is an open-source Javascript runtime environment that lets us develop fast and scalable web applications mainly used for backend operations and can be used together with frontend JavaScript frameworks like Angular, React, Vue and others.
In this tutorial, we will show you how to install MongoDB, Express, React, Node stack for JS-based applications on Ubuntu 20.04.
Table of Contents
Prerequisites
- A server with Ubuntu 20.04. For the purposes of this tutorial, we’ll be using one of our Managed Ubuntu 20.04 VPSes with 4GB of RAM.
- A root user access or regular user with sudo privileges.
- Note: In this tutorial, run all commands without “sudo” if you execute them from the root user.
Step 1: Log in via SSH and Update
Log in to your Ubuntu 20.04 VPS with SSH as the root user:
ssh sshuser@IP_Address -p Port_number
Replace “sshuser” with a user that has sudo privileges, or root. Additionally, replace “IP_Address” and “Port_Number” with your server’s respective IP address and SSH port.
Once logged in, you can check whether you have the proper Ubuntu 20.04 version installed on your server with the following command:
$ lsb_release -a
You should get this output:
No LSB modules are available.
Distributor ID: Ubuntu
Description: Ubuntu 20.04.2 LTS
Release: 20.04
Codename: focal
Then, run the following command to make sure that all installed packages on the server are updated to their latest available versions:
$ sudo apt update
This ensures compatibility between packages.
Step 2: Install MongoDB
We can install MongoDB from the official Ubuntu 20.04 software package repositories. But, the MongoDB team does not maintain this version and it comes with version 3.6.8 of MongoDB. In this article, we will install MongoDB 4.4 which is the latest available version. However, you can always check if a new version of MongoDB is available on their official website.
In order to install the MongoDB 4.4 Community Edition on Ubuntu, we need to import the public key used by the package management system. We can do that with the following command:
$ echo "deb [ arch=amd64,arm64 ] https://repo.mongodb.org/apt/ubuntu focal/mongodb-org/4.4 multiverse" | sudo tee /etc/apt/sources.list.d/mongodb-org-4.4.list
$ wget -qO – https://www.mongodb.org/static/pgp/server-4.4.asc | sudo apt-key add –
After adding the repository, we can update the local package database
$ sudo apt update
Run the two commands below to install, start and enable MongoDB server.
$ sudo apt install mongodb-org* -y
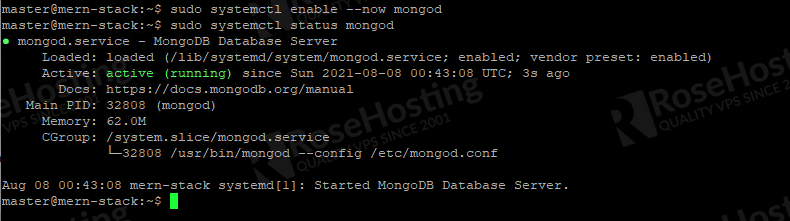
$ sudo systemctl enable --now mongod
We can check MongoDB status by running this command
$ sudo systemctl status mongod
Let proceed with creating a password for MongoDB user ‘admin’
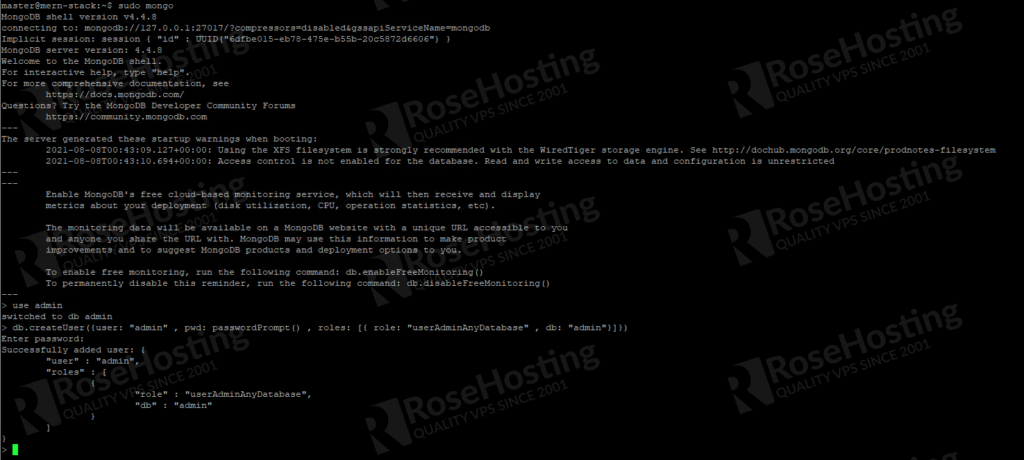
$ sudo mongo
Once we are in the Mongo shell, run these commands.
use admin
db.createUser({user: "admin" , pwd: passwordPrompt() , roles: [{ role: "userAdminAnyDatabase" , db: "admin"}]})
With this command, you will create a new password for MongoDB user ‘admin’. Please note that you cannot use ‘@’ sign as a part of your password string. If you use ‘@’ in your password, you will get “MongoParseError: Unescaped at-sign in authority” error message when trying to connect to the database from your Express Application.
Type quit() to exit MongoDB shell.
quit()
Step 3: Install ExpressJS, React and NodeJS
To install ExpressJS and React, we need to install NPM. NPM is node package manager, a dependency management tool containing all libraries and other tools to manage the development of JavaScript applications.
To install NPM, we can run this command:
$ sudo apt install npm -y
To verify the installation, we can check the npm version through the command:
$ npm -v
While installing NPM, NodeJS will also be automatically installed. So, you do not need to invoke a command to install NodeJS. To verify that NodeJS is installed, you can run this command:
$ node -v
Let’s proceed with the next step
Install Create-React-App tool
For beginners, create-react-app will help to install all tools required to build React applications. To install create-react-app we can run this command:
$ sudo npm install -g create-react-app
Now, let’s proceed with creating an app using create-react-app
$ create-react-app myfirstapp
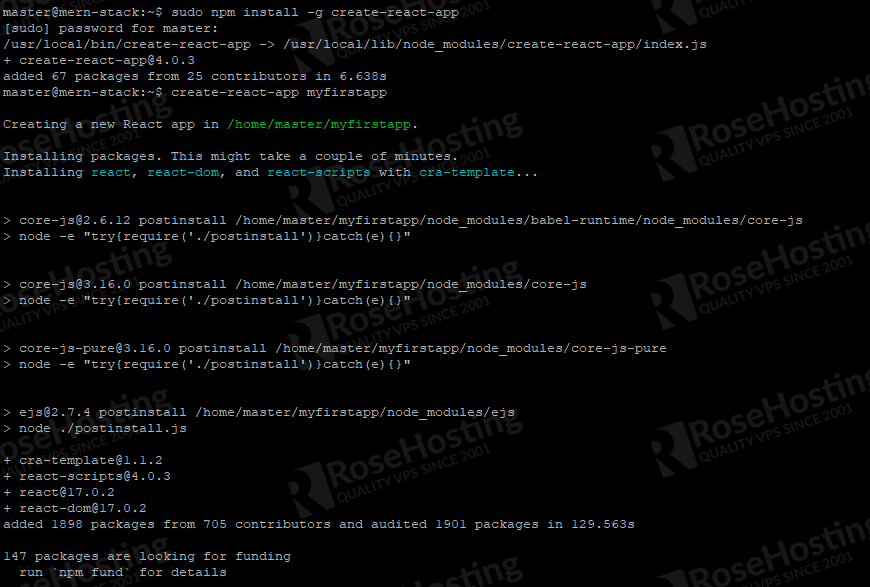
The command will create a directory named “myfirstapp” in your current working directory. Once completed, you will see a message like this:
Success! Created myfirstapp at /home/master/myfirstapp
Inside that directory, you can run several commands:

npm start
Starts the development server.

npm run build
Bundles the app into static files for production.

npm test
Starts the test runner.

npm run eject
Removes this tool and copies build dependencies, configuration files
and scripts into the app directory. If you do this, you can’t go back!

We suggest that you begin by typing:
cd myfirstapp
npm start
Let’s start the application now
$ cd myfirstapp
$ npm start
You will see a message as shown in the picture below
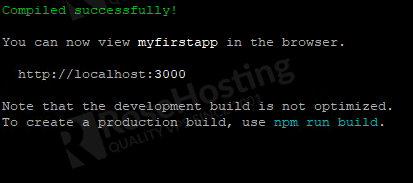
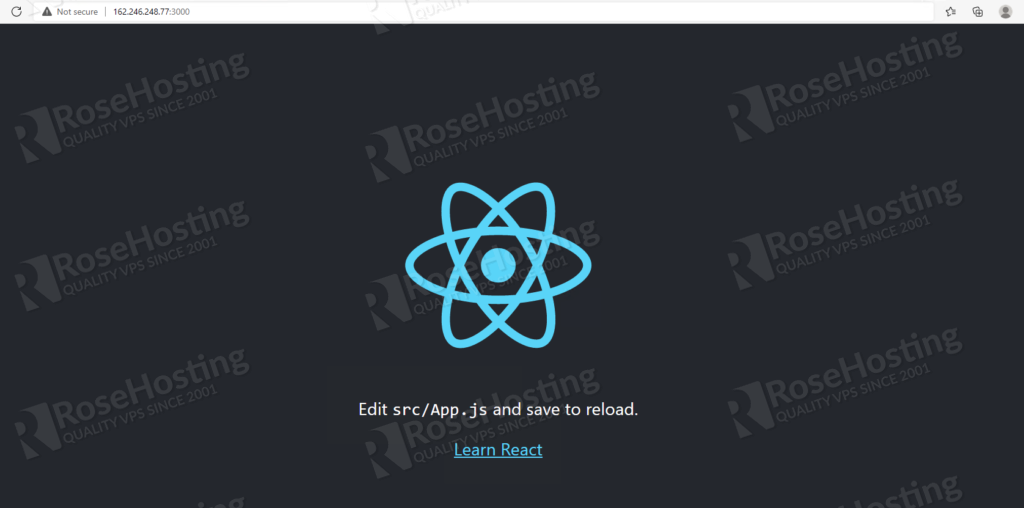
You can now open the link shown in the picture or http://YOUR_SERVER_IP_ADDRESS:3000 using any web browser of your liking, you will see something like this:
To stop the application on port 300, simply press CTRL + C on your keyboard.
ExpressJS
After installing React, we can proceed with installing ExpressJS.
$ cd ~ && sudo npm install -g express-generator
Let’s create a new project using ExpressJS:
$ express myfirstexpressapp
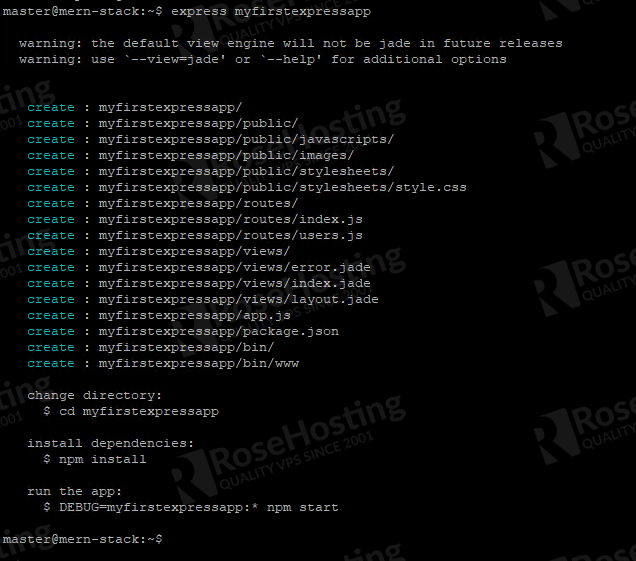
After running the command, we will see the message and we need to enter the directory myfirstexpressapp to run the application.
$ cd myfirstexpressapp
$ npm start

Now, open your browser and navigate to http://YOUR_SERVER_IP_ADDRESS:3000
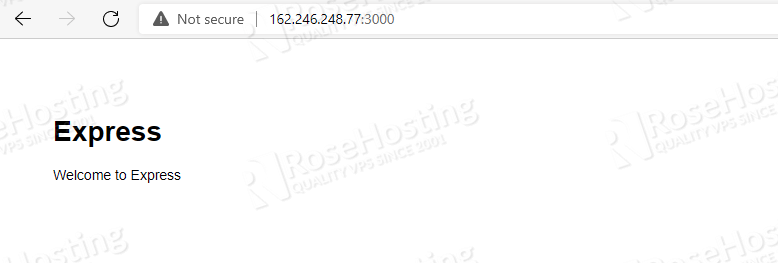
That’s it! You have successfully installed MongoDB, Express.js, React.js, and Node.js, you can proceed with building your application using the MERN stack.
Of course, you don’t have to know how to install MERN stack for JS-based applications on Ubuntu 20.04 if you have a managed Linux VPS hosting plan Ubuntu 20.04 VPS hosted with us. If you do, you can simply ask our support team to install MERN stack on Ubuntu 20.04 for you. They are available 24/7 and will be able to help you with the installation of MERN stack, as well as any additional requirements that you may have.
PS. If you enjoyed reading this blog post on how to install MERN stack on Ubuntu 20.04, feel free to share it on social networks by using the shortcuts below or simply leave a comment down in the comments section. Thank you.