

SpiderFoot is a free and open-source information gathering tool used to automate the process to gather information from a given target, including domain name, hostname, IP address, subnetwork, threat intelligence lists, spam blacklists, and much more.
It automatically crawls 100+ open-source data sources to get information from the target machine. In this post, we will show you how to install SpiderFoot on Debian 10 VPS.
Table of Contents
Prerequisites
- A Debian 10 VPS (we’ll be using our SSD 2 VPS plan)
- Access to the root user account (or access to an admin account with root privileges)
Step 1: Log in to the Server & Update the Server OS Packages
First, log in to your Debian 10 server via SSH as the root user:
ssh root@IP_Address -p Port_number
Once login, update your system packages with the following command:
apt-get update -y
Step 2: Install Required Dependencies
Before starting, Python3 must be installed in your system. If not installed, you can install it using the following command:
apt-get install python3 python3-pip git unzip -y
Once installed, verify the installed version of Python with the following command:
python3 --version
Output:
Python 3.7.3
Next, you will need to upgrade the PIP package to the latest version. You can upgrade it with the following command:
pip3 install --upgrade pip
Next, verify the PIP version using the following command:
pip3 --version
Output:
pip 21.0.1 from /usr/local/lib/python3.7/dist-packages/pip (python 3.7)
Step 3: Install SpiderFoot
First, download the latest version of SpiderFoot from the Git repository using the following command:
wget https://github.com/smicallef/spiderfoot/archive/refs/tags/v3.3.zip
After downloading, unzip the downloaded file with the following command:
unzip v3.3.zip
Next, change the directory to the extracted directory and install all Python requirements with the following command:
cd spiderfoot-3.3
pip3 install -r requirements.txt
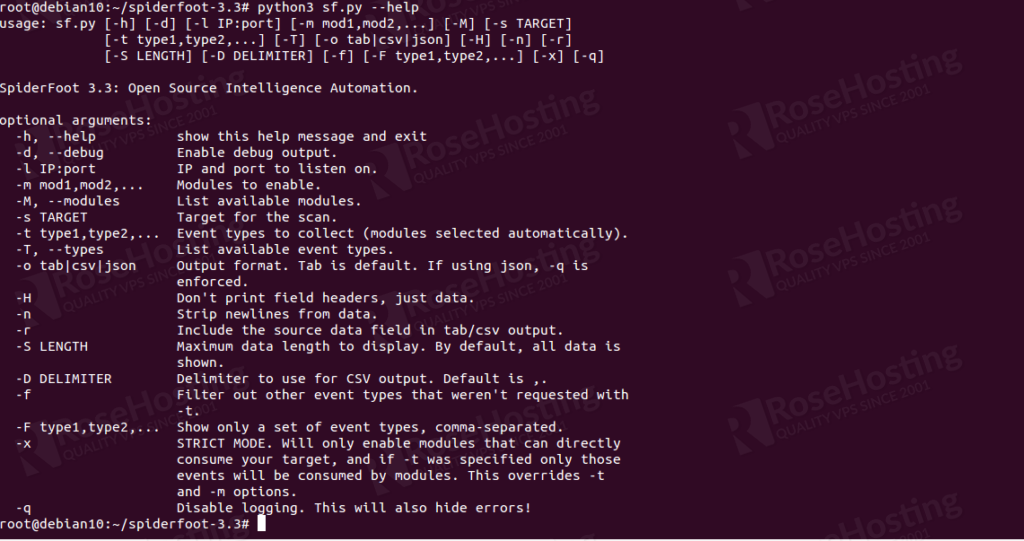
You can list all SpiderFoot commands and options using the following command:
python3 sf.py --help
You should see the following screen:
Step 4: Launch SpiderFoot as a Web Application
You can now start the SpiderFoot web application on port 3000 by running the following command:
python3 sf.py -l your-server-ip:3000
Once the SpiderFoot is started, you should get the following output:
2021-04-05 15:38:54,202 [INFO] Starting web server at your-server-ip:3000 ...
2021-04-05 15:38:54,214 [WARNING]
********************************************************************
Warning: passwd file contains no passwords. Authentication disabled.
Please consider adding authentication to protect this instance!
Refer to https://www.spiderfoot.net/documentation/#security.
********************************************************************


*************************************************************
 Use SpiderFoot by starting your web browser of choice and
 browse to http://your-server-ip:3000/
*************************************************************

2021-04-05 15:38:54,299 [INFO] [05/Apr/2021:15:38:54] ENGINE Listening for SIGTERM.
2021-04-05 15:38:54,299 [INFO] [05/Apr/2021:15:38:54] ENGINE Listening for SIGHUP.
2021-04-05 15:38:54,299 [INFO] [05/Apr/2021:15:38:54] ENGINE Listening for SIGUSR1.
2021-04-05 15:38:54,299 [INFO] [05/Apr/2021:15:38:54] ENGINE Bus STARTING
2021-04-05 15:38:54,403 [INFO] [05/Apr/2021:15:38:54] ENGINE Serving on http://your-server-ip:3000
2021-04-05 15:38:54,404 [INFO] [05/Apr/2021:15:38:54] ENGINE Bus STARTED
Now, press CTRL+C to stop the SpiderFoot.
Step 5: Enable SpiderFoot Authentication
By default, SpiderFoot can be accessed without authentication. So it is recommended to secure the SpiderFoot with username and password.
To enable the authentication, change the directory to SpiderFoot and create a passwd file with the following command:
cd spiderfoot-3.3
echo "admin:password" > passwd
Now, start the SpiderFoot web application again with the following command:
python3 sf.py -l your-server-ip:3000
You should get the following output:
2021-04-05 15:39:28,037 [INFO] Starting web server at your-server-ip:3000 ...
2021-04-05 15:39:28,050 [INFO] Enabling authentication based on supplied passwd file.

*************************************************************
 Use SpiderFoot by starting your web browser of choice and
 browse to http://your-server-ip:3000/
*************************************************************

2021-04-05 15:39:28,074 [INFO] [05/Apr/2021:15:39:28] ENGINE Listening for SIGTERM.
2021-04-05 15:39:28,075 [INFO] [05/Apr/2021:15:39:28] ENGINE Listening for SIGHUP.
2021-04-05 15:39:28,075 [INFO] [05/Apr/2021:15:39:28] ENGINE Listening for SIGUSR1.
2021-04-05 15:39:28,075 [INFO] [05/Apr/2021:15:39:28] ENGINE Bus STARTING
2021-04-05 15:39:28,178 [INFO] [05/Apr/2021:15:39:28] ENGINE Serving on http://your-server-ip:3000
2021-04-05 15:39:28,178 [INFO] [05/Apr/2021:15:39:28] ENGINE Bus STARTED
At this point, SpiderFoot is started and listening on port 3000.
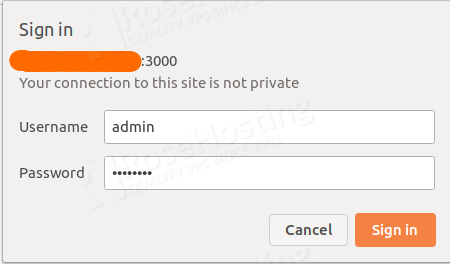
Step 6: Access SpiderFoot Web App
Now, open your web browser and access the SpiderFoot web application using the URL http://your-server-ip:3000. You will be asked to provide a username and password:
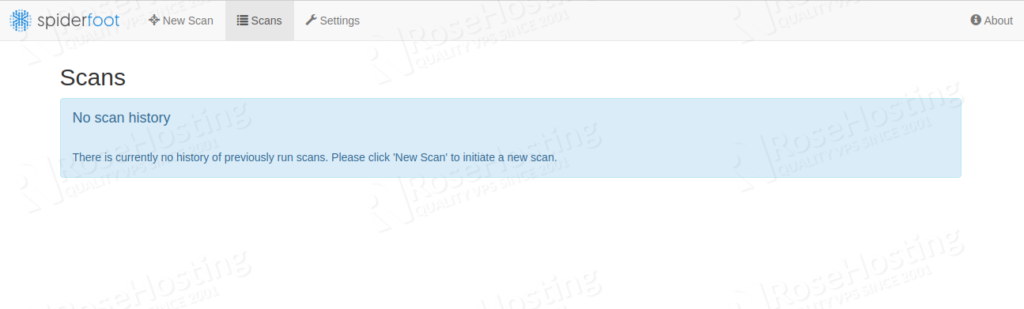
Provide your admin username, password and click on the Sign In button. You should see the SpiderFoot dashboard:
Now, click on the New Scan button to create your first scan. You should see the following page:
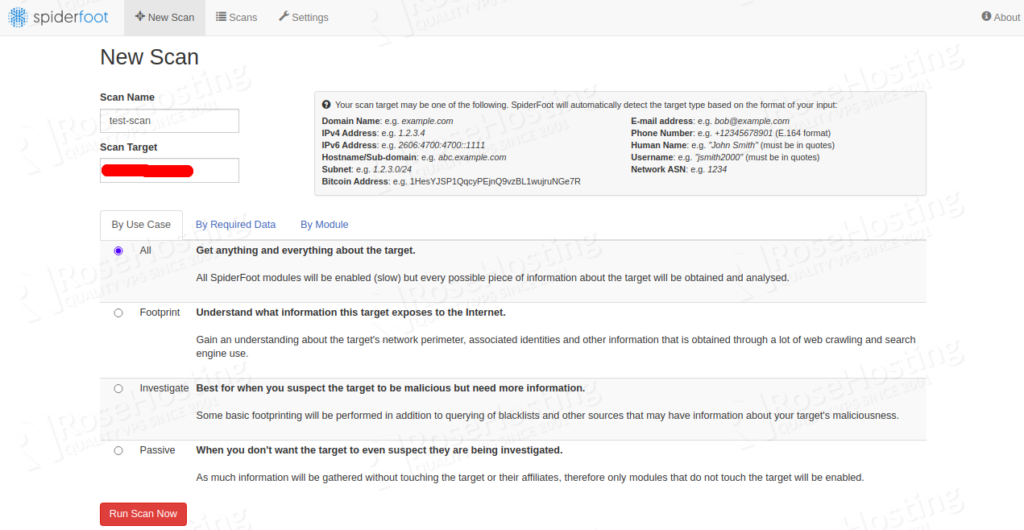
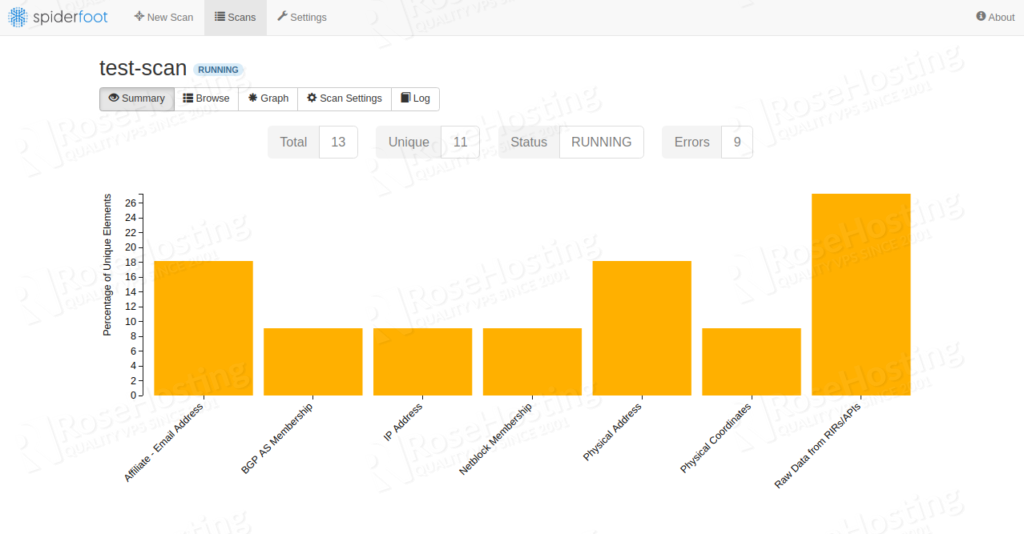
Provide your scan name, target IP address and click on the Run Scan Now button. You should see the following page:
You could also learn how to set up an open VPN server on Debian 10, as we’ve got you covered.
Now that you know how to install the SpiderFoot security scanner on a Debian 10 VPS, you can see how RoseHosting’s Linux VPS hosting can be easy and affordable. Our 24/7 customer support with an average response time of just 5 minutes guarantees 99.99% uptime. The free weekly backups are but a bonus.