In this tutorial, we will show you how to install Wagtail on a Debian 9 VPS.
Wagtail is a free, open-source, Python-based web application framework. On top of that, Wagtail is also a popular CMS that uses the Django framework. It has a set of useful components that helps developers create their applications quickly and with ease.
 Wagtail is built and maintained by experienced developers and is used by some of the world’s largest companies and governments. Installing Wagtail on Debian 9 is an easy task if you follow the steps below carefully. For this tutorial, we will be installing Wagtail using pip in a virtual environment. Let’s begin with the installation.
Table of Contents
Prerequisites
- A Debian 9 VPS
- SSH access with root privileges (or access to an admin account with sudo privileges)
Step 1: Log in via SSH and Update the System
Log in to your Debian 9 VPS.
ssh root@IP_Address -p Port_number
You can check whether you have the proper Debian version installed on your server with the following command:
# lsb_release -a
You should get this output:
Distributor ID: Debian
Description: Debian GNU/Linux 9.9 (Stretch)
Release: 9.9
Codename: stretch
Then, run the following command to make sure that all installed packages on the server are updated to their latest available versions:
# apt update && apt upgrade
With that out of the way, we can start installing the packages that we’ll need.
Step 2: Install Python and pip
To proceed with the Wagtail installation, we need to install Python 3 first. That can be done by entering this next command. This also installs the ‘pip’ package manager for Python, as well as the virtual environment package for Python:
# apt install python3 python3-pip python3-venv
Now we need to create a virtual environment.
Step 3: Create a virtual environment
We will now install a virtual environment through a system user. If you don’t have a system user other than the root account, please create an account first, then add it to the ‘sudoers’ list. Please take a look at this tutorial to see how this can be done. Run this next command to install ‘virtualenv’ using pip3.
# pip3 install virtualenv
Once the virtual environment is installed, you can proceed with creating the Wagtail virtual environment. We’re naming it ‘wagtailvenv’, but you can call it whatever you like.
# su - rh
$ virtualenv wagtailvenv
The command will create a virtual environment in /home/rh/wagtailvenv.
Step 4: Install Wagtail in virtualenv
While we are still logged in as the “rh” user, we are now going to install Wagtail onto the virtual environment that we created earlier:
$ source ~/wagtailvenv/bin/activate
As you can see onscreen, your SSH terminal prompt has changed to the virtual environment prompt:
![]()
You are now in the virtual environment – let’s proceed with the Wagtail installation.
(wagtailvenv) rh@rose:~$ pip install wagtail
Pay attention to the command – even if we are using Python 3 while in the Python virtual environment, please use the ‘pip’ command instead of ‘pip3’. This is because the virtual environment tool is always named pip, regardless of the Python version we use.
Step 5: Create a Wagtail project
Wagtail has now been installed under the “rh” user. Now, let’s create an example project:
(wagtailvenv) rh@rose:~$:~$ cd ~
(wagtailvenv) rh@rose:~$:~$ wagtail start newproject
The command will create a project named “newproject”, and this will also create a “newproject” directory in /home/rh/.
Next, run the following commands to start the new project.
(wagtailvenv) rh@rose:~$:~$ cd newproject
(wagtailvenv) rh@rose:~$:~$ python manage.py migrate
(wagtailvenv) rh@rose:~$:~$ python manage.py createsuperuser
(wagtailvenv) rh@rose:~$:~$ python manage.py runserver 0.0.0.0:8000
When creating the superuser, you will be asked for a password and email address – please provide the credentials.
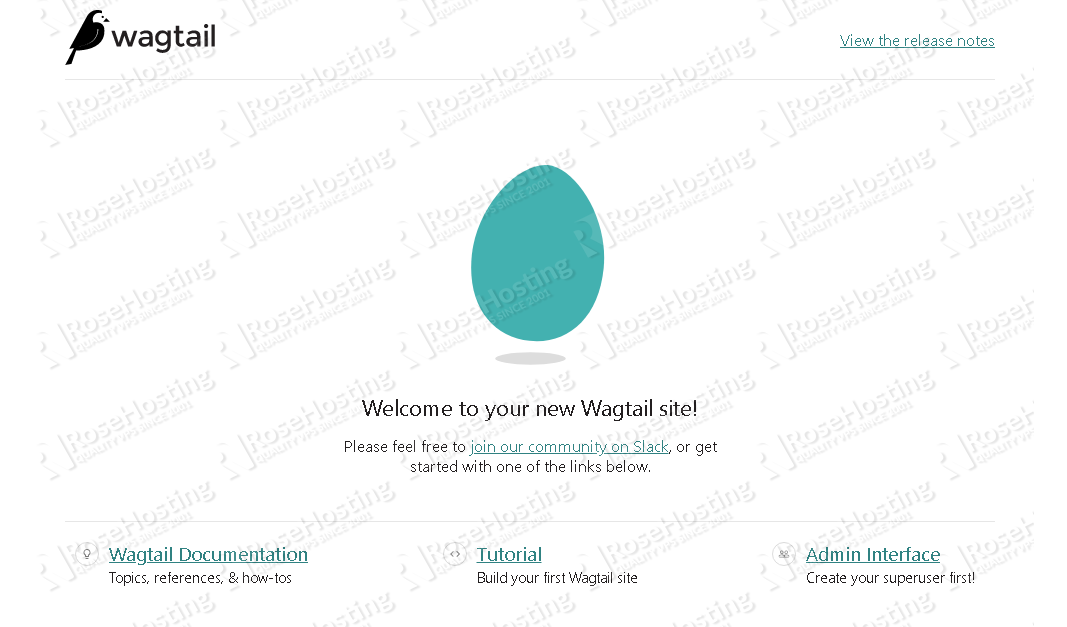
Now, open your favorite web browser and navigate to your IP_address:8000. In this example, we installed Wagtail on 192.168.1.231 so we need to go to http://192.168.1.231:8000 in order to see the web interface. Here’s what it looks like:
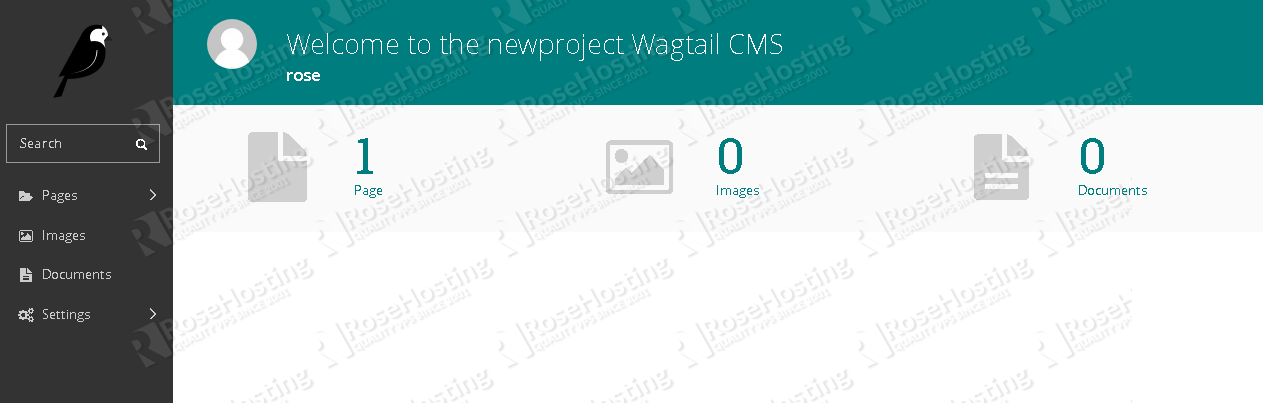
You can reach the Wagtail administration page at http://192.168.1.231:8000/admin – use the credentials you chose when creating the Wagtail superuser in the previous step.
Step 6: Install Gunicorn
To manage the Wagtail application better, we need to install Gunicorn. Gunicorn is a python “Web Server Gateway Interface” (WGSI) HTTP server. It is a pre-fork worker model, ported from Ruby’s Unicorn project. The Gunicorn server is broadly compatible with a number of web frameworks, can be simply implemented, is light on server resources, and is fairly fast. Install it by running these commands:
(wagtailvenv) rh@rose:~$ pip install gunicorn
(wagtailvenv) rh@rose:~$ cd ~/newproject
(wagtailvenv) rh@rose:~$ python manage.py collectstatic
(wagtailvenv) rh@rose:~$ deactivate
(wagtailvenv) rh@rose:~$ exit
What we’ll be doing now is making Gunicorn a system service, that way we can start and stop it at will using ‘systemctl’. Now, create this file using your preferred text editor and make sure that the contents of your configuration file match the contents of this example. Of course, don’t forget to change the username to the name of your admin account:
# nano /etc/systemd/system/gunicorn.service
[Unit]
Description=gunicorn daemon
After=network.target

[Service]
User=rh
Group=www-data
WorkingDirectory=/home/rh/newproject
ExecStart=/home/rh/wagtailvenv/bin/gunicorn --access-logfile - --workers 3 --bind unix:/home/rh/newproject.sock newproject.wsgi:application

[Install]
WantedBy=multi-user.target
After the changes have been made, save and exit the file, then reload all daemons so that the new configuration file is acknowledged:
# systemctl daemon-reload
Now, we can start/stop/restart the Wagtail application using the systemctl command:
# systemctl start gunicorn
If you want to run it on boot, we’ll need to enable it:
# systemctl enable gunicorn
Step 7: Install Nginx
Gunicorn has been successfully configured. However, if you want to access the application using your domain name and not require the port number, we need to install and configure a web server. For this tutorial, we will install and configure Nginx to proxy pass to gunicorn.
# apt install nginx
Let’s create an Nginx server block file. make sure you change yourdomain.com to your actual domain name. Create this file using your preferred text editor and add these contents to it:
# nano /etc/nginx/sites-enabled/yourdomain.com.conf
server {
    listen 80;
    server_name yourdomain.com;

    location = /favicon.ico { access_log off; log_not_found off; }
    location /static/ {
        root /home/rh/newproject;
    }

    location / {
        proxy_set_header Host $http_host;
        proxy_set_header X-Real-IP $remote_addr;
        proxy_set_header X-Forwarded-For $proxy_add_x_forwarded_for;
        proxy_set_header X-Forwarded-Proto $scheme;
        proxy_pass http://unix:/home/rh/newproject.sock;
    }
}
Save and exit once finished. Next, check if there are errors using the first command. If there are none, you can then start Nginx. We also recommend enabling Nginx to start on boot as well:
# nginx -t
# systemctl start nginx
# systemctl enable nginx
To give permissions to Nginx to access your Wagtail application, we have to add the Nginx user to the user group that runs Wagtail:
# usermod -aG www-data rh
Then, we also need to change the directory permissions of the Wagtail user’s home directory:
# chmod 710 /home/rh
Then restart Nginx to acknowledge the changes:
# systemctl restart nginx
That’s it, you should be able to access your Wagtail application at http://yourdomain.com now.
 Of course, you don’t have to install Wagtail on Debian 9 if you use one of our Managed Debian Hosting services, in which case you can simply ask our expert Linux admins to install Wagtail on your Debian VPS for you. They are available 24×7 and will take care of your request immediately.
PS. If you liked this post on how to install Wagtail on Debian 9, please share it with your friends on the social networks using the buttons below or simply leave a reply in the comments sections. Thanks.