
In this tutorial, we will show you how to install WonderCMS on a Debian 9 VPS.
 WonderCMS is a free and open-source lightweight CMS designed to make building websites easy. WonderCMS doesn’t require a MySQL database to save the data and content from the website. It uses flat-file technology, which enables WonderCMS to save all data to a text file named
 database.js. The database.js file is structured in the JSON format.
Installing WonderCMS on Debian 9 is an easy task if you follow the steps below carefully. Let’s begin with the installation.
Table of Contents
Prerequisites:
- A Debian 9 VPS (we’ll be using our SSD 1 VPS plan)
- Apache web server 2.0 or higher compiled with the mod_rewrite Apache module. Alternatively, we can use Nginx as a web server with PHP support.
- PHP 7.1 or higher (PHP 7.2 is preferred) with the following PHP extensions enabled: CURL, Zip and mbstring.
- Access to the root user account (or access to an admin account with root privileges)
Step 1: Log in to the Server & Update the Server OS Packages
Log in to your Debian server via SSH as the root user:
ssh root@IP_Address -p Port_number
You will need to replace ‘IP_Address‘ and ‘Port_number‘ with your server’s respective IP address and SSH port number. Additionally, replace ‘root’ with the username of the admin account if necessary.
Before we can start with the WonderCMS installation, we have to make sure that all Debian packages installed on the server are up to date. We can do this by running the following commands:
sudo apt-get update
sudo apt-get upgrade
Step 2: Apache Web Server Installation
To install the Apache web server, run the following command:
apt-get install apache2
After the installation is complete, enable Apache to start automatically upon server boot with:
systemctl enable apache2
We can also check the status of our Apache service with the following command:
systemctl status apache2
Output:
● apache2.service - The Apache HTTP Server
Loaded: loaded (/lib/systemd/system/apache2.service; disabled; vendor preset: enabled)
Active: active (running) since Thu 2019-07-11 03:28:58 CDT; 7s ago
Process: 2813 ExecStart=/usr/sbin/apachectl start (code=exited, status=0/SUCCESS)
Main PID: 2824 (apache2)
CGroup: /system.slice/apache2.service
├─2824 /usr/sbin/apache2 -k start
└─2825 /usr/sbin/apache2 -k start
If your Apache web server is not started, you can start it with the simple ‘start’ command using systemctl:
systemctl start apache2
Step 3: Install PHP 7.2 and Required PHP Packages
Import the signing key and enable the PPA for PHP 7.2 by using the following commands:
wget -q https://packages.sury.org/php/apt.gpg -O- | sudo apt-key add -
echo "deb https://packages.sury.org/php/ stretch main" | sudo tee /etc/apt/sources.list.d/php.list
Install the ca-certificates and apt-transport-https packages by running the following command:
sudo apt-get install ca-certificates apt-transport-https
Once you are done with this, run the package index update once again using the command below:
sudo apt-get update
Install PHP 7.2 and PHP extensions:
apt-get install php7.2 php7.2-cli php7.2-common php7.2-curl php7.2-gd php7.2-opcache php7.2-readline php7.2-intl php7.2-json php7.2-mbstring php7.2-soap php7.2-xml php7.2-xmlrpc php7.2-zip libapache2-mod-php7.2
Disable PHP 7.0:
a2dismod php7.0
Then, enable PHP 7.2:
sudo a2enmod php7.2
Step 4: Create a new Apache Configuration File
Create a new Apache configuration file for the domain/subdomain name that we will be using to access the WonderCMS application. For this tutorial, we will use ‘yourdomain.com‘.
vi /etc/apache2/sites-available/wondercms.conf
Add the following lines:
VirtualHost *:80
ServerName yourdomain.com
DocumentRoot /var/www/html/wondercms/
CustomLog ${APACHE_LOG_DIR}/yourdomain.com.access.log combined
ErrorLog ${APACHE_LOG_DIR}/yourdomain.com.error.log
<Directory /var/www/html/wondercms/>
DirectoryIndex index.php
Options FollowSymlinks
AllowOverride All
Require all granted
/Directory
/VirtualHost
Do not forget to replace ‘yourdomain.com‘ with the actual domain name you want to use to access the WonderCMS instance.
Save the file, close it and disable the default Apache configuration:
a2dissite 000-default
Enable the “wondercms.conf” configuration in Apache using:
a2ensite wondercms
Optionally, we can use this command to enable it:
ln -s /etc/apache2/sites-available/wondercms.conf /etc/apache2/sites-enabled/wondercms.conf
Step 5: Enable the Apache Rewrite Module
Enable Apache rewrite module if it is not already done:
a2enmod rewrite
Test the Apache configuration:
apachectl -t
Syntax OK
Restart Apache for the changes to take effect:
systemctl restart apache2
Step 6: Edit the PHP Configuration File
Locate the PHP configuration file:
php -c /etc/php/7.2/apache2/ -i | grep "Loaded Configuration File"
The output should be something like this:
Loaded Configuration File => /etc/php/7.2/apache2/php.ini
Edit the php.ini configuration file:
vi /etc/php/7.2/apache2/php.ini
Add/modify the following options:
file_uploads = On
allow_url_fopen = On
memory_limit = 256M
post_max_size 32M
upload_max_filesize = 64M
max_execution_time = 300
date.timezone = "America/Chicago"
Then, restart the Apache service for the changes to take effect:
systemctl restart apache2
Step 7: Install WonderCMS
At the time of writing this tutorial, the latest stable version is WonderCMS 2.7.0. Download the latest stable version of WonderCMS to the /var/www/html/wondercms directory:
cd /var/www/html/
wget https://github.com/robiso/wondercms/releases/download/2.7.0/WonderCMS-2.7.0.zip
unzip WonderCMS-2.7.0.zip
rm WonderCMS-2.7.0.zip
Change the correct permissions of the files and directories inside the /var/www/html/wondercms directory for WonderCMS to function properly.
sudo chown -R www-data:www-data /var/www/html/wondercms/
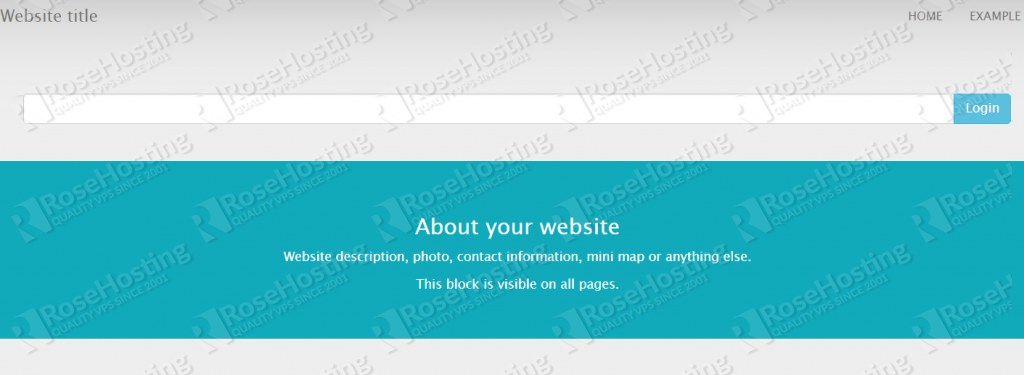
Open http://yourdomain.com in your favorite web browser and copy the password for the WonderCMS back-end, then open http://yourdomain.com/loginURL and reset the login URL and password from the Settings -> Security menu.
That’s it! You now have a working WonderCMS instance on your Debian 9 VPS.
 Of course, you don’t have to install WonderCMS on Debian 9 if you use one of our Managed Debian Hosting services, in which case you can simply ask our expert Linux admins to install WonderCMS on your Debian VPS for you. They are available 24×7 and will take care of your request immediately. If you’ve already switched to Debian 11, feel free to have a look at our guide on how to install WonderCMS on Debian 11.
PS. If you liked this post on how to install WonderCMS on Debian 9, please share it with your friends on the social networks using the buttons below or simply leave a reply in the comments sections. Thanks.