In this tutorial, we will be installing YetiForce and its required software on a CentOS 7 VPS.
YetiForce is a leading open-source CRM system when it comes to innovation and new features. The software has a positive impact on all business activities – from marketing, to sales, to support services. YetiForce is an essential tool for the effective operation of any business. With features  like a sleek, rich, widget-based dashboard and a comprehensive library of modules for almost any kind of business, there’s something that everyone will love about YetiForce.
Table of Contents
Prerequisites
- A CentOS 7 VPS with root access enabled or a user with sudo privileges.
- Apache 2.4 – works properly with previous versions too, i.e. 2.1, 2.2, 2.3 (the latest versions are recommended).
- MySQL 5.7 -works properly with previous versions too, i.e. 5.6, 5.5, 5.1 (the latest versions are recommended).
Step 1: Log in and Update Packages
First, we’re going to need to log into our server using SSH. You can do that by entering this command:
$ ssh root@IP_Address -p Port_Number
Remember to replace “root” with your username if you are not using the root user. Change “IP_Address” and “Port_Number” according to your server’s IP address and SSH port number.
Once you are logged in, you should update all of your packages to their latest available versions, that way we can maximize compatibility and avoid potential version discrepancies:
$ yum update
Step 2: Install the MySQL 5.7 Database Server
If you already have MySQL or MariaDB installed you can skip this step and move to the next section.
So you can install MySQL server on your VPS you need to enable MySQL 5.7 community release yum repository on your system.
$ yum localinstall https://dev.mysql.com/get/mysql57-community-release-el7-9.noarch.rpm
Now you can install MySQL as any other package using yum with the following command:
$ yum install mysql-community-server
Once the installation is completed, start the MySQL service and enable it to automatically start on boot with:
$ systemctl enable mysqld
$ systemctl start mysqld
You can check the MySQL service status with the following command:
$ systemctl status mysqld
Output:
● mysqld.service - MySQL Server
   Loaded: loaded (/usr/lib/systemd/system/mysqld.service; enabled; vendor preset: disabled)
   Active: active (running)
     Docs: man:mysqld(8)
           http://dev.mysql.com/doc/refman/en/using-systemd.html
  Process: 16261 ExecStart=/usr/sbin/mysqld --daemonize --pid-file=/var/run/mysqld/mysqld.pid $MYSQLD_OPTS (code=exited, status=0/SUCCESS)
  Process: 16185 ExecStartPre=/usr/bin/mysqld_pre_systemd (code=exited, status=0/SUCCESS)
 Main PID: 16263 (mysqld)
   CGroup: /system.slice/mysqld.service
           └─16263 /usr/sbin/mysqld --daemonize --pid-file=/var/run/mysqld/mysqld.pid
Step 3: Secure MySQL
When the installation is complete, run the following command to secure your installation:
$ mysql_secure_installation
This is an optional command that intends to further harden the security of your MySQL server install.
Step 4: Create a New Database
Create a new database and user for the YetiForce installation using the following commands:
$ mysql -uroot -p
In this section, we will create a new MySQL database yetiforce and assign user access to it to a new user yetiforce with password Strong_Password
CREATE DATABASE yetiforce;
GRANT ALL PRIVILEGES ON yetiforce.* TO 'yetiforce'@'localhost' IDENTIFIED BY 'Strong_Password';
FLUSH PRIVILEGES;
exit;
Don’t forget to replace ‘Strong_Password’ with an actual strong password.
Step 5: Install PHP 7.2
PHP version 7.2 is not available in the default CentOS 7 repositories so we will use the Remi repository.
To install and enable both EPEL and Remi repositories, run the following command:
$ yum install epel-release
$ rpm -Uhv https://rpms.remirepo.net/enterprise/remi-release-7.rpm
$ yum-config-manager --enable remi-php72
You can now proceed and install PHP 7.2 as well as all necessary PHP modules using the following commands:
$ yum install php php-mysqlnd php-opcache php-xml php-xmlrpc php-gd php-mbstring php-imap php-json php-xdebug php-posix php-uopz php-bcmath php-zip php-apcu php-ldap php-soap php-opcache php-intl php-imagick
To verify that PHP 7.2 is successfully installed, run the following command:
$ php -v
The output should be similar to the one below:
#  php -v
PHP 7.2.19 (cli) (built: May 29 2019 11:04:13) ( NTS )
Copyright (c) 1997-2018 The PHP Group
Zend Engine v3.2.0, Copyright (c) 1998-2018 Zend Technologies
    with Zend OPcache v7.2.19, Copyright (c) 1999-2018, by Zend Technologies
    with Xdebug v2.7.2, Copyright (c) 2002-2019, by Derick Rethans
Step 6: Download and Install YetiForce
To proceed with the installation procedure, download the YetiForce CRM package from its official website, run the wget command followed by the download link, and execute it.
$ wget https://github.com/YetiForceCompany/YetiForceCRM/releases/download/5.1.0/YetiForceCRM-5.1.0-complete.zip
Once the zip archive is downloaded, unpack it to the document root directory on your server:
$ unzip YetiForceCRM-5.1.0-complete.zip -d /var/www/html/
All files will be stored under the /var/www/html/ directory.
Remove the zip archive and change the ownership of the YetiForce files to ‘apache’.:
$ rm -f YetiForceCRM-5.1.0-complete.zip
$ chown -R apache:apache /var/www/html
The composer will pull all the required libraries you need for your project.
curl -sS https://getcomposer.org/installer | php
sudo mv composer.phar /usr/local/bin/composer
$ cd /var/www/html
$ composer install
$ composer require phpunit/php-invoker
That was the last step of configuring your server and installing YetiForce through the command line.
Step 7: Install and Configure the Apache Web Server
In this part of the tutorial, we will show you how to install and configure Apache to serve your YetiForce application.
Apache is available within CentOS’s default software repositories – run the following command to install Apache web server:
$ yum install apache2
Create a new Apache virtual host with the following content. We’re using ‘nano’ to edit our text, however you can use your preferred text editor instead:
$ nano /etc/httpd/conf.d/your_domain.com.conf
<VirtualHost *:80>
ServerAdmin admin@your_domain.com
DocumentRoot /var/www/html/
ServerName your_domain.com
ServerAlias www.your_domain.com
<Directory /var/www/html/>
Options FollowSymLinks
AllowOverride All
Order allow,deny
allow from all
</Directory>
ErrorLog /var/log/httpd/your_domain.com-error_log
CustomLog /var/log/httpd/your_domain.com-access_log common
</VirtualHost>
Of course, don’t forget to replace your_domain.com with your actual domain. Save and close the file, then restart Apache for the changes to take effect:
$ service httpd restart
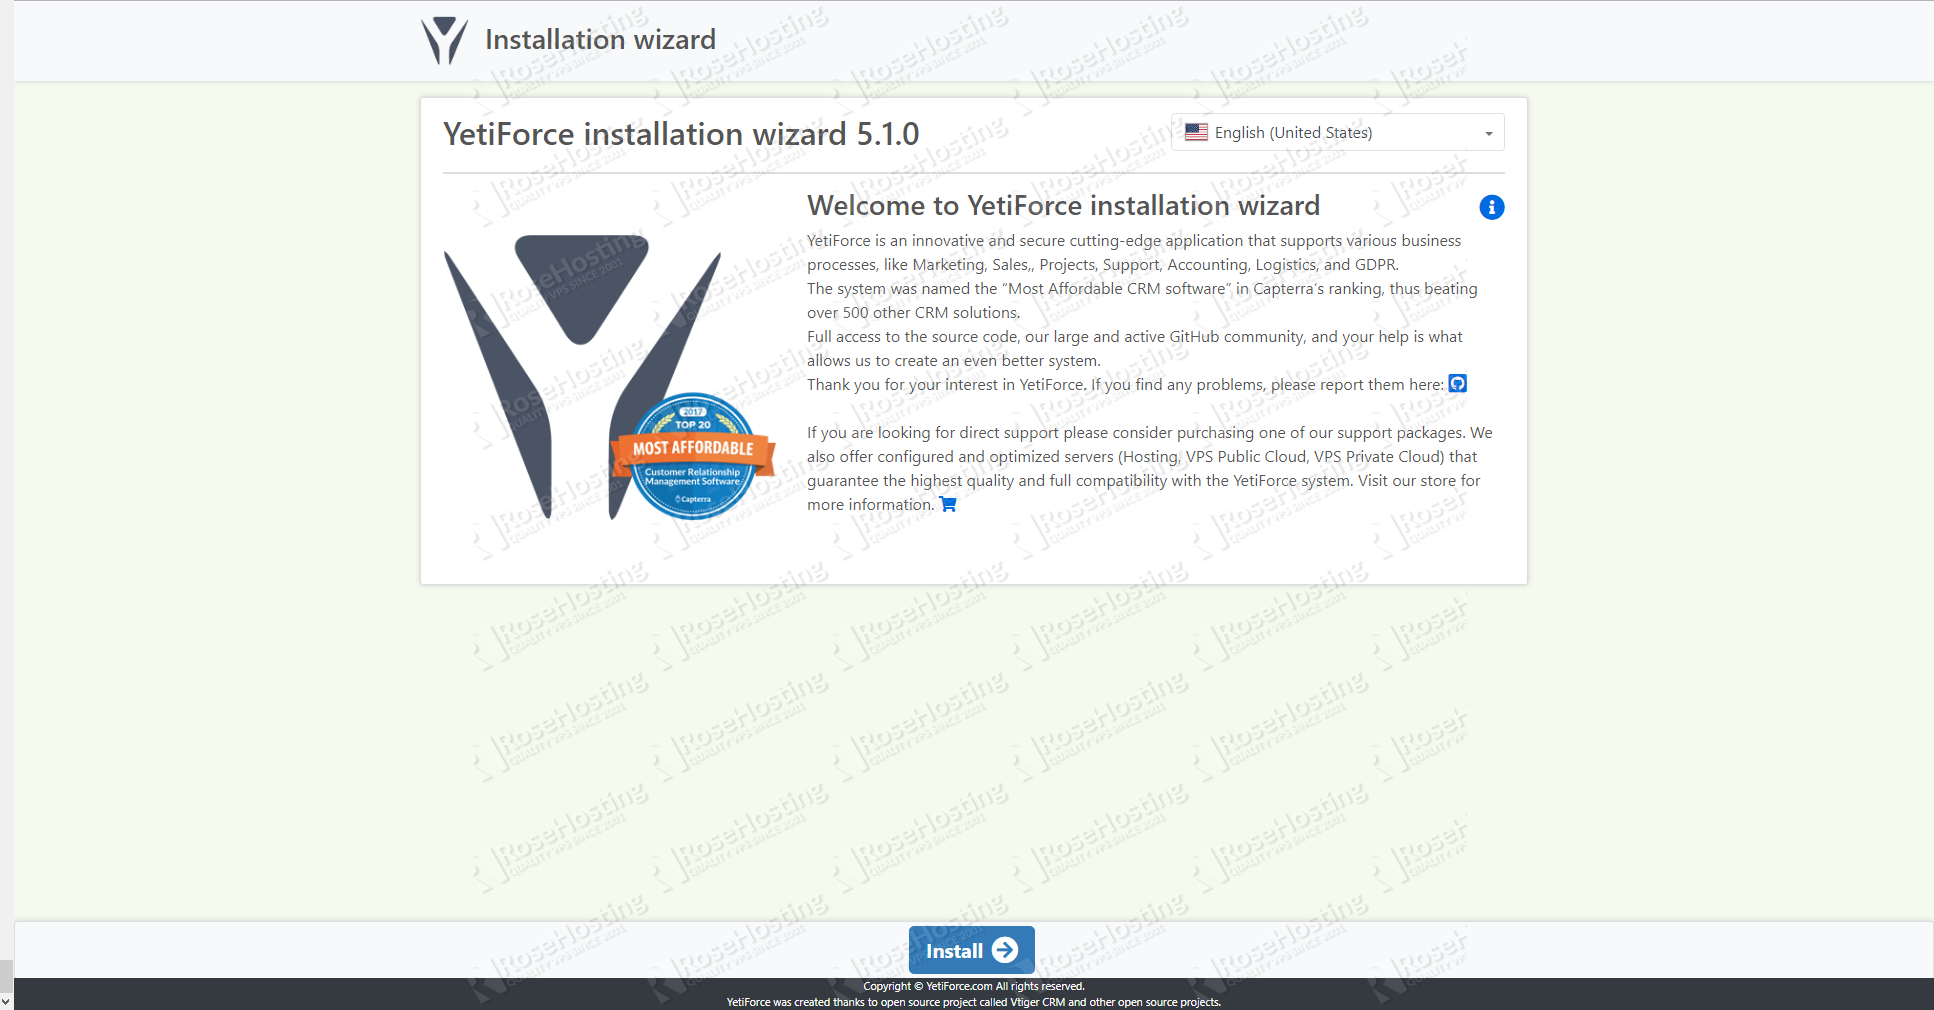
Now, you can open your preferred web browser and access http://your_domain.com/ to continue with the setup. Select the required language and press the Install button to start the installation wizard.
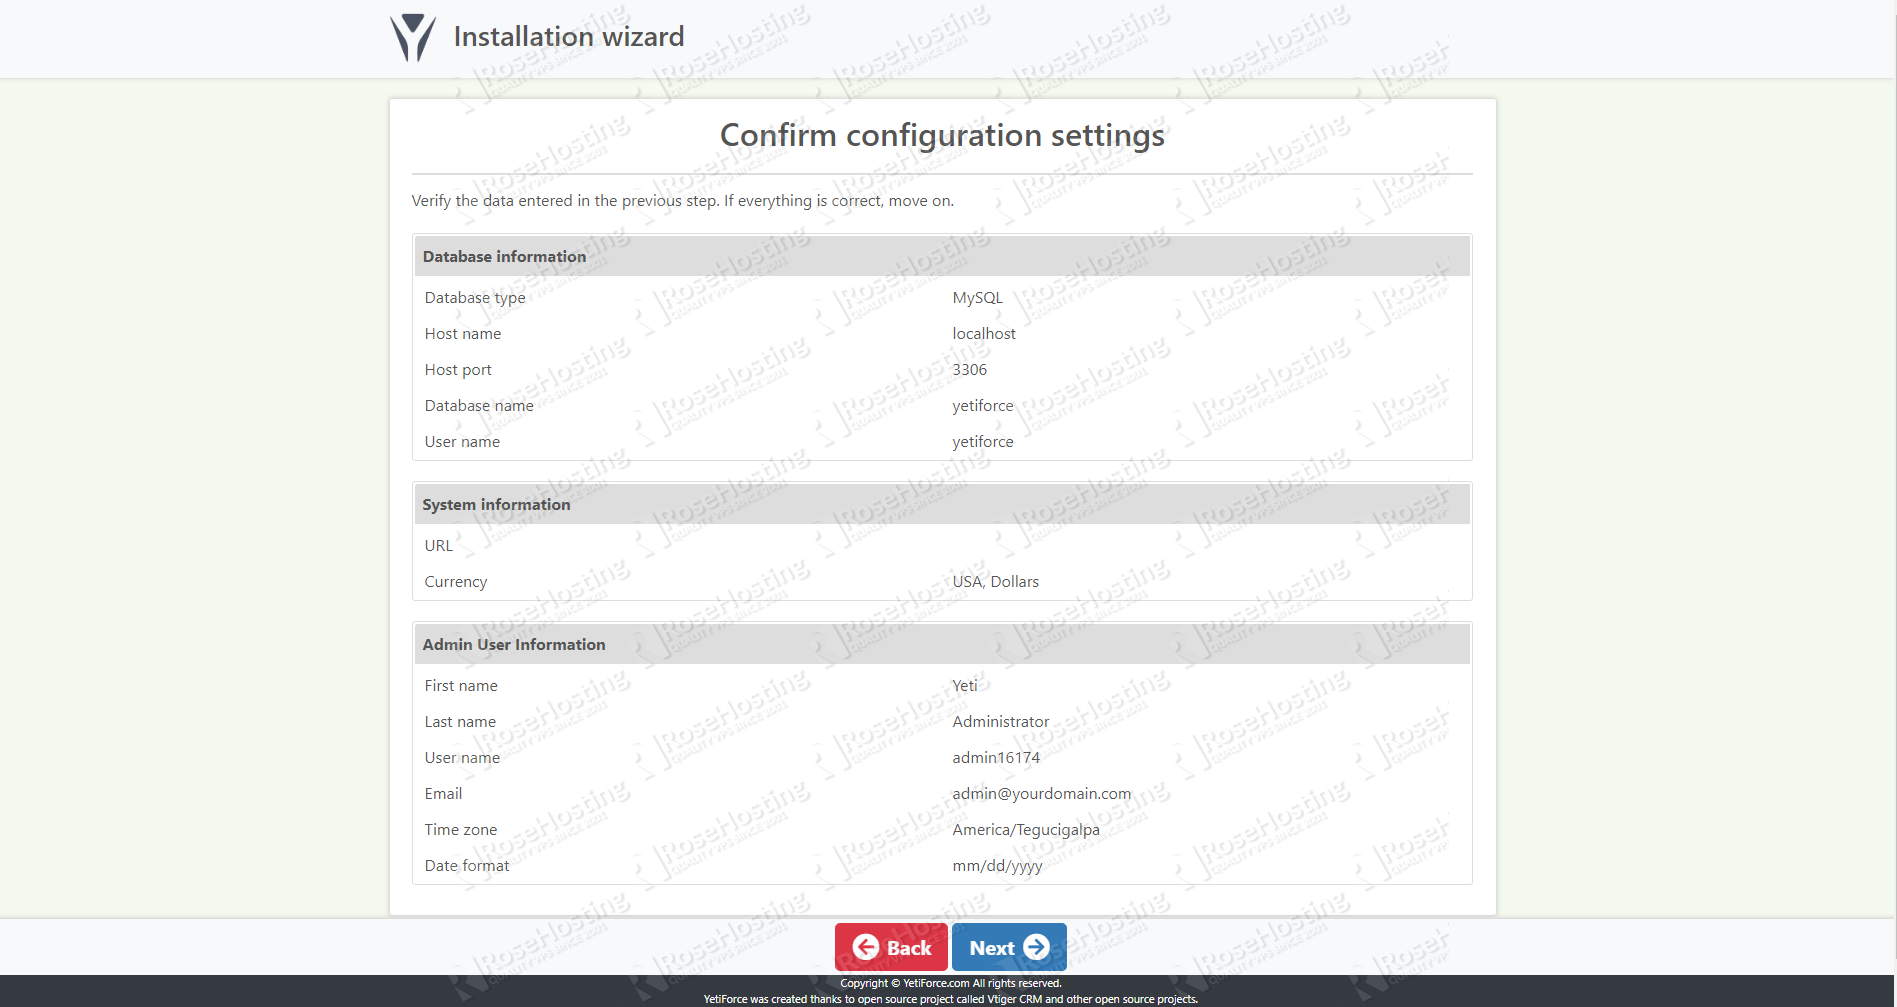
You’ll also be prompted for your database name and its access credentials. Use the ones we set during the configuration of the database server (Step 4)

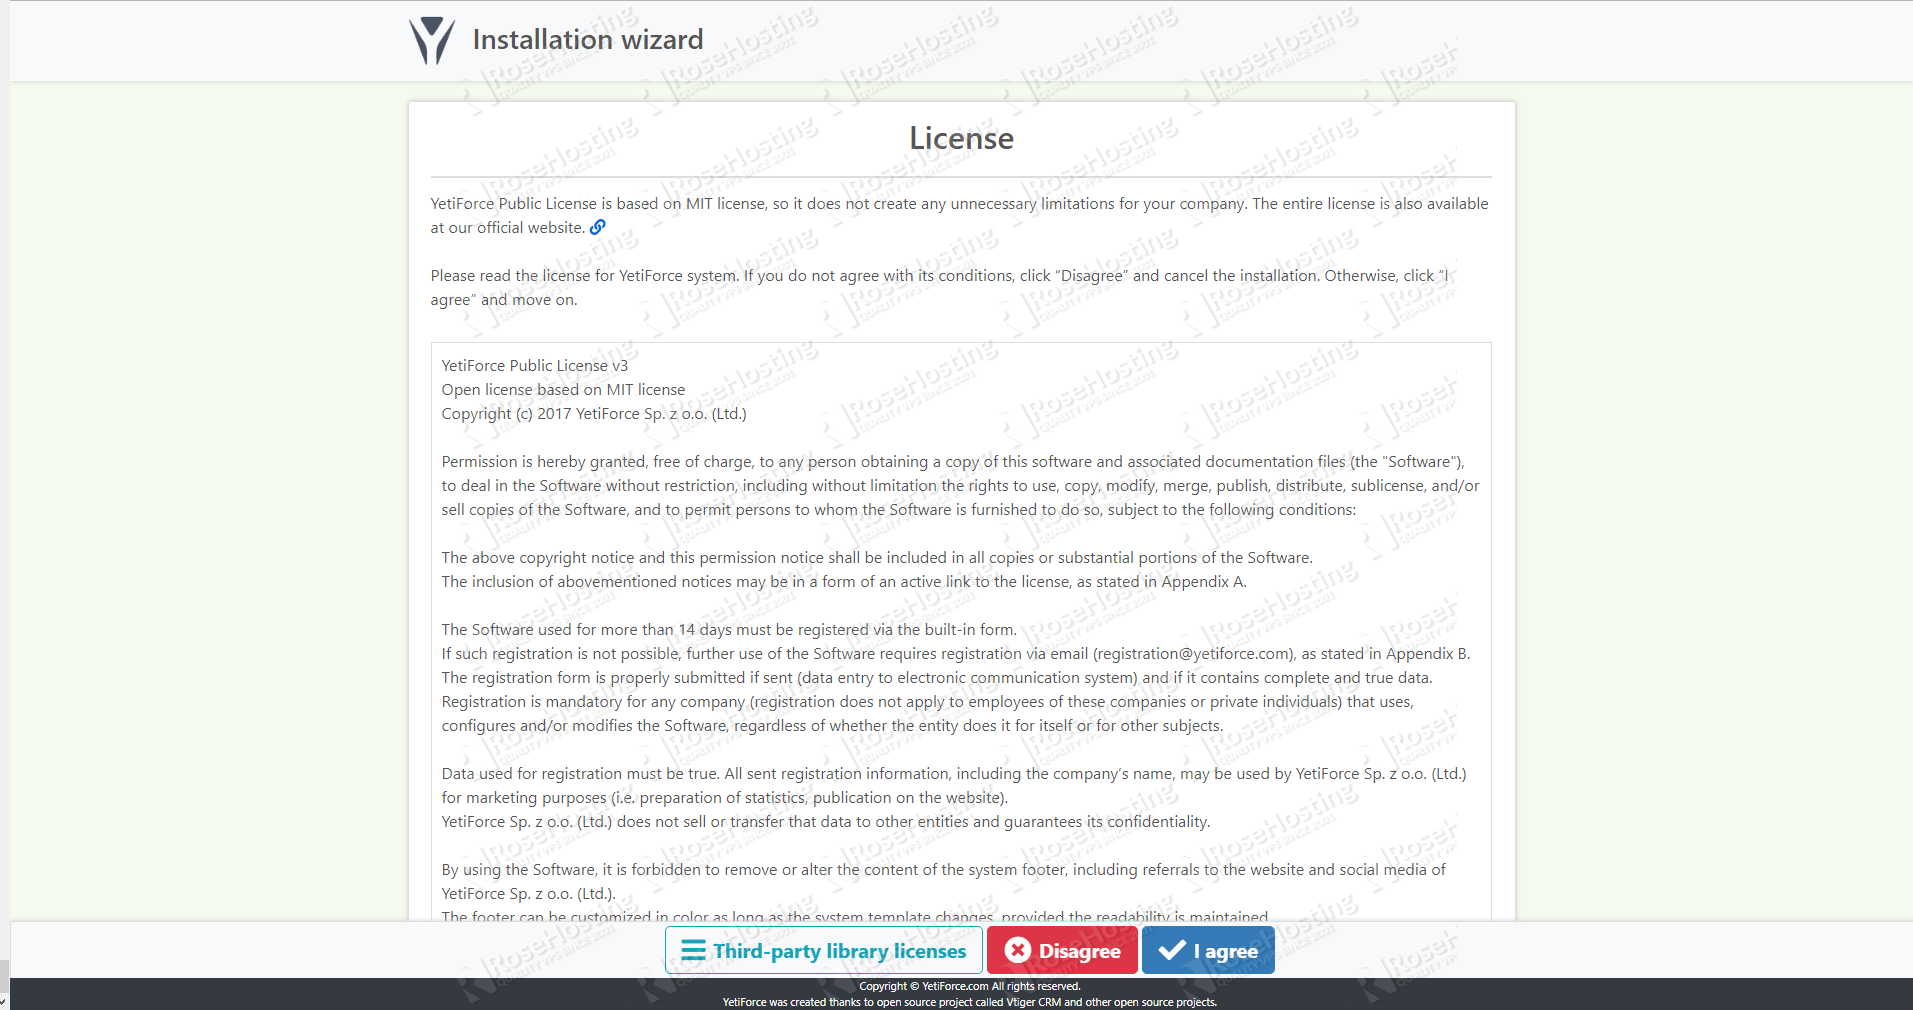
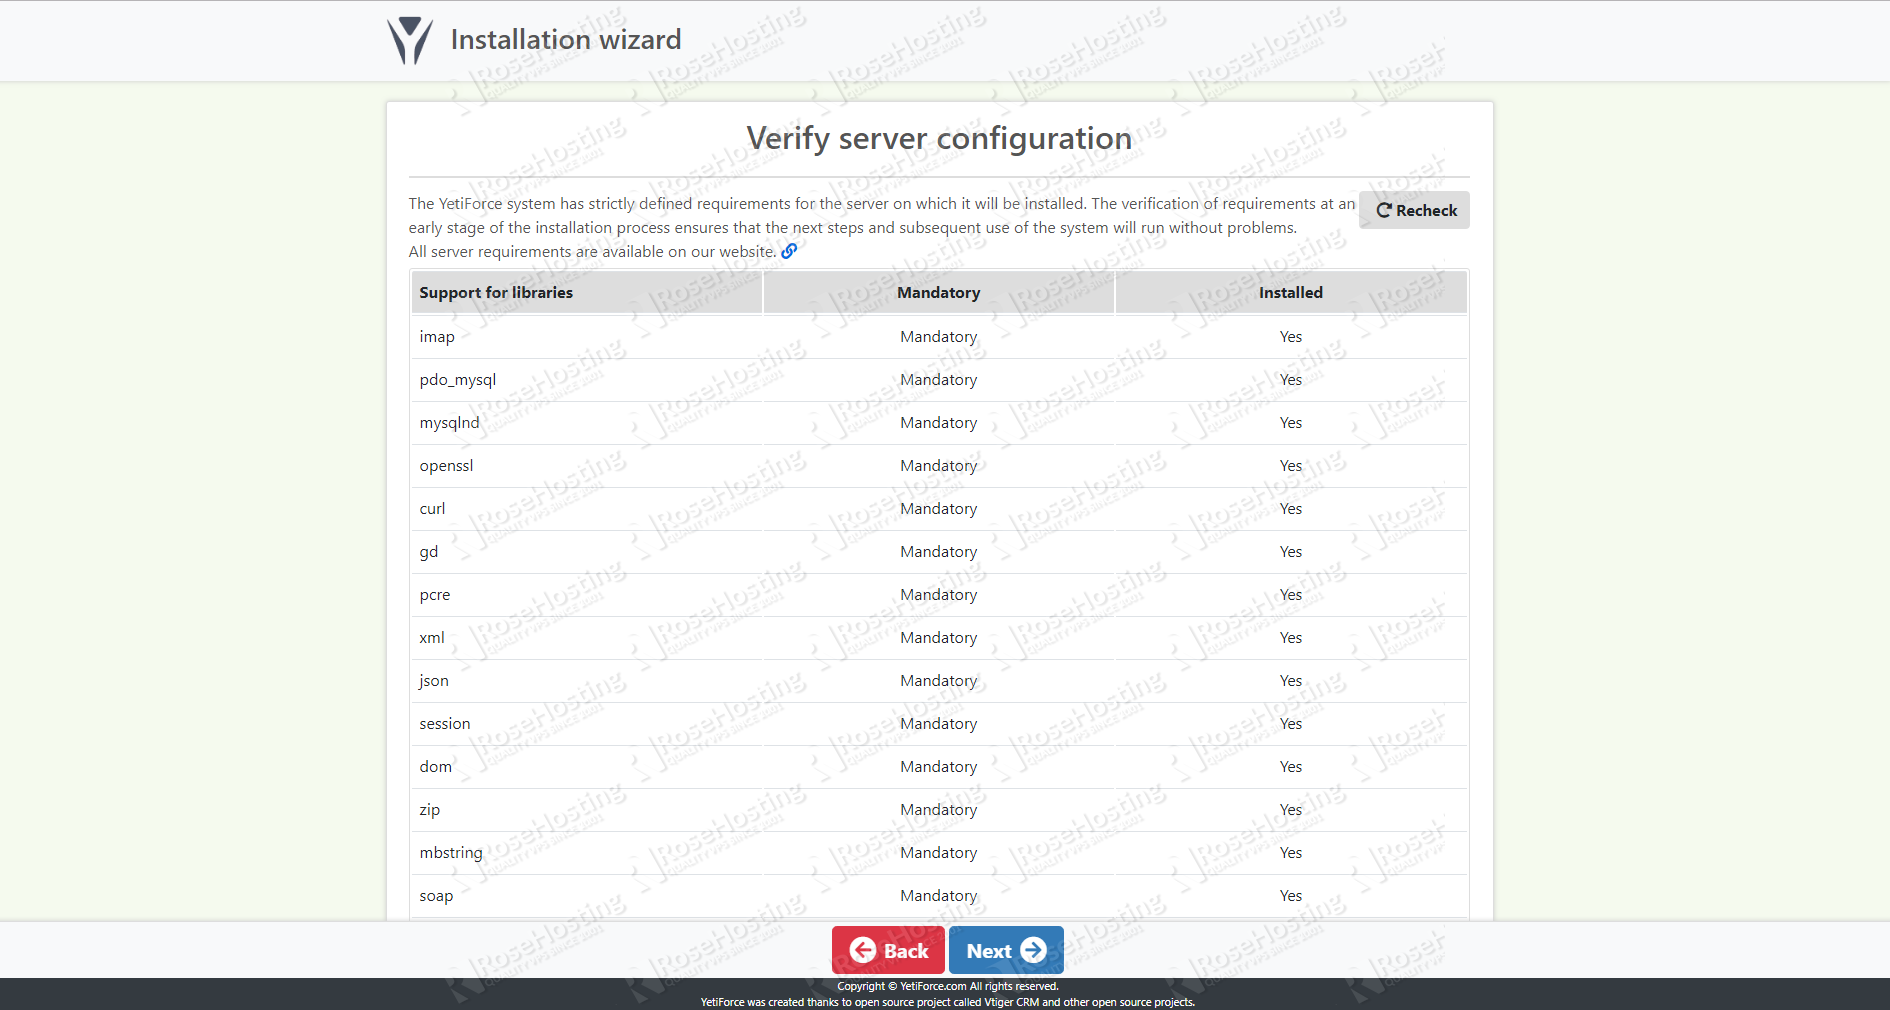
The next page shows the list of system prerequisites that are needed before installation:
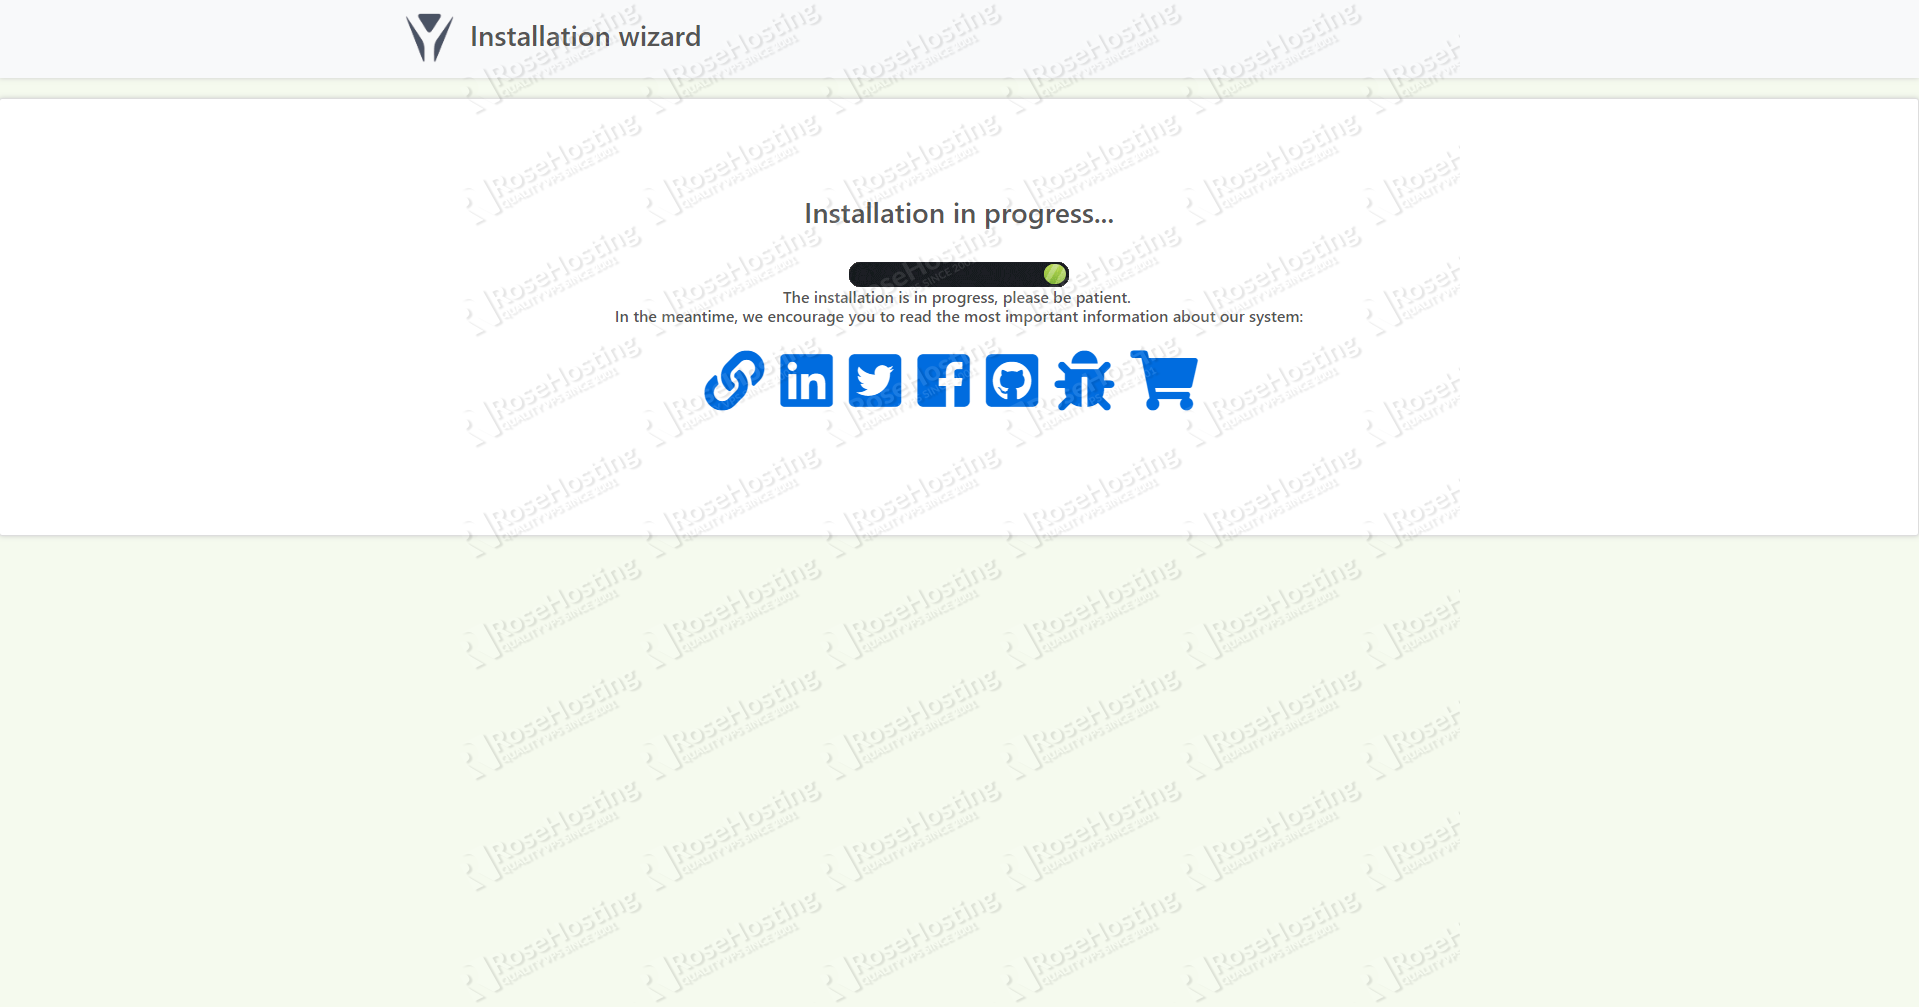
The installation can then begin. It will take a few minutes to install, so sit back and relax.
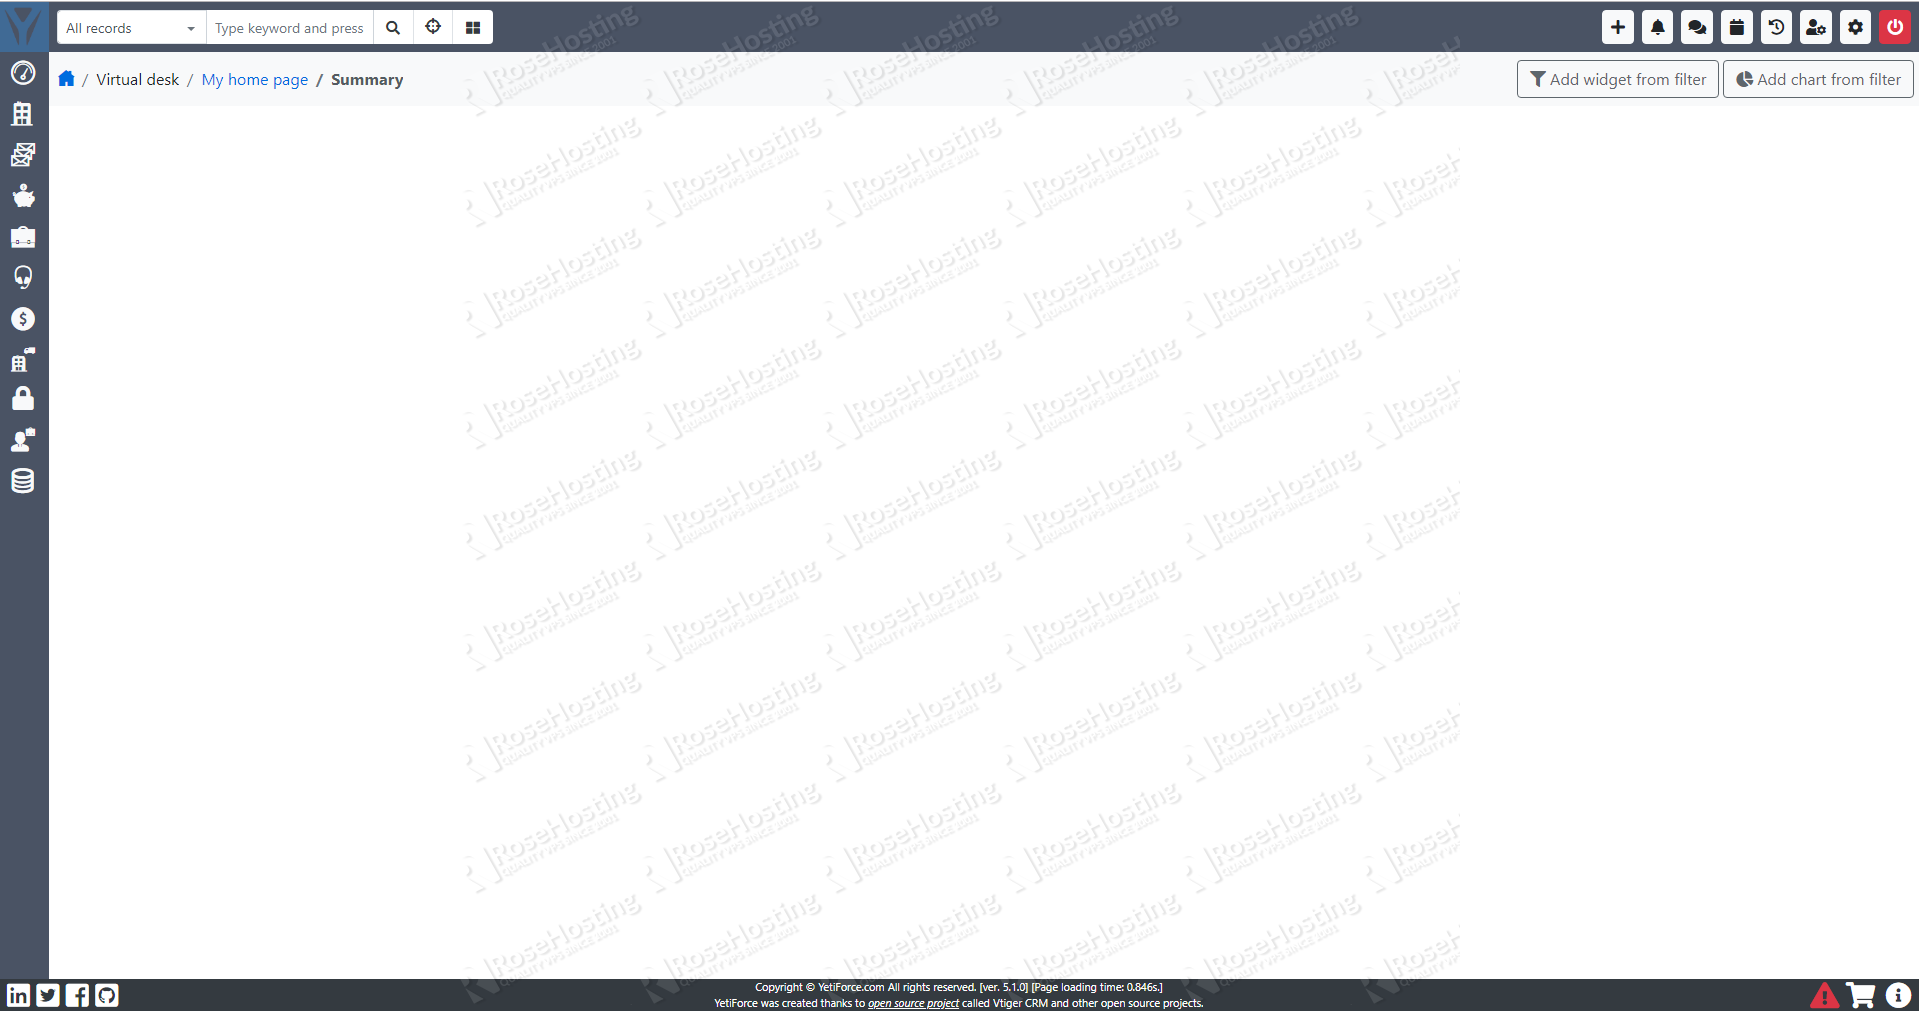
That’s it. If you followed all of the instructions properly, now you should be able to access your YetiForce installation on your CentOS 7 server.
 Of course, you don’t have to install YetiForce on CentOS 7 if you use one of our YetiForce VPS Hosting services, in which case you can simply ask our expert Linux admins to install YetiForce on your CentOS VPS for you. They are available 24×7 and will take care of your request immediately.
PS. If you liked this post on how to install YetiForce on CentOS 7, please share it with your friends on the social networks using the share buttons below, or simply leave a reply in the comments section. Thanks.