
In this blog article we will show you how to install Nessus Vulnerability Scanner on a CentOS VPS. Nessus is powerful, free and easy to use proprietary security scanner. Its plug-in architecture makes Nessus to be very customizable and allows users to customize it according to their needs. Nessus database is frequently updated and it makes is very efficient. According many surveys Nessus is the most popular vulnerability scanner in the world. Installing Nessus Vulnerability Scanner on CentOS is an easy task if you carefully follow our tutorial bellow.
You don’t need to be a Linux expert to install Nessus because the installation is very fast and easy. Let’s start.
Table of Contents
1. Login via SSH and Update the OS Packages
Like always, at the very beginning make sure that your CentOS box is up to date. Log in to your server as user ‘root’ and execute:
# yum -y update
2. Install Required Libraries
There are two libraries that are required by Nessus. Install them if they are not already installed:
# yum install glibc zlib
3. Install Nessus Vulnerability Scanner on CentOS
Download the latest stable version of Nessus from HERE. Select ‘Linux‘ as you operating system and CentOS 6 32 bit or 64 bit depending on the OS.
Once it is downloaded, install the Nessus package on your server.
# rpm -ivh Nessus-5.2.5-es6.i386.rpm
Preparing… ########################################### [100%]
1:Nessus ########################################### [100%]
nessusd (Nessus) 5.2.5 [build N25109] for Linux
Copyright (C) 1998 - 2014 Tenable Network Security, Inc
Processing the Nessus plugins…
[##################################################]All plugins loaded
- You can start nessusd by typing /sbin/service nessusd start
- Then go to https://yourdomain.tld:8834/ to configure your scanner
4. Start Nessus
and start Nessus by executing the following command:
# /etc/init.d/nessusd start
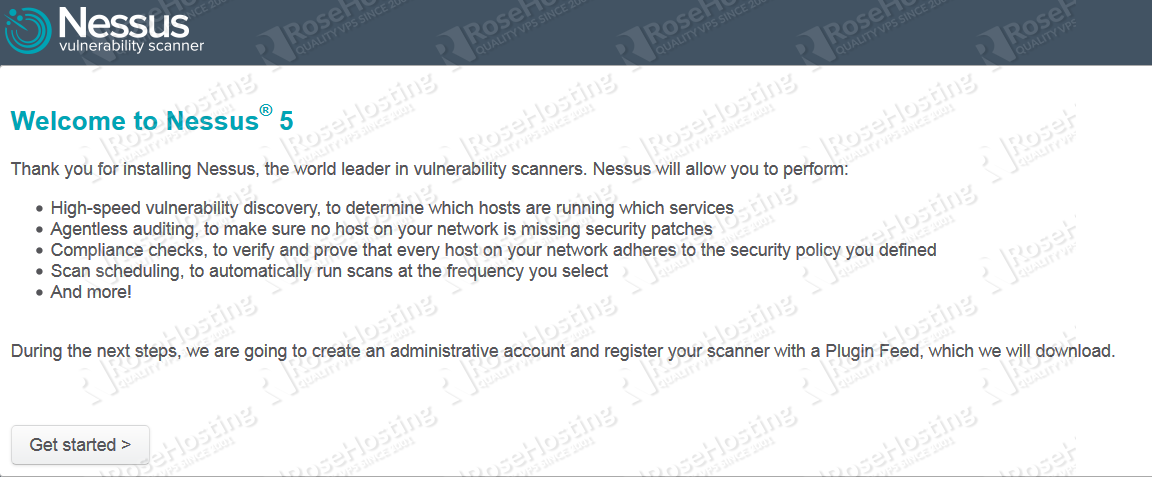
5. Continue the Installation in Web Browser
Now open a web browser and access https://yourdomain.tld:8834 to continue the Nessus installation.
Create an administrator user for Nessus. This user will have all privileges on Nessus.

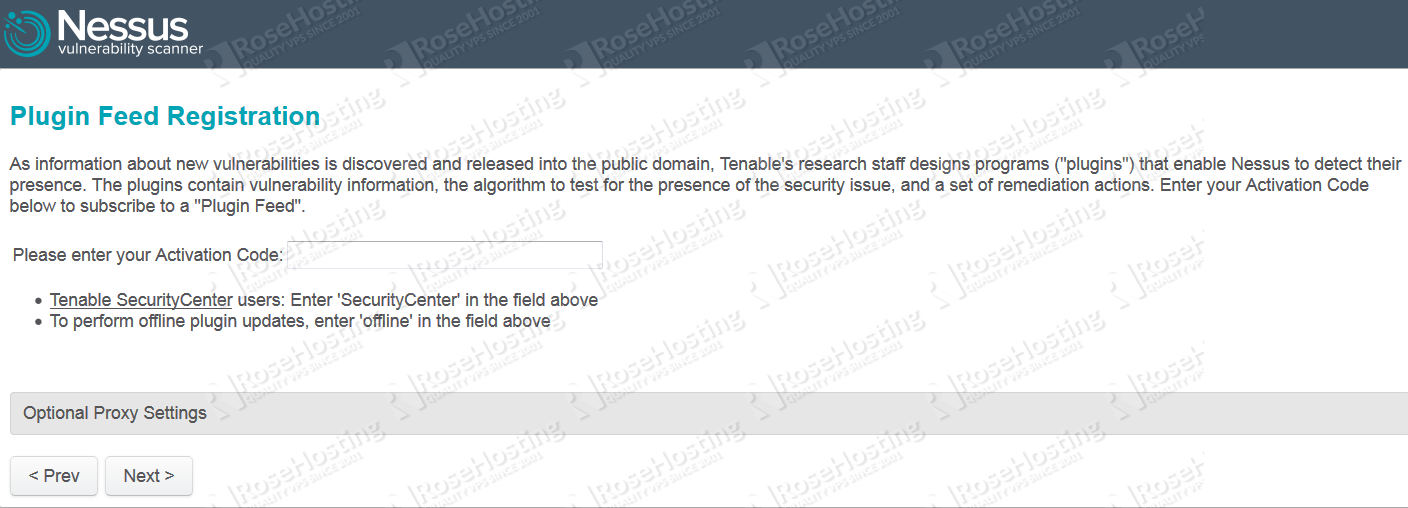
Create an account HERE to obtain an activation code for subscribing to the Plugin Feed. This way you will always have the latest plugins which contain vulnerability information. Enter the activation code and click ‘Next‘.
Click ‘Next‘ to download the latest plugins.
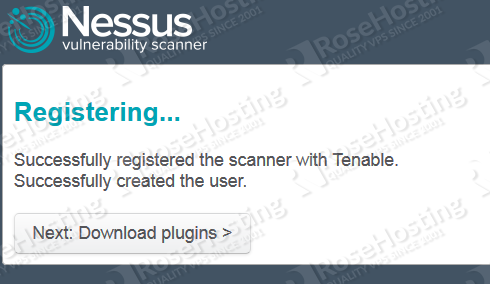
and wait while Nessus is initializing.

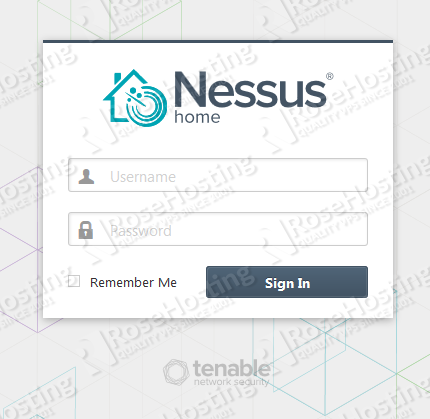
Finally, log in to Nessus with your administrator account and start configuring it according to your needs.
Of course you don’t have to Install Nessus Vulnerability Scanner on CentOS, if you use one of our CentOS VPS Hosting services, in which case you can simply ask our expert Linux admins to install this for you. They are available 24×7 and will take care of your request immediately.
PS. If you liked this post, on how to Install Nessus Vulnerability Scanner on CentOS, please share it with your friends on the social networks using the buttons on the left or simply leave a thank you note below. Thanks.
I Am getting error given below :
root@kali:~# dpkg -i Nessus-6.1.2-debian6_amd64.deb
dpkg: error processing Nessus-6.1.2-debian6_amd64.deb (–install):
package architecture (amd64) does not match system (i386)
Errors were encountered while processing:
Nessus-6.1.2-debian6_amd64.deb
root@kali:~#
please suggest how to proceed
You should use the 32bit version of the package.