If you are a WordPress user then you probably have met the .htaccess file. The .htaccess file allows you to make configuration changes on a per-directory basis and it is very useful in case you want to enable/disable additional functionality and features for your site. In this tutorial, we are going to show you how to set up a basic WordPress site with optimal .htaccess settings on a VPS running Ubuntu 16.04 as an operating system.
Table of Contents
1. Update the packages on Ubuntu
It is very important to keep all your software up to date, so once you connect to your Linux VPS via SSH update the software to the latest version by using the following commands:
sudo apt-get update
sudo apt-get upgrade
It is also possible to enable automatic updates on an Ubuntu VPS.
2. Install WordPress on Ubuntu
First of all, create a directory for the WordPress files and download the latest version of WordPress:
sudo mkdir /var/www/html/wordpress
cd /var/www/html/wordpress
sudo wget https://wordpress.org/latest.zip
Extract the archive and set the proper ownership:
sudo unzip latest.zip
sudo mv wordpress/* .
sudo rm -rf latest.zip wordpress
sudo mv wp-config-sample.php wp-config.php
sudo chown -R www-data: /var/www/html/wordpress
3. Create a MySQL database
Next step is to create a MySQL database and user for the new WordPress site. Log in to the MySQL database server:
mysql -u root -p
Run the following commands:
mysql> CREATE DATABASE wordpressdb;
mysql> GRANT ALL PRIVILEGES on wordpressdb.* to 'wordpressuser'@'localhost' identified by 'PaSsW0rD';
mysql> FLUSH PRIVILEGES;
mysql> EXIT
4. Configure wp-config.php
Now, edit the wp-config.php file and change the database settings:
// ** MySQL settings - You can get this info from your web host ** //
/** The name of the database for WordPress */
define('DB_NAME', 'wordpressdb');

/** MySQL database username */
define('DB_USER', 'wordpressuser');

/** MySQL database password */
define('DB_PASSWORD', 'PaSsW0rD');

/** MySQL hostname */
define('DB_HOST', 'localhost');
5. Create and Configure Virtual host
Create virtual host for the new WordPress site:
sudo nano /etc/apache2/sites-available/yourdomain.com.conf
Paste the following lines:
<VirtualHost *:80>
 ServerAdmin admin@yourdomain.com
 DocumentRoot /var/www/html/wordpress
 ServerName yourdomain.com
 ServerAlias www.yourdomain.com

 <Directory /var/www/html/wordpress/>
 	Require all granted
 </Directory>

 ErrorLog /var/log/apache2/yourdomain.com-error_log
 CustomLog /var/log/apache2/yourdomain.com-access_log common
</VirtualHost>
Enable the new virtual host and reload Apache for the changes to take effect:
sudo a2ensite yourdomain.com.conf
sudo systemctl reload apache2
Now you should be able to access the WordPress site via web browser by using your domain name.
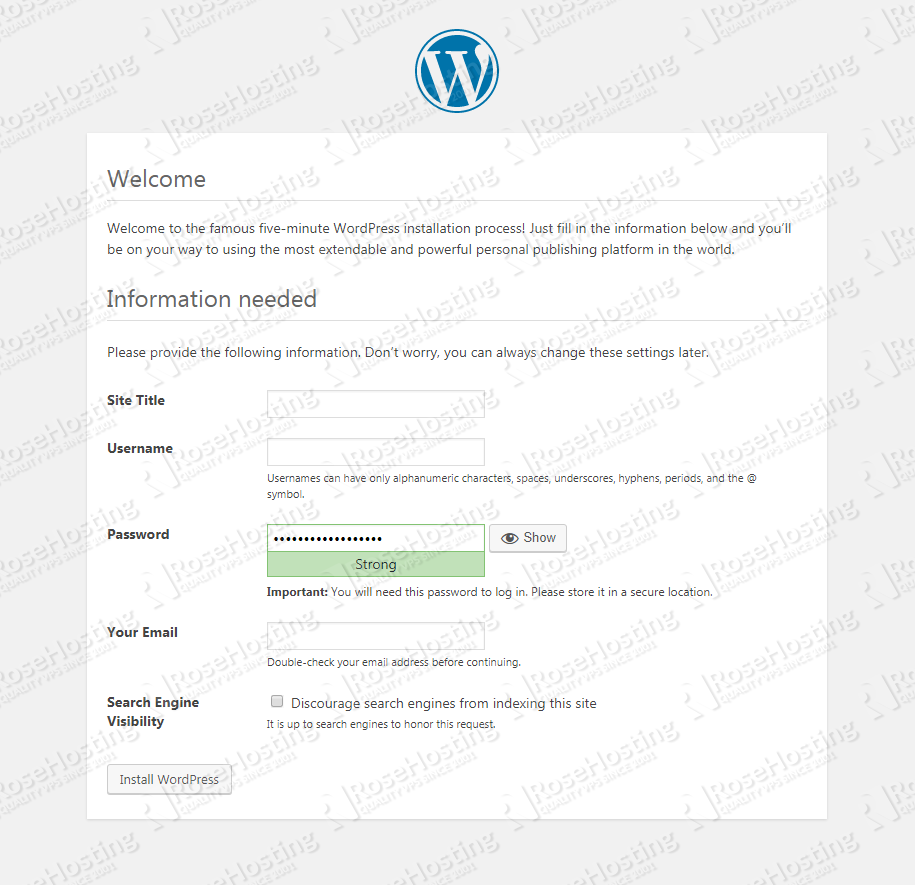
Once you set up your administrator account, you can proceed to the .htaccess customization.
6. Optimal .htaccess settings for WordPress
The first thing you need to do after installing WordPress on your Ubuntu VPS is to customize the WordPress permalinks settings. This is very important thing to do since it will improve the SEO quality of your site. Open the .htaccess file using a text editor like nano:
sudo nano /var/www/html/wordpress/.htaccess
Add the following lines:
# BEGIN WordPress
<IfModule mod_rewrite.c>
RewriteEngine On
RewriteBase /
RewriteRule ^index\.php$ - [L]
RewriteCond %{REQUEST_FILENAME} !-f
RewriteCond %{REQUEST_FILENAME} !-d
RewriteRule . /index.php [L]
</IfModule>
# END WordPress
7. Protect the .htaccess File
The next thing you might want to do is to protect the .htaccess file itself:
# Protect .htaccess
<files ~ "^.*\.([Hh][Tt][Aa])">
order allow,deny
deny from all
satisfy all
</files>
8. Protect the wp-config.php File
While you are here you can protect the wp-config.php file too:
# Protect WP-Config file
<files wp-config.php>
order allow,deny
deny from all
</files>
9. Other Settings
You can also disable the directory listing by adding the following line:
# Disable directory listing
Options All -Indexes
If your are not planning to allow 3rd-party applications to connect remotely to your WordPress site, you can disable the xmlrpc.php file too:
# Protect XMLRPC file
<Files xmlrpc.php>
order deny,allow
deny from all
</Files>
When it comes to performance, you might want to enable GZIP compression:
<IfModule mod_deflate.c>
  # Compress HTML, CSS, JavaScript, Text, XML and fonts
  AddOutputFilterByType DEFLATE application/javascript
  AddOutputFilterByType DEFLATE application/rss+xml
  AddOutputFilterByType DEFLATE application/vnd.ms-fontobject
  AddOutputFilterByType DEFLATE application/x-font
  AddOutputFilterByType DEFLATE application/x-font-opentype
  AddOutputFilterByType DEFLATE application/x-font-otf
  AddOutputFilterByType DEFLATE application/x-font-truetype
  AddOutputFilterByType DEFLATE application/x-font-ttf
  AddOutputFilterByType DEFLATE application/x-javascript
  AddOutputFilterByType DEFLATE application/xhtml+xml
  AddOutputFilterByType DEFLATE application/xml
  AddOutputFilterByType DEFLATE font/opentype
  AddOutputFilterByType DEFLATE font/otf
  AddOutputFilterByType DEFLATE font/ttf
  AddOutputFilterByType DEFLATE image/svg+xml
  AddOutputFilterByType DEFLATE image/x-icon
  AddOutputFilterByType DEFLATE text/css
  AddOutputFilterByType DEFLATE text/html
  AddOutputFilterByType DEFLATE text/javascript
  AddOutputFilterByType DEFLATE text/plain
  AddOutputFilterByType DEFLATE text/xml

  # Remove browser bugs (only needed for really old browsers)
  BrowserMatch ^Mozilla/4 gzip-only-text/html
  BrowserMatch ^Mozilla/4\.0[678] no-gzip
  BrowserMatch \bMSIE !no-gzip !gzip-only-text/html
  Header append Vary User-Agent
</IfModule>
Additionally, you can enable leverage browser caching:
# Expires caching
<IfModule mod_expires.c>
ExpiresActive On
ExpiresByType image/jpg "access 1 year"
ExpiresByType image/jpeg "access 1 year"
ExpiresByType image/gif "access 1 year"
ExpiresByType image/png "access 1 year"
ExpiresByType text/css "access 1 month"
ExpiresByType application/pdf "access 1 month"
ExpiresByType text/x-javascript "access 1 month"
ExpiresByType application/x-shockwave-flash "access 1 month"
ExpiresByType image/x-icon "access 1 year"
ExpiresDefault "access 2 days"
</IfModule>
This will surely improve the overall score when performing online speed tests on your WordPress site.
If you are using an SSL certificate for your site you will surely like to redirect all HTTP traffic to HTTPS. Add the following lines to do so:
RewriteEngine On
RewriteCond %{HTTPS} off
RewriteRule (.*) https://%{SERVER_NAME}/$1 [R,L]
There are more modifications you can do in your .htaccess file, but the ones we listed above should be enough for an optimal setup.
Of course, you don’t have to do any of this if you use one of our WordPress Hosting services, in which case you can simply ask our expert Linux admins to help you set up WordPress with optimal .htaccess settings on your server for you. They are available 24×7 and will take care of your request immediately.
PS. If you liked this post please share it with your friends on the social networks using the buttons below or simply leave a comment in the Comments section. Thanks.
Very nice blog. I have learnt how to configure the .htaccess file to improve the performance of the website.