In this tutorial, we will learn how to install Open Classifieds on a CentOS 7 VPS.
 Open Classifieds is a free, open-source, and powerful web application that can be used to create classifieds, advertisements, and listings sites, all in just a few minutes. It is simple, easy to use, secure, SEO-friendly and easy to administrate.
Open Classifieds also provides a beautiful web-based admin interface that helps you manage your website easily and effectively. It comes with many features, including SEO-friendly optimization, multi-language support, friendly URLs, robots.txt support, custom fields, social login, and lots more. Let’s get started with the installation.

Table of Contents
Prerequisites:
-
A server running CentOS 7 or later.
-
A root password is set up on your server.
-
A static IP address is set up on your server.
Step 1: Getting Started
Before starting, you will need to update your server to the latest version. You can do it with the following command:
yum update -y
After updating your system, you will need to install the EPEL repository on your system. You can install it by running the following command:
rpm --import /etc/pki/rpm-gpg/RPM-GPG-KEY*
yum install epel-release -y
Next, you will also need to disable SELinux on your system in order to access Open Classifieds without having any possible issues.
You can disable it by editing the /etc/selinux/config file:
nano /etc/selinux/config
Make the following changes:
SELINUX=disabled
SELINUXTYPE=targeted
Save and close the file. Then, restart your system to apply all the changes.
Step 2: Install LAMP Server
First, you will need to install Apache web server and MariaDB database server on your server. You can install them by running the following command:
yum install httpd mariadb-server -y
Once the installation has been completed successfully, start Apache and MariaDB service and enable them to start on boot time with the following command:
systemctl start httpd
systemctl enable httpd
systemctl start mariadb
systemctl enable mariadb
By default, the latest version of PHP is not available in the CentOS-7 default repository. So, you will need to add Remi repository on your system.
You can install it with the following command:
rpm -Uvh http://rpms.remirepo.net/enterprise/remi-release-7.rpm
Next, install yum-config-manager utility to enable Remi repository:
yum install yum-utils -y
Next, update the repository with the following command:
yum update -y
Next, enable Remi repository for PHP 7.2 with the following command:
yum-config-manager --enable remi-php72
Next, install PHP and other required libraries with the following command:
yum install php php-opcache httpd php-zip php-mysqlnd php-pdo php-gd php-ldap php-odbc php-pear php-xml php-xmlrpc php-mbstring php-soap curl curl-devel php-curl php-mcrypt -y
After installing all the packages, open php.ini file and make some changes:
nano /etc/php.ini
Change the following lines:
short_open_tag = On
memory_limit = 256M
upload_max_filesize = 100M
post_max_size = 100M
Save and close the file, when you are finished.
Step 3: Configure MariaDB
By default, MariaDB does not have the recommended security measures in effect. This means that you will need to secure your MariaDB installation. You can do this with the following command:
mysql_secure_installation
Answer all the questions as shown below:
Enter current password for root (enter for none): Press [Enter], there is no password by default
Set root password? [Y/n]: Y
New password:
Re-enter new password:
Remove anonymous users? [Y/n]: Y
Disallow root login remotely? [y/n]: Y
Remove test database and access to it? [Y/n]: Y
Reload privilege tables now? [Y/n]: Y
Once MariaDB is secured, log in to the MariaDB shell with the following command:
mysql -u root -p
Enter your root password when prompted, then create a database and user for Open Classifieds with the following command:
MariaDB [(none)]>CREATE DATABASE classifiedsdb;

MariaDB [(none)]>GRANT ALL PRIVILEGES ON classifiedsdb.* TO 'classifieds'@'localhost' IDENTIFIED BY 'password' WITH GRANT OPTION;
Don’t forget to replace “password” with a good, strong password. Next, flush the privileges and exit from the MariaDB shell with the following command:
MariaDB [(none)]>FLUSH PRIVILEGES;
MariaDB [(none)]>EXIT;
Step 4: Install OpenClassifieds
First, download the latest version of OpenClassifieds with the following command:
https://excellmedia.dl.sourceforge.net/project/openclassifieds/openclassifieds2-2.9.0.zip
Once the download is completed, unzip the downloaded file with the following command:
unzip openclassifieds2-2.9.0.zip
Next, copy the extracted directory to the Apache web root directory with the following command:
cp -r openclassifieds2-2.9.0 /var/www/html/openclassifieds
Next, give proper permissions to the openclassifieds directory:
chown -R apache:apache /var/www/html/openclassifieds

chmod -R 755 /var/www/html/openclassifieds
Step 5: Configure Apache for OpenClassifieds
Next, you will need to create an Apache virtual host file for OpenClassifieds. You can create it with the following command:
nano /etc/httpd/conf.d/openclassifieds
Add the following lines:
<VirtualHost *:80>
ServerAdmin admin@yourdomain.com
DocumentRoot /var/www/html/openclassifieds/
ServerName 192.168.0.101
<Directory /var/www/html/openclassifieds/>
Options FollowSymLinks
AllowOverride All
</Directory>
ErrorLog /var/log/httpd/error_log
CustomLog /var/log/httpd/access_log common
</VirtualHost>
Make sure to replace “yourdomain.com” with your actual domain name. Additionally, make sure to replace our example IP “192.168.0.101” with your static public IP address. Save and close the file, when you are finished. Then, disable default virtual host file with the following command:
mv /etc/httpd/conf.d/welcome.conf /etc/httpd/conf.d/welcome.conf_backup
Finally, restart Apache service to apply all the changes:
systemctl restart httpd
Step 6: Access the OpenClassifieds Web Interface
Now, open your web browser and type the URL http://192.168.0.101. You will be redirected to the following page:
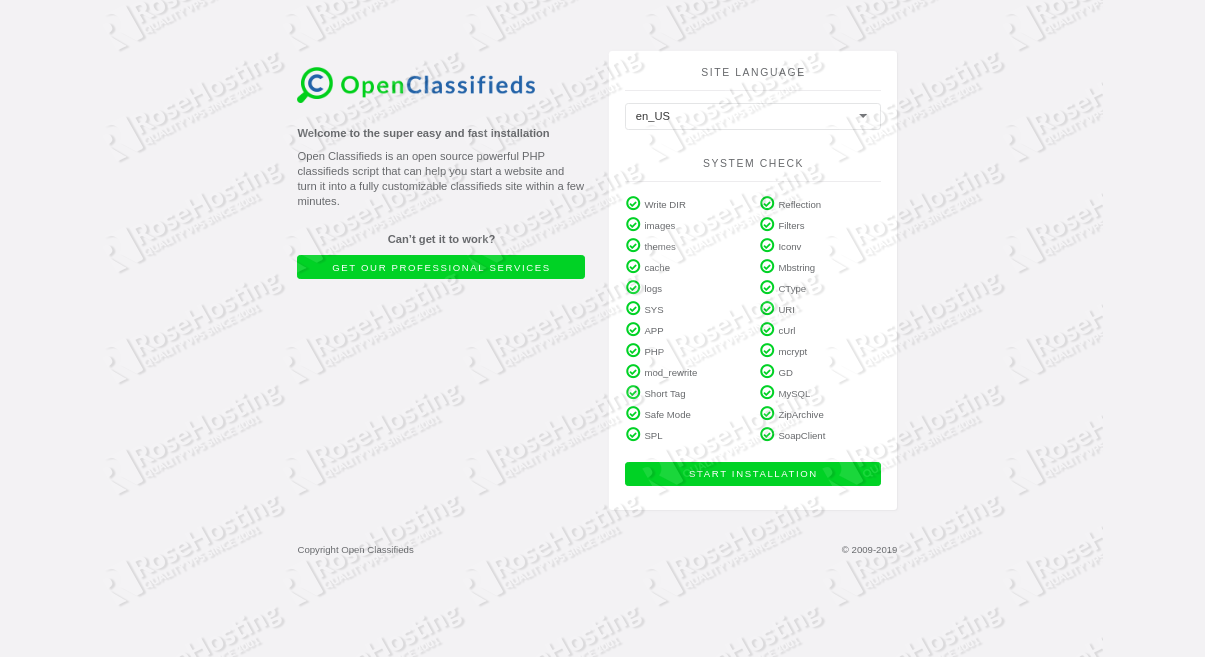
Select your language and click on the START INSTALLATION button. You should see the Database configuration page:
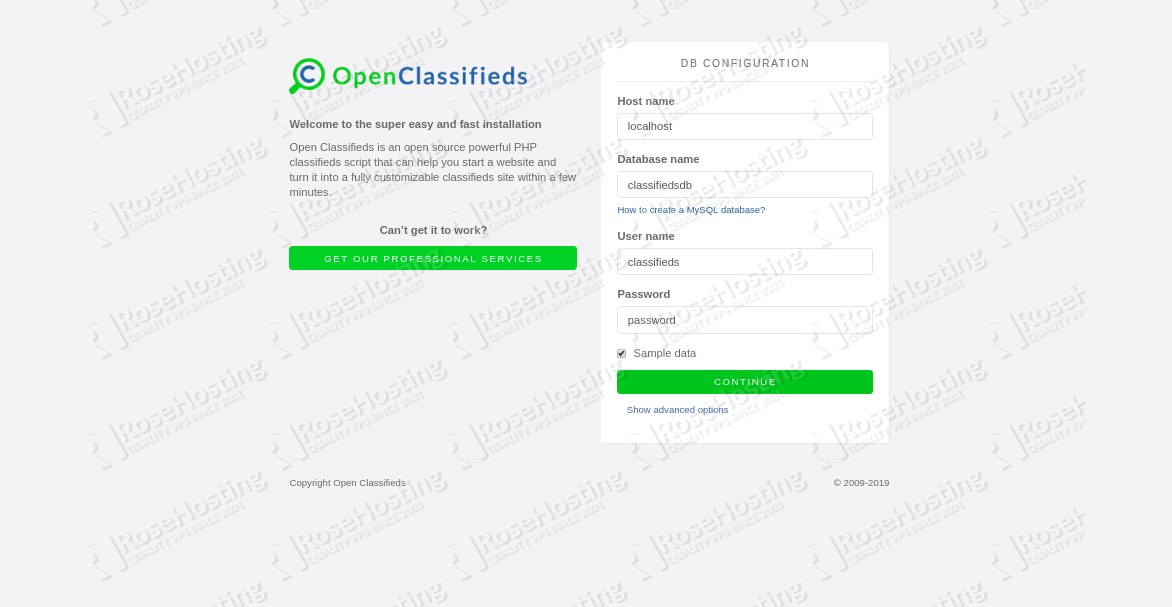
Now, provide your database name, database username and password. Then, click on the CONTINUE button. You should see the Site Configuration page:

Now, provide your Site name, Administrator email and password. Then, click on the INSTALL button. Once the installation has been completed, you should see the following page:
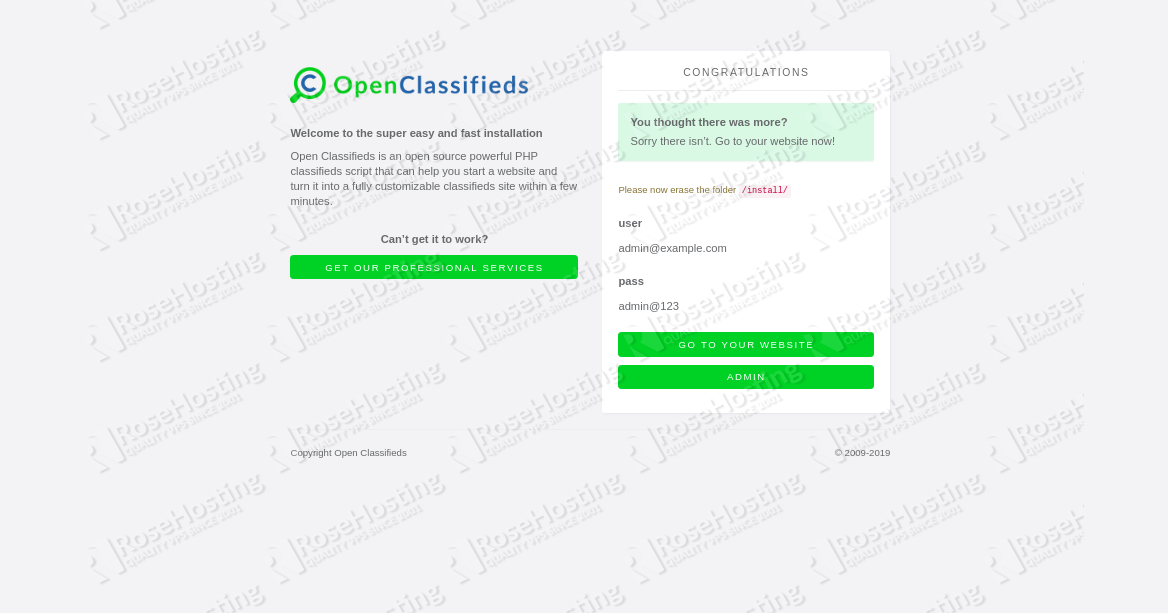
Now, click on the ADMIN button. You will be redirected to the Admin interface as shown below:
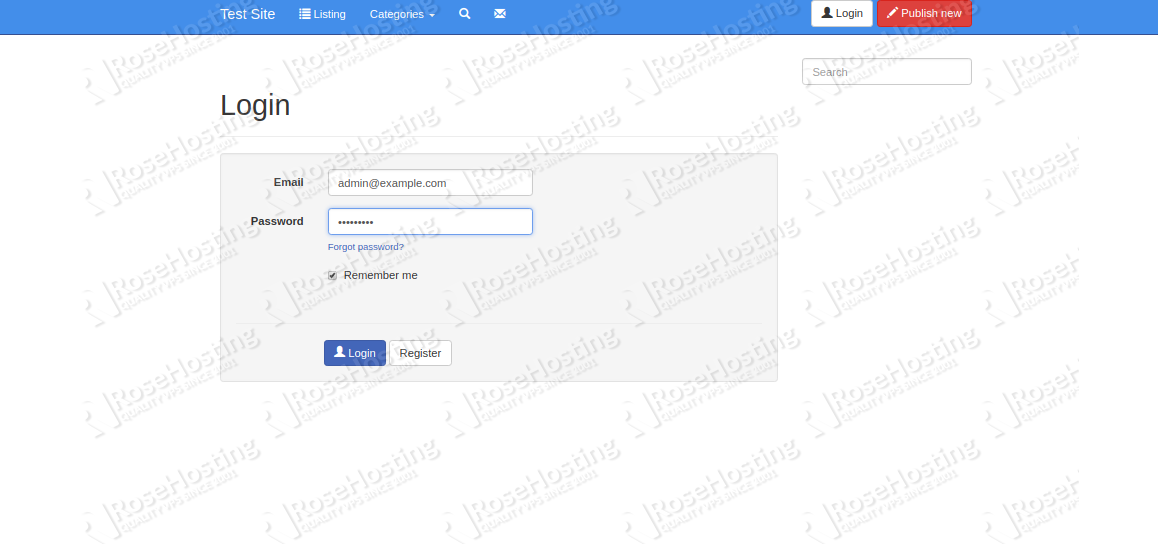
Now, provide your Administrator email and password. Then, click on the Login button. You should see the OpenClassifieds default dashboard on the following page:
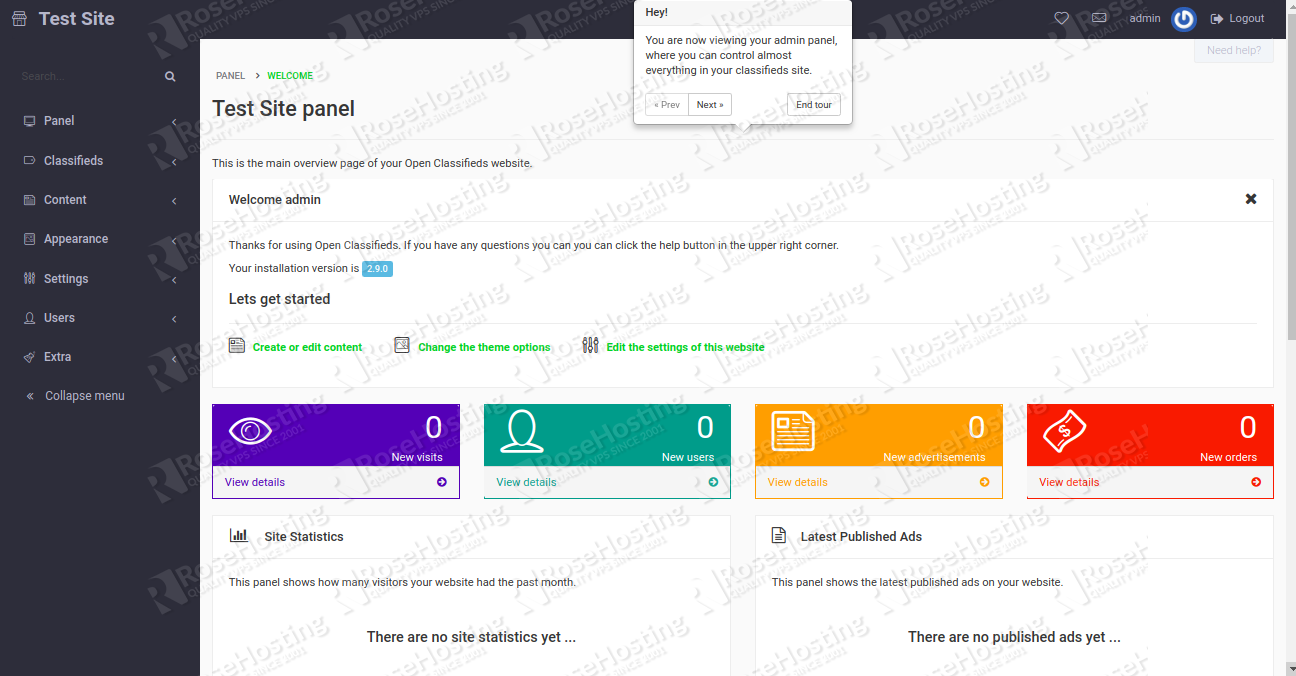
Congratulations! you have successfully installed and configured OpenClassifieds on your CentOS 7 VPS
 Of course, you don’t have to know how to install OpenClassifieds on CentOS 7 if you use our CentOS 7 VPS Hosting services. You can simply ask our support team to install OpenClassifieds on CentOS 7 for you, along with anything else that you might need. They are available 24/7 and will be able to help you with the installation of OpenClassifieds on CentOS 7.
PS. If you enjoyed reading this blog post on installing OpenClassifieds on CentOS 7, feel free to share it on social networks using the share shortcuts below, or simply leave a comment down in the comments section. Thank you.
Here’s a quick guide on How to Install EtherCalc on CentOS 8.